Part 1-Blender Beginner Tutorial (Basic Navigation, Shortcut Keys)
Summary
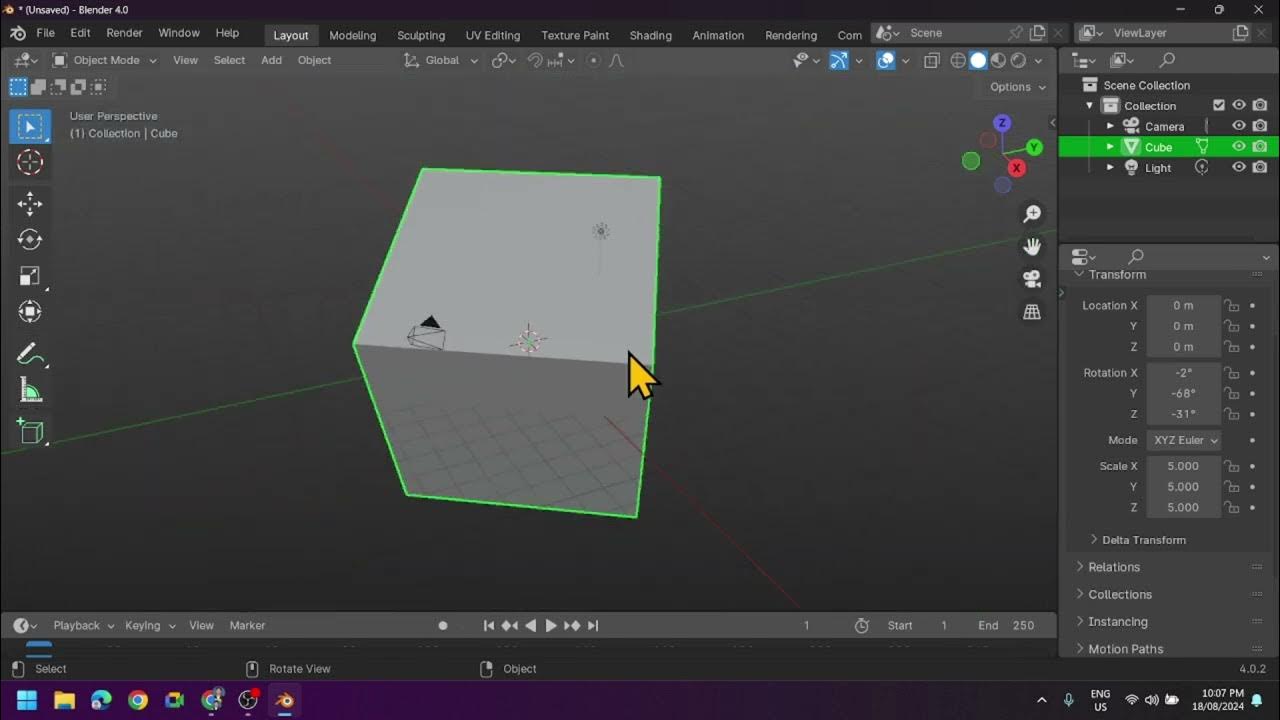
TLDRThis tutorial introduces viewers to the basics of Blender, a 3D modeling software. It covers the importance of having a mouse with specific features and a keyboard with a numpad for shortcuts. The instructor guides through the initial setup, including adjusting user preferences for interface scaling and enabling numpad emulation. The video also teaches navigation in the 3D view, object manipulation through grab, rotate, and scale functions, and the use of shortcut keys for efficient workflow. It sets the stage for further lessons on more advanced features and workflows in subsequent parts of the series.
Takeaways
- 👋 Introduction: Ryan King introduces the first part of his Blender beginner tutorial series and recommends watching the introduction video for an overview.
- 🖥️ Equipment: A mouse with right-click, left-click, scroll wheel, and scroll wheel button is essential for using Blender effectively, with a numpad on the keyboard being beneficial for 3D navigation.
- 🔄 Version Compatibility: The tutorial is based on Blender 2.91, but the concepts should be applicable to future versions with mostly the same interface and functionality.
- 🎨 Interface Customization: Beginners can adjust the interface settings such as resolution scale for better visibility and comfort.
- 🔢 Numpad Emulation: Users without a numpad can emulate it for 3D navigation using the top row of the keyboard, which is crucial for tasks like changing views.
- ⚙️ Preferences: Ryan suggests specific user preferences for beginners, including the selection of objects with mouse buttons and the use of the 3D cursor.
- 👁️ Navigation Techniques: The script covers various methods to navigate the 3D view, including using the middle mouse button to rotate, scroll wheel to zoom, and shift key for panning.
- 🔄 Object Manipulation: The basics of moving (G key), rotating (R key), and scaling (S key) objects in Blender are explained, with tips for constraining to axes.
- 📋 Multiple Object Selection: Holding the shift key allows for selecting multiple objects, which can then be manipulated collectively.
- 🗑️ Object Management: Deleting objects can be done using the 'X' key or the delete key, and objects can be added using the 'Shift + A' shortcut.
- 📘 Next Steps: The tutorial will continue in part two, covering different windows, workspaces, and setting up a default startup file in Blender.
Q & A
Who is the presenter of the Blender beginner tutorial series?
-The presenter of the Blender beginner tutorial series is Ryan King.
What is highly recommended for viewers before starting part one of the tutorial?
-It is highly recommended for viewers to watch the introduction video before starting part one of the tutorial.
Why is a mouse important for using Blender or any 3D software according to Ryan?
-A mouse is important for using Blender or any 3D software because it allows for right-click, left-click, scroll wheel, and scroll wheel button functionalities, which are essential for navigating and manipulating objects in 3D space.
What are the minimum features a mouse should have for using Blender effectively?
-A mouse should have a right-click, left-click, scroll wheel, and scroll wheel button for effective use with Blender.
What is the purpose of the numpad on the keyboard when using Blender?
-The numpad on the keyboard is used for shortcut keys to move around the scene in Blender, allowing for quick changes to side, front, and top views.
What is the default version of Blender being used in the tutorial?
-The default version of Blender being used in the tutorial is 2.91, which was the current stable version at the time of recording.
What is the significance of the splash screen in Blender?
-The splash screen in Blender displays artwork that changes with each new version of the software, showcasing the community's artwork and indicating the version being used.
What is the recommended setting for the 'Resolution Scale' in Blender for better visibility?
-The recommended setting for the 'Resolution Scale' in Blender for better visibility is 1.3, as it makes the buttons and interface elements larger and easier to see.
What is the 'Emulate Numpad' feature in Blender's preferences for those without a numpad?
-The 'Emulate Numpad' feature in Blender's preferences allows users without a physical numpad to use the top row of number keys on their keyboard to navigate the 3D view, providing an alternative to the numpad functionality.
What is the recommended action to take before closing the preferences window in Blender?
-Before closing the preferences window in Blender, it is recommended to click on the 'Save Preferences' button to ensure that all changes are saved.
What are the basic actions one can perform on objects in Blender using the G, R, and S keys?
-The basic actions one can perform on objects in Blender using the G, R, and S keys are grabbing (moving), rotating, and scaling the objects, respectively.
Outlines

This section is available to paid users only. Please upgrade to access this part.
Upgrade NowMindmap

This section is available to paid users only. Please upgrade to access this part.
Upgrade NowKeywords

This section is available to paid users only. Please upgrade to access this part.
Upgrade NowHighlights

This section is available to paid users only. Please upgrade to access this part.
Upgrade NowTranscripts

This section is available to paid users only. Please upgrade to access this part.
Upgrade NowBrowse More Related Video
Introduction to Blender 3D: Getting Started with the Interface & Essential Tools in Blender

Blender 3D Tutorial Membuat Karakter Game Amoung Us! 3D Modeling, (Pemula) Blender 2.90
Hover Car Tutorial in Blender 2.92 | Polygon Runway
Blender Complete Beginner Tutorial Series - Introduction (Updated Tutorial Link in Description)
Blender Tutorial for Complete Beginners - Part 1
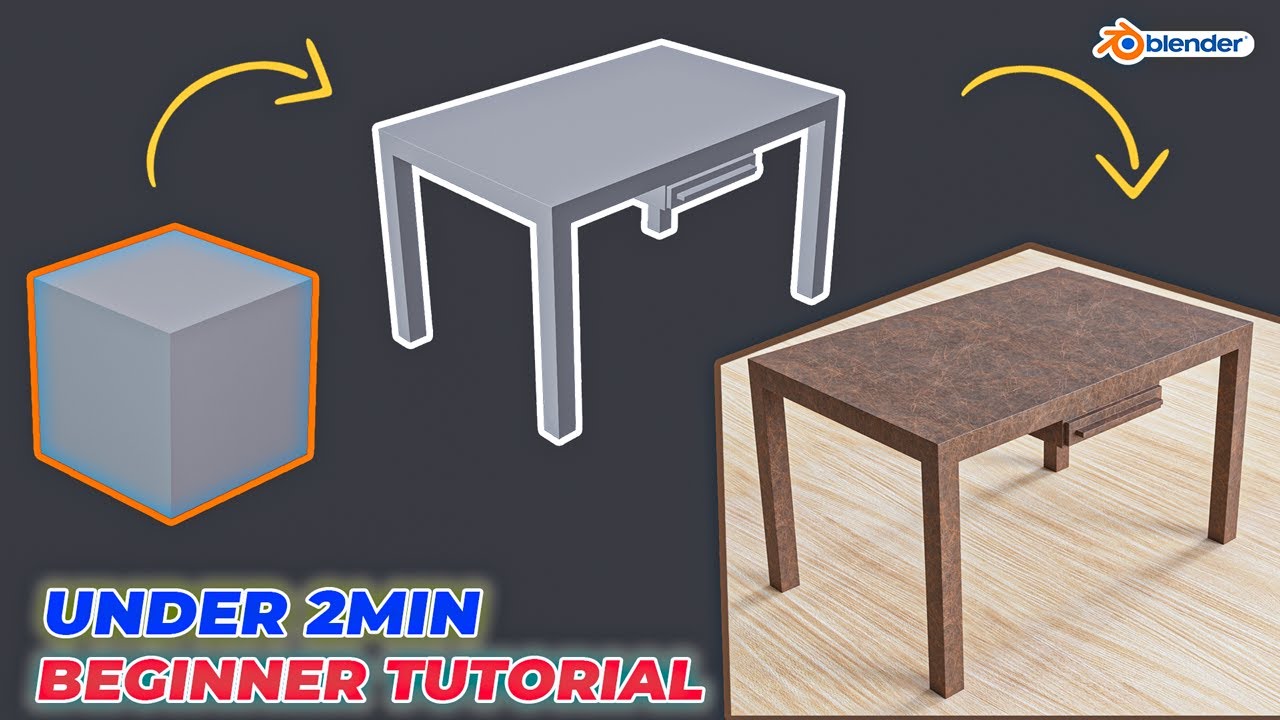
Modeling Table Under 2Min || Blender Beginners Tutorial
5.0 / 5 (0 votes)