Cara Cepat Seting Internet dan Wireless Mikrotik hAP Lite RB941-2nd
Summary
TLDRIn this tutorial, the video guides viewers through the process of setting up a MikroTik RB941-2N router. Starting with physical connections, the router is configured using Winbox for internet access. The script demonstrates how to configure network interfaces, assign static IP addresses, and set up DHCP. It also covers the process of activating the router's built-in wireless functionality, setting up a secure Wi-Fi network, and verifying the connection on both a computer and mobile device. The video wraps up by encouraging viewers to share and subscribe for more helpful content.
Takeaways
- 📡 The tutorial demonstrates how to configure a MikroTik RB941-2n router with built-in wireless capability.
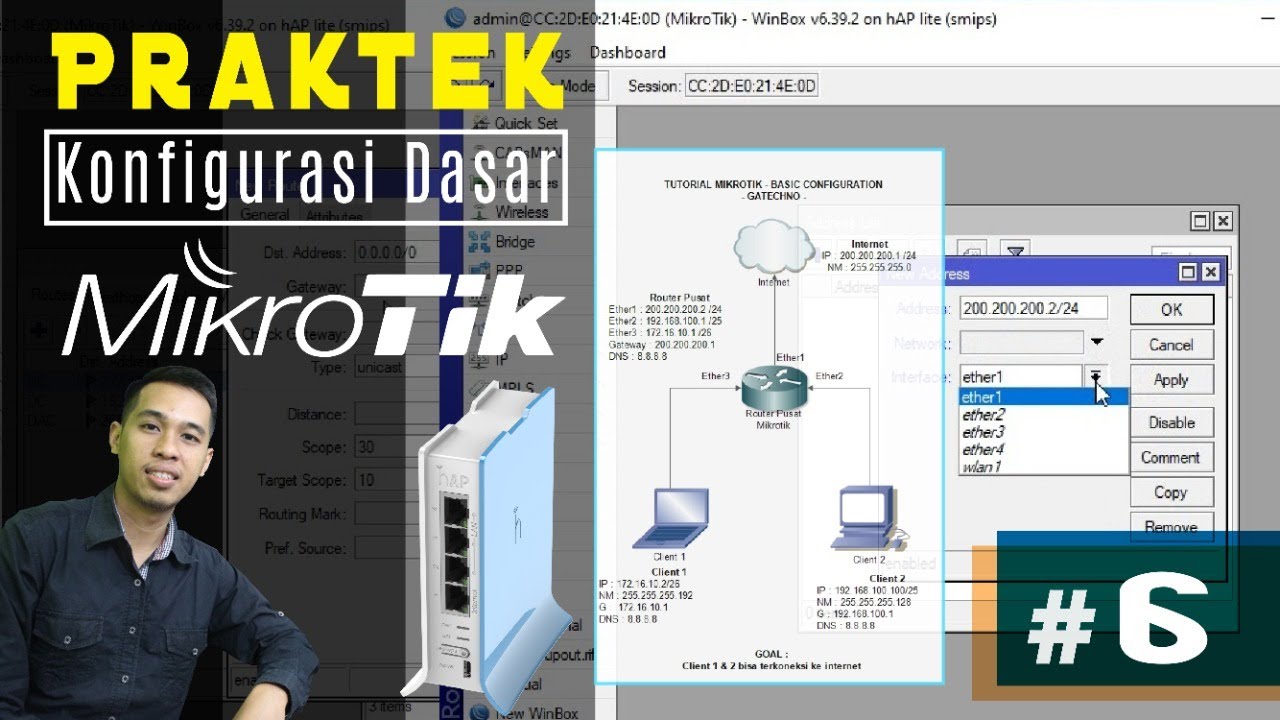
- 🔌 The physical setup involves connecting ether1 to the internet modem and another port (e.g., ether3) to a computer for configuration.
- 🖥️ Configuration is performed using Winbox after resetting the router and logging in with the default (empty) password.
- 🌐 A DHCP Client is enabled on the WAN interface to automatically obtain an IP address from the internet source.
- 🏷️ LAN interfaces are configured and assigned a static IP address segment (e.g., 2.2.2.1/24) for local network distribution.
- 🌍 Google DNS (8.8.8.8) is manually added in the DNS settings to enable proper domain resolution.
- 🔁 A NAT masquerade rule is created in the firewall settings to allow local devices to access the public internet.
- 📶 A DHCP Server is set up on the LAN interface to automatically allocate IP addresses to connected clients.
- 📡 The wireless interface (wlan1) is enabled and configured in AP Bridge mode to function as a WiFi access point.
- 🔐 A security profile is created using WPA/WPA2-PSK with a defined password to secure the WiFi network.
- 📛 The SSID (WiFi name) is customized and linked to the previously created security profile.
- 📲 A separate IP segment (e.g., 5.5.5.1/27) and DHCP Server are configured specifically for wireless clients.
- ✅ Final testing confirms that both wired and wireless devices successfully obtain IP addresses and access the internet.
Q & A
What is the purpose of this video tutorial?
-The tutorial demonstrates how to set up a MikroTik RB941 2N router, including both wired and wireless configurations.
What is the first step in setting up the MikroTik router?
-The first step is to physically connect the router to an internet source (modem) and a computer for configuration.
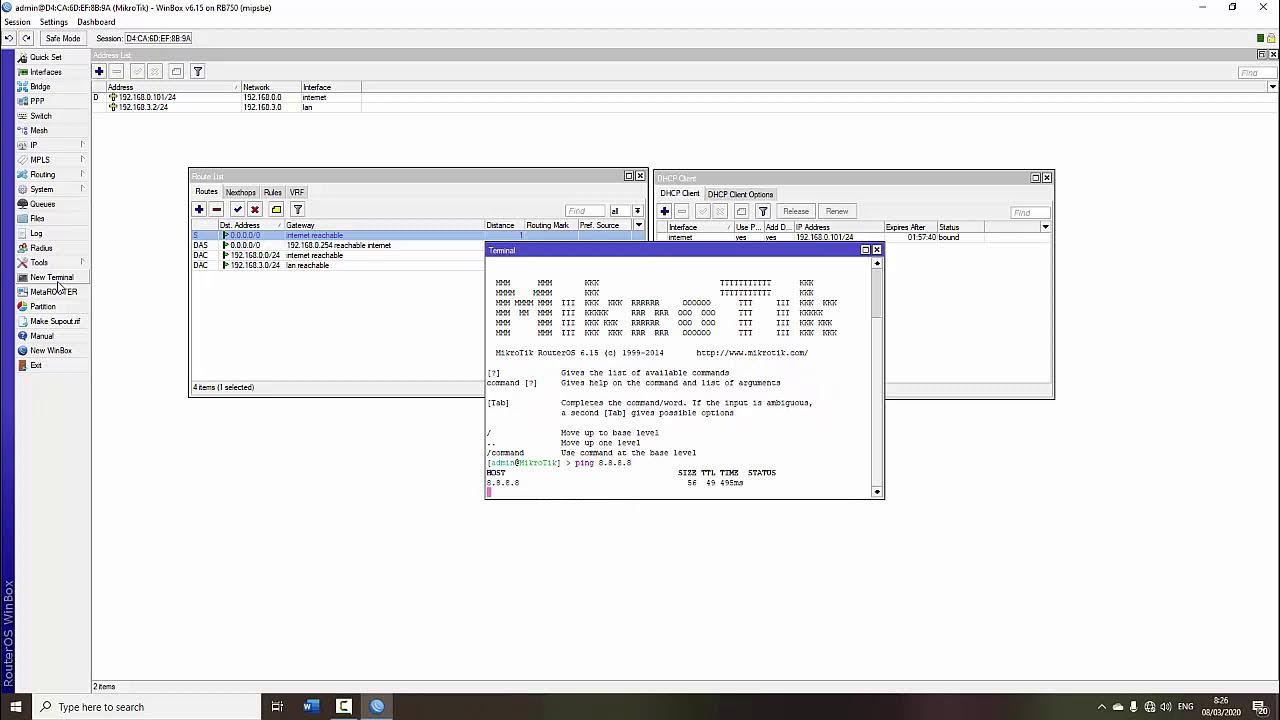
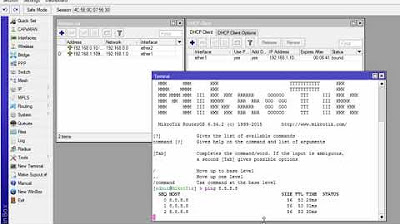
Which tool is used for configuring the MikroTik router?
-The configuration is done using Winbox, a utility provided by MikroTik for router management.
How does the router obtain its IP address from the internet?
-The router uses the DHCP client feature in Winbox to automatically obtain an IP address from the connected internet source (modem).
What IP address is assigned to the router for local network use?
-The router is assigned the IP address 192.168.1.6 for the local network after successfully obtaining it through DHCP.
Why is DNS configuration necessary, and what DNS is used in the tutorial?
-DNS configuration is necessary for domain name resolution, and the tutorial uses Google's DNS servers (8.8.8.8).
How is the wireless functionality activated on the MikroTik router?
-The wireless functionality is activated by enabling the Wi-Fi interface in Winbox and checking the 'Enable' option.
What is the security profile used for the Wi-Fi network, and what password is set?
-The Wi-Fi security profile is set with WPA2 encryption, and the password used in the tutorial is '12345678'.
How is the wireless network configured to provide IP addresses to connected devices?
-A DHCP server is configured for the wireless network (WLAN), and it is set to allocate IP addresses from the range 5.5.5.1 to 5.5.5.30.
What is the role of the static IP address assigned to the wireless interface?
-The static IP address (5.5.5.1/27) is assigned to the wireless interface to manage the network and allow connected devices to communicate within the defined IP range.
Outlines

This section is available to paid users only. Please upgrade to access this part.
Upgrade NowMindmap

This section is available to paid users only. Please upgrade to access this part.
Upgrade NowKeywords

This section is available to paid users only. Please upgrade to access this part.
Upgrade NowHighlights

This section is available to paid users only. Please upgrade to access this part.
Upgrade NowTranscripts

This section is available to paid users only. Please upgrade to access this part.
Upgrade NowBrowse More Related Video

Koneksi Jaringan Lan Ke Internet Melalui Mikrotik Rb941 2Nd
TUTORIAL DASAR MIKROTIK (KONEKSI INTERNET)
Rancang Bangun Jaringan Berbasis Kabel dan Nirkabel dengan VLAN dan Routing (UKK 2023 Paket 2) TKJ
CARA KONFIGURASI MIKROTIK AWAL (KONEKSI INTERNET)
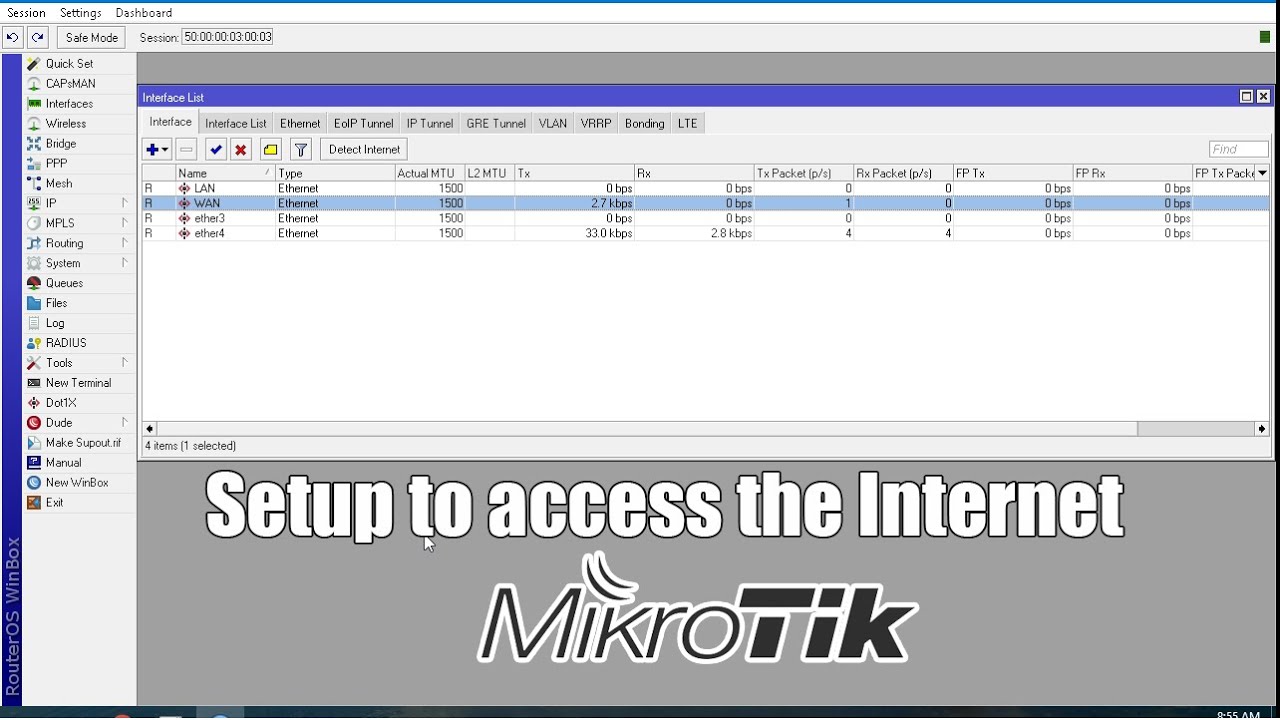
How to setup Mikrotik to access the Internet
CARA SETTING MIKROTIK RB941 UNTUK PEMULA | KELAS MIKROTIK #6
5.0 / 5 (0 votes)