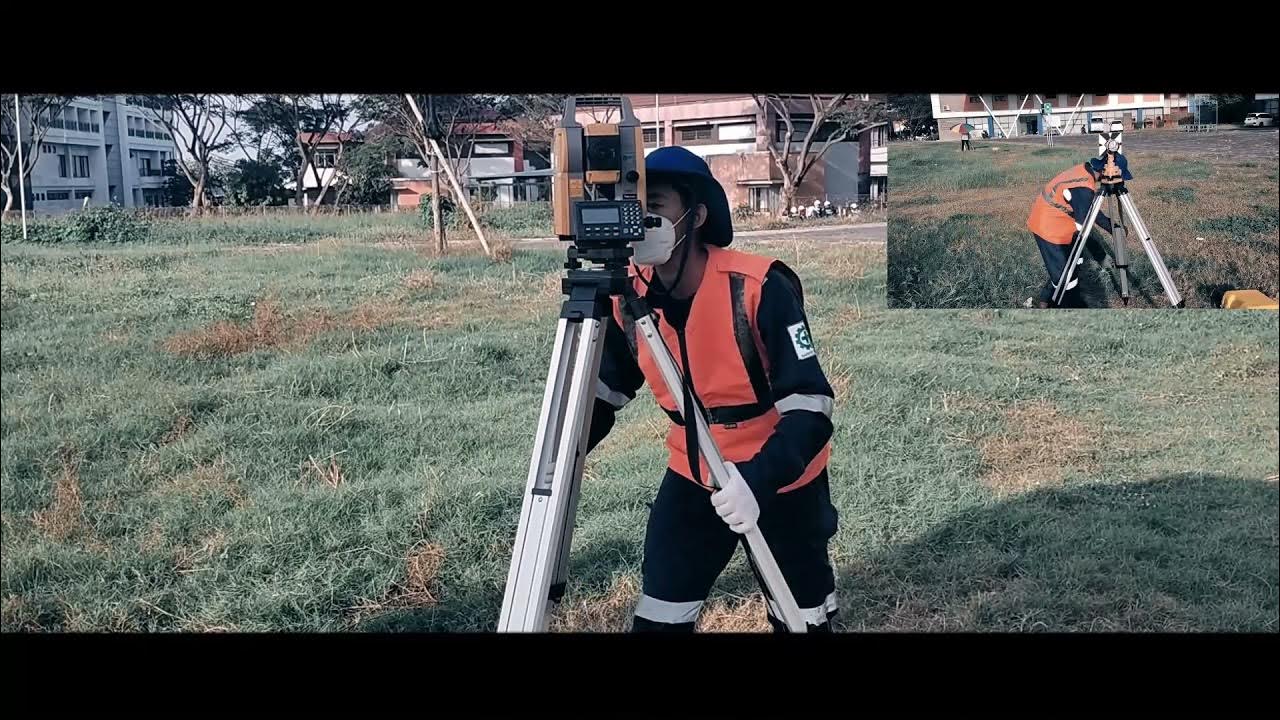
Set up total station over a point
Summary
TLDRThis video provides a step-by-step guide to setting up and accurately leveling a total station. It covers the initial setup, including adjusting the tripod legs and positioning the station over the nail. Detailed instructions are given for using the optical plummet and adjusting the legs for precise alignment. The video also explains how to use the long bubble to level the total station in four different positions, ensuring accurate measurements. Each stage emphasizes careful adjustments and checks to achieve perfect alignment and leveling of the instrument.
Takeaways
- 😀 Ensure tripod legs are of equal height before positioning it over the nail.
- 😀 Tripod legs should be spaced evenly, and the tripod head must be level for accurate setup.
- 😀 Walk a few paces forward and place the tripod over the nail for an initial setup.
- 😀 Check alignment by stepping around the tripod and ensuring the nail is centered in the tripod head.
- 😀 Use the optical plummet to adjust the total station’s position and center it directly over the nail.
- 😀 Ensure the tripod feet are securely pressed into the ground for stability.
- 😀 Attach the total station to the tripod by hand-tightening the fixing until secure (no excessive force).
- 😀 Set foot screws to their midpoint for maximum adjustment range when leveling the total station.
- 😀 Level the total station using the optical plummet to center the black circle over the nail, adjusting foot screws for fine-tuning.
- 😀 Fine-tune leveling with the long bubble in four positions: parallel and perpendicular to the foot screws, adjusting two screws at a time.
- 😀 Make final checks to ensure the bubble is centered, and the optical plummet confirms the total station is over the nail.
Q & A
Why is it important to set the tripod legs to an equal height before starting?
-Setting the tripod legs to an equal height helps to ensure stability and precision when leveling the total station. The height of the legs should ideally come to just under your chin when they are together.
What is the significance of walking forward and placing the tripod down over the nail?
-Walking forward and placing the tripod over the nail helps achieve a relatively accurate starting position for the total station. This movement aligns the nail with the center of the tripod head.
How do you confirm that the tripod is positioned correctly over the nail?
-You can confirm the position by visually checking that the nail is in line with the center of the tripod head and by looking through the optical plummet to ensure the nail is centered in the circular hole at the top of the tripod head.
Why should only two of the tripod legs be adjusted to centralize the circular bubble?
-Adjusting only two legs is crucial because it allows the tripod to pivot around a fixed point. Using all three legs would shift the entire tripod and move it further away from the nail, which would affect the accuracy.
What is the role of the foot screws in leveling the total station?
-The foot screws allow fine adjustments to the total station’s height. By adjusting them to their midpoint, you ensure that each screw has maximum travel, which is essential for precise leveling adjustments.
What is the purpose of the optical plummet in the leveling process?
-The optical plummet helps to center the total station over the nail. By looking through the optical plummet and adjusting the foot screws, you can ensure the instrument is accurately positioned over the nail.
What is the proper way to adjust the tripod legs to level the total station using the long bubble?
-To level the total station using the long bubble, adjust the two foot screws in opposite directions at the same rate. The goal is to move the bubble in a controlled manner by making tiny adjustments.
How do you adjust the bubble when it is not centered during the leveling process?
-To adjust the bubble, rotate the total station and adjust the foot screws in opposite directions. The bubble will move towards the direction of your left thumb, and you should give it a few seconds to settle after each adjustment.
What is the importance of the four positions when adjusting the long bubble?
-The four positions are used to isolate the bubble's reading to one direction at a time. This process helps in making precise adjustments to level the total station accurately.
What should be done if the bubble isn't centered after adjusting the tripod legs in all four positions?
-If the bubble isn't centered, continue making small adjustments in each position, focusing on the relevant foot screws. After completing the four positions, check the bubble again and make a final adjustment if necessary.
Outlines

This section is available to paid users only. Please upgrade to access this part.
Upgrade NowMindmap

This section is available to paid users only. Please upgrade to access this part.
Upgrade NowKeywords

This section is available to paid users only. Please upgrade to access this part.
Upgrade NowHighlights

This section is available to paid users only. Please upgrade to access this part.
Upgrade NowTranscripts

This section is available to paid users only. Please upgrade to access this part.
Upgrade NowBrowse More Related Video

Tutorial Set Up Total Station Leica TS16 R1000 Dengan Leica Captivate V.7.0
Cara Pematokan (Stake Out) dengan Alat Total Station Topcon GM-55
Cara Pengukuran Detail Situasi dengan Alat Total Station Topcon GM-55

[TUTORIAL 1] DASAR MENGGUNAKAN TOTAL STATION TOPCON GM-101 SERIES | ANAK TEKNIK
Setting up of a Theodolite (Centering, Levelling and Focusing)

Simulasi Antrian Pada POM Bensin Menggunakan Software ARENA
5.0 / 5 (0 votes)