Waste Wizard: Crafting a Smart Dustbin using Arduino UNO I Robo Army I Arduino Basic
Summary
TLDRIn this tutorial, Robo Army introduces a project to create a Smart Dust Bin using Arduino, an ultrasonic sensor, and a servo motor. The bin automatically opens when you approach, providing hands-free waste disposal. The video covers the necessary components, including Arduino, ultrasonic sensor, servo motor, and a dust bin, with step-by-step instructions for wiring the components, writing the code, and testing the system. Viewers will learn how to program the Arduino, wire up the components, and assemble the project, ultimately building their own smart home solution with ease.
Takeaways
- 😀 The project aims to create a smart dust bin that opens automatically using an ultrasonic sensor and a servo motor controlled by Arduino.
- 😀 The necessary components include an Arduino board, ultrasonic sensor, servo motor, jumper wires, USB cable, power supply, and a dust bin.
- 😀 The ultrasonic sensor uses sound waves to measure distance and helps the system detect when an object is nearby.
- 😀 The servo motor is used to control the opening and closing of the dust bin lid based on the sensor's reading.
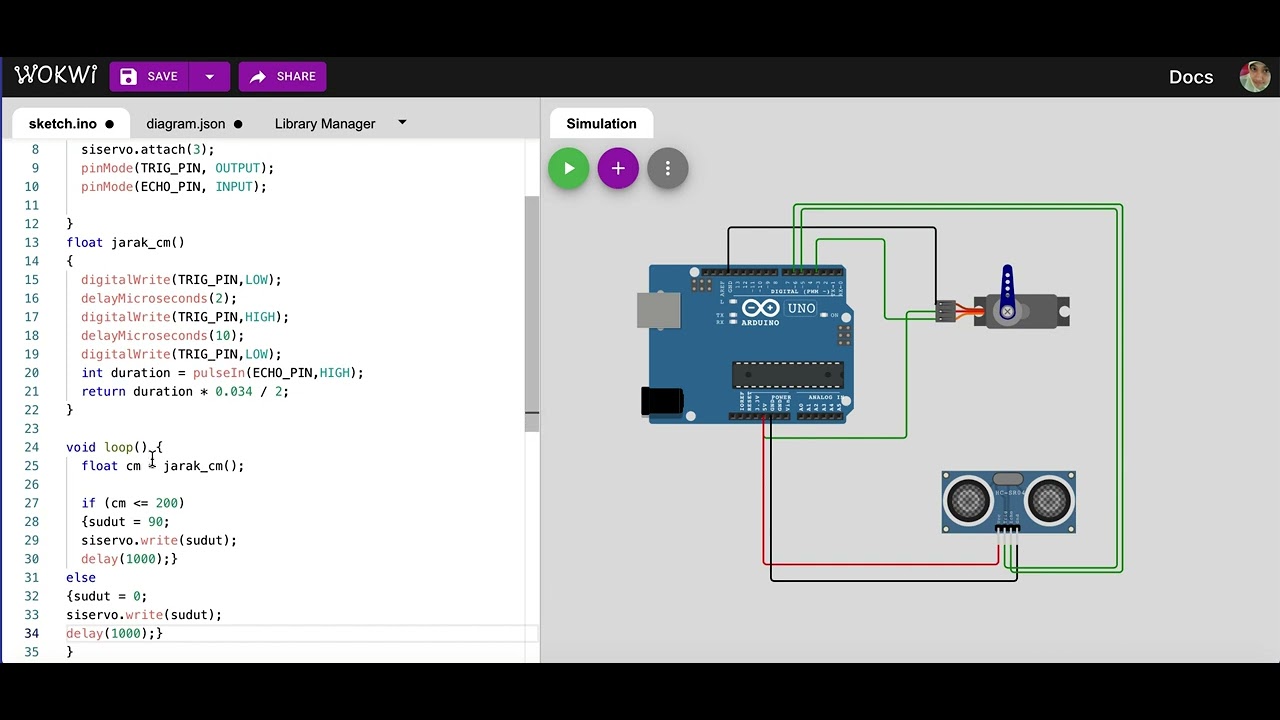
- 😀 Connections for the ultrasonic sensor include VCC and GND to 5V and GND on Arduino, and Trig and Echo pins to digital pins on the Arduino.
- 😀 The servo motor is connected to the Arduino’s 5V, GND, and a digital pin for signal transmission (Pin 11).
- 😀 After wiring the components, the next step is to write and upload the code to the Arduino using the Arduino IDE.
- 😀 The code includes the Servo Library, defines the pins for the ultrasonic sensor and servo motor, and uses the loop function to monitor distances and control the servo.
- 😀 When an object is detected within 20 cm, the servo motor rotates 90° to open the lid, and after a brief delay, the lid closes automatically.
- 😀 After testing and verifying that the circuit works as expected, the project is assembled into the dust bin and powered using a battery pack.
- 😀 The result is a fully functional, hands-free smart dust bin that opens when someone approaches, demonstrating the power of basic sensors and Arduino programming.
Q & A
What is the purpose of the ultrasonic sensor in the smart dustbin project?
-The ultrasonic sensor detects the presence of an object within a certain distance (e.g., 20 cm). It sends a signal to the Arduino, triggering the servo motor to open the lid of the dustbin automatically.
How does the servo motor work in this project?
-The servo motor is used to control the lid of the dustbin. It rotates 90° to open the lid when the ultrasonic sensor detects an object, and then returns to 0° to close the lid after a short delay.
Why is the Arduino board considered the 'brain' of the project?
-The Arduino board acts as the central controller. It reads data from the ultrasonic sensor and uses this information to control the servo motor, thus managing the opening and closing of the dustbin lid.
What are the key components required to build the smart dustbin?
-The key components are the Arduino board, ultrasonic sensor, servo motor, jumper wires, battery holder with lithium-ion cells, USB cable, and a dustbin.
How do you wire the ultrasonic sensor to the Arduino?
-Connect the VCC and GND pins of the ultrasonic sensor to the 5V and GND pins on the Arduino. The trig pin connects to a digital pin (e.g., pin 9), and the echo pin connects to another digital pin (e.g., pin 10).
What is the purpose of the servo library in the code?
-The servo library is included to control the servo motor. It provides functions to attach the motor to a specific pin and manage its rotation based on the sensor's data.
What does the Arduino code do in this project?
-The Arduino code initializes the serial communication, attaches the servo motor, and continuously reads data from the ultrasonic sensor. Based on the distance detected, the code commands the servo to open or close the dustbin lid.
How do you upload the code to the Arduino?
-To upload the code, connect the Arduino Uno to your computer via a USB cable. Then, in the Arduino IDE, select the correct port and board type, and click the upload button to transfer the code.
What happens when the sensor detects an object within 20 cm?
-When an object is detected within 20 cm, the Arduino commands the servo motor to rotate the dustbin lid by 90° to open it. After a short delay, the lid closes automatically by rotating the servo back to 0°.
What material can be used for the dustbin lid?
-The dustbin lid can be made from cardboard or any suitable material that fits and can be easily attached to the dustbin to allow the servo motor to control its movement.
Outlines

This section is available to paid users only. Please upgrade to access this part.
Upgrade NowMindmap

This section is available to paid users only. Please upgrade to access this part.
Upgrade NowKeywords

This section is available to paid users only. Please upgrade to access this part.
Upgrade NowHighlights

This section is available to paid users only. Please upgrade to access this part.
Upgrade NowTranscripts

This section is available to paid users only. Please upgrade to access this part.
Upgrade NowBrowse More Related Video

Project Membuat Palang pintu otomatis Jalan tol
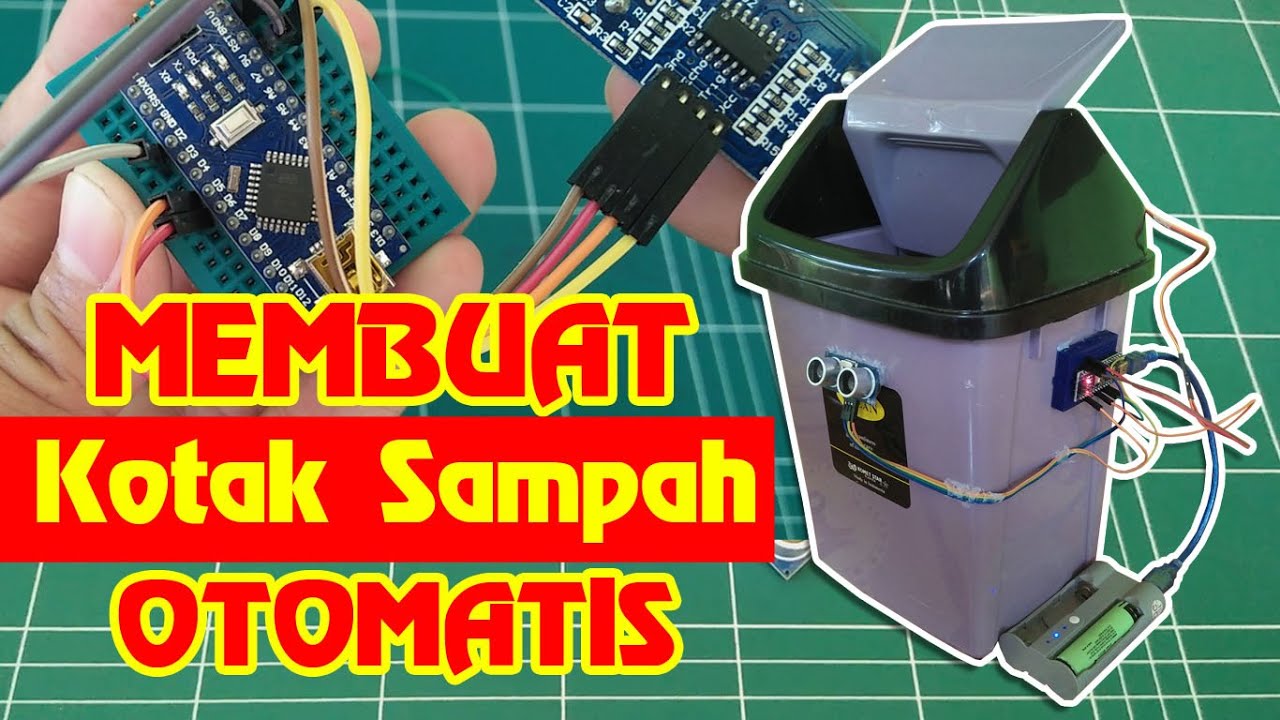
Dijamin Bisa | Membuat Kotak Sampah Otomatis

handsanitizer otomatis menggunakan arduino UNO R3 CH340. baca deskripsi ya
Arduino Trash Bin with Waste Level Detection

DIY Automatic Door System with Ultrasonic Sensor & Servo Motor! 🚪🤖 (Live Demo)
Simulasi kontrol gerakan servo dengan sensor ultrasonik | mikrokontroler arduino di wokwi.com
5.0 / 5 (0 votes)