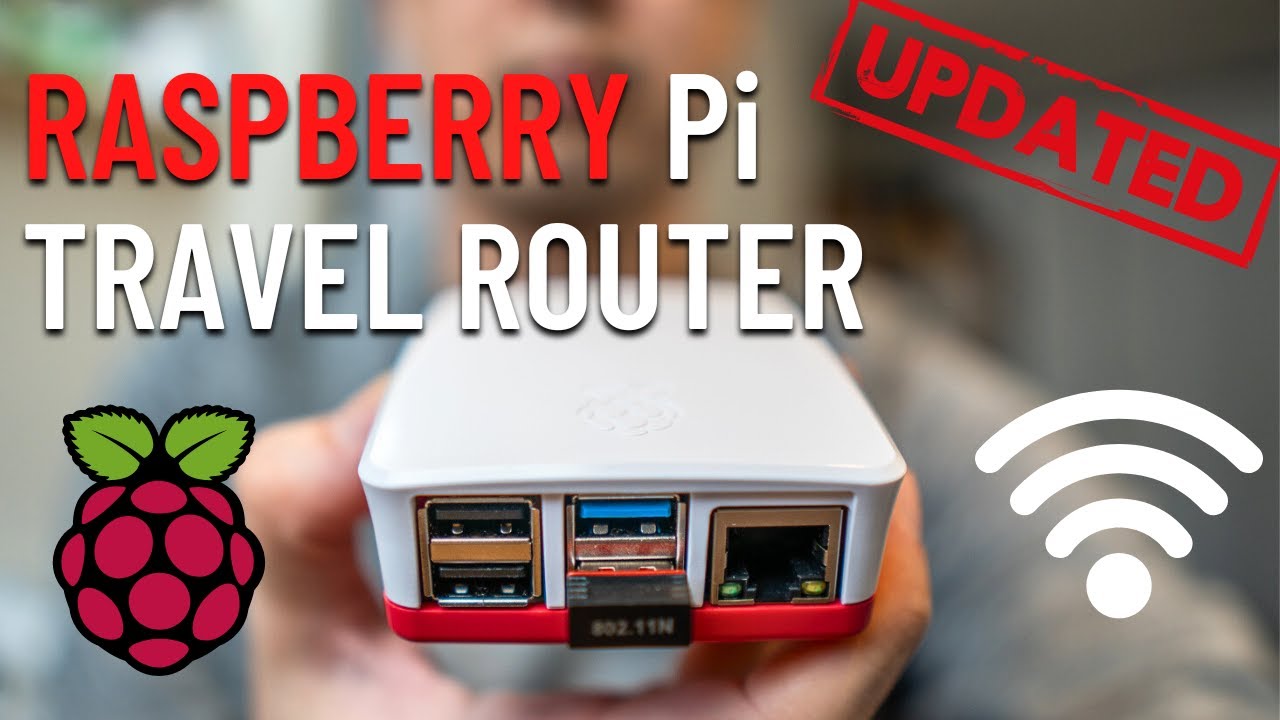
Using a Raspberry Pi to hide from my ISP
Summary
TLDRIn this video, the creator shares their journey of building a Raspberry Pi router to bypass restrictions imposed by their community Wi-Fi. By configuring tools like DNS Mask, NF Tables, and Tailscale, the Pi router enables secure internet access for multiple devices. Along the way, they also create a custom case with OLED screens to monitor network stats. With this setup, they can access devices remotely while avoiding ISP detection, and even add features like a screen saver and shutdown script to enhance the router’s functionality.
Takeaways
- 😀 A Raspberry Pi can be used to create a DIY router that connects to a community Wi-Fi and forwards internet to other devices while keeping them hidden from the ISP.
- 😀 The community Wi-Fi solution in the user's apartment didn't allow configuring a router, restricting their ability to manage devices and network services.
- 😀 The ISP does not permit personal routers to be connected to the Ethernet port, as they scan for and disconnect any routers they detect.
- 😀 The Raspberry Pi uses a headless version of Raspberry Pi OS, with minimal resources, to function as a router and forward internet to other devices.
- 😀 The user configured Network Manager on the Pi to connect to the community Wi-Fi and assign a static IP to the Ethernet port for future use.
- 😀 To make the Raspberry Pi act as a router, the user installed DNS Mask to handle DHCP (assigning IPs) and DNS forwarding for faster domain lookups.
- 😀 The user configured the DHCP server to only listen on the Pi’s Ethernet port and defined a range of IP addresses to be distributed to devices.
- 😀 Network Address Translation (NAT) was configured using NF Tables to allow devices on the Pi’s network to access the internet by masquerading their IPs.
- 😀 TailScale, a VPN service, was installed on the Raspberry Pi to allow secure remote access to the Pi from anywhere in the world.
- 😀 Additional security measures, such as IP forwarding and limiting SSH access to specific networks (Ethernet or VPN), were implemented to protect the Pi from external threats.
- 😀 The Raspberry Pi router was customized with a 3D printed case, OLED screen for monitoring, and a cooling fan to improve performance and usability.
Q & A
Why did the author decide to create their own Raspberry Pi router?
-The author was unable to configure a router or perform network tasks in their new apartment due to the community Wi-Fi solution provided by their ISP, which restricted the ability to set up devices like Raspberry Pis, 3D printers, and Minecraft servers. They wanted to bypass these limitations and gain more control over their network.
What challenges did the author face with their ISP and how did they try to work around it?
-The ISP did not allow the use of personal routers and actively scanned for devices resembling routers, disconnecting them. The author attempted to use an offline router for a while but later decided to find a way around the 'no router' rule using a Raspberry Pi.
What operating system did the author choose for their Raspberry Pi router, and why?
-The author chose a headless version of Raspberry Pi OS (Raspberry Pi OS Lite) because it doesn't come with a desktop environment, reducing the CPU workload and package size, making it more suitable for their project.
How did the author connect the Raspberry Pi to the community Wi-Fi?
-The author used the 'Network Manager' tool to list available Wi-Fi networks and connect the Raspberry Pi to the community Wi-Fi. They also configured a static IP address for the Ethernet port.
What is the role of DNS Mask in the Raspberry Pi router setup?
-DNS Mask acts as both a DNS forwarder and a DHCP server. It helps route DNS queries from devices on the network to external DNS servers and assigns IP addresses to devices connected to the Raspberry Pi router.
What does NAT (Network Address Translation) do in this project?
-NAT (specifically masquerading) rewrites the IP addresses of devices behind the Raspberry Pi router so they appear as a single device to the outside world, allowing multiple devices to share a single external IP address for internet access.
Why did the author use NF Tables for packet filtering in the router setup?
-The author used NF Tables to set up packet filtering rules, specifically for NAT. This helps ensure that outgoing traffic from the devices behind the Raspberry Pi router is correctly handled and forwarded to the community Wi-Fi network.
How does the Tailscale VPN improve the Raspberry Pi router setup?
-Tailscale creates a secure VPN that allows the author to access their Raspberry Pi router from anywhere, providing the ability to connect to their local network remotely. This is useful when they’re not physically near the Pi but want to manage it.
What security measures did the author take to protect their Raspberry Pi router?
-The author configured NF Tables to allow SSH access only from the Ethernet port and the Tailscale network, preventing external access to the Pi from the community Wi-Fi. This ensures that even if someone is on the same network, they can’t SSH into the router.
What additional features did the author add to the Raspberry Pi router for monitoring and control?
-The author designed a custom case for the Raspberry Pi router with small OLED screens to display device and network stats. They also added a button to toggle the screen on and off and a fan to keep the Pi cool.
How did the author handle the software side of the Raspberry Pi router’s monitoring system?
-The author created a script to display stats on the OLED screen, including network health and device performance. They also set up the screen to turn on and off with a button and used systemd to ensure the screen script runs on boot and shuts down with the Pi.
Outlines

This section is available to paid users only. Please upgrade to access this part.
Upgrade NowMindmap

This section is available to paid users only. Please upgrade to access this part.
Upgrade NowKeywords

This section is available to paid users only. Please upgrade to access this part.
Upgrade NowHighlights

This section is available to paid users only. Please upgrade to access this part.
Upgrade NowTranscripts

This section is available to paid users only. Please upgrade to access this part.
Upgrade NowBrowse More Related Video
Raspberry Pi Travel Router - RaspAP (2024)

REVIEW DAN SETUP AWAL ROUTER TP-LINK AX1500 WIFI 6 ARCHER AX12 [PART 1]

My review/experience with the MikroTik hAP ax³

Istilah Jaringan dalam Setting MikroTik

Countryside Coding: Building a Startup from Rural Estonia

Pwnagotchi — hacking WiFi networks in seconds | Real Experiment
5.0 / 5 (0 votes)