Create Graphical User Interfaces With Python And TKinter
Summary
TLDRIn this tutorial video, John from Coding for All introduces viewers to creating graphical user interfaces (GUIs) with Python using the built-in tkinter module. He demonstrates the simplicity of the process, guiding through the creation of a basic 'Hello World' window. The video covers importing tkinter, defining widgets, and setting up an event loop. It's an introductory lesson aimed at beginners, promising a series for further exploration of GUI development with Python.
Takeaways
- 😀 The video is a tutorial on creating graphical user interfaces (GUIs) with Python using the tkinter module.
- 📝 The presenter is John, from codingbeauty.com, and he introduces the concept of GUIs in Python.
- 💻 It's assumed that viewers have Python installed on their machines and basic knowledge of running Python scripts.
- 📚 The tutorial will be a series of videos, starting with the basics of tkinter for beginners.
- 🛍️ Viewers are encouraged to subscribe and use a coupon code 'youtube' for a discount on courses at codingbeauty.com.
- 📝 The first step in creating a GUI with tkinter is to import the module using 'from tkinter import *'.
- 🏠 The 'root' widget is created first, which represents the main window of the GUI application.
- 📌 The 'label' widget is used to display text in the GUI, and it's created and packed into the root widget.
- 🔄 The 'pack' method is introduced as a way to place widgets in the GUI, with a simple packing strategy.
- 🔁 The 'mainloop' function is essential to start the event loop, which keeps the GUI application running and responsive.
- 🖼️ The video demonstrates how to run the simple GUI program and shows the resulting window with 'Hello World' text.
- 🔍 The video promises to cover more widgets and layout methods in upcoming videos, providing more control over GUI design.
Q & A
What is the main topic of the video?
-The main topic of the video is teaching how to create graphical user interfaces (GUIs) with Python using the tkinter module.
Who is the presenter of the video?
-The presenter of the video is John, from codingbe.com.
What is the purpose of the tkinter module in Python?
-The tkinter module in Python is used to create GUIs. It allows for the creation of windows, buttons, text fields, and other interface elements.
What is the first step in creating a GUI with tkinter according to the video?
-The first step in creating a GUI with tkinter is to import the tkinter module and use it to create the root widget, which represents the main window of the application.
What is a 'widget' in the context of tkinter?
-In the context of tkinter, a 'widget' is any GUI element such as a button, text field, frame, etc. Everything in tkinter is considered a widget.
How does the video suggest organizing the GUI elements on the screen?
-The video suggests using the 'pack' method for organizing GUI elements on the screen, which places them in the first available spot.
What is the purpose of the 'main loop' in a tkinter program?
-The 'main loop' in a tkinter program is responsible for keeping the program running and responding to user interactions such as mouse movements and button clicks.
What should you do if you want to see more videos like this one?
-To see more videos like this one, you should subscribe to the channel and click the Bell icon to get notifications for new uploads.
What is the special offer mentioned in the video for codingbe.com courses?
-The special offer mentioned in the video is a $22 discount on a membership to codingbe.com using the coupon code 'youtube', which gives access to all courses, videos, and books for a one-time fee of $27.
How can you run the Python script created in the video?
-You can run the Python script created in the video by opening a terminal or command prompt, navigating to the directory where the script is saved, and typing 'python filename.py'.
What is the significance of the 'root.mainloop()' method in the tkinter program?
-The 'root.mainloop()' method starts the event loop that allows the tkinter program to continuously run and respond to events, and it ends when the window is closed.
Outlines

This section is available to paid users only. Please upgrade to access this part.
Upgrade NowMindmap

This section is available to paid users only. Please upgrade to access this part.
Upgrade NowKeywords

This section is available to paid users only. Please upgrade to access this part.
Upgrade NowHighlights

This section is available to paid users only. Please upgrade to access this part.
Upgrade NowTranscripts

This section is available to paid users only. Please upgrade to access this part.
Upgrade NowBrowse More Related Video
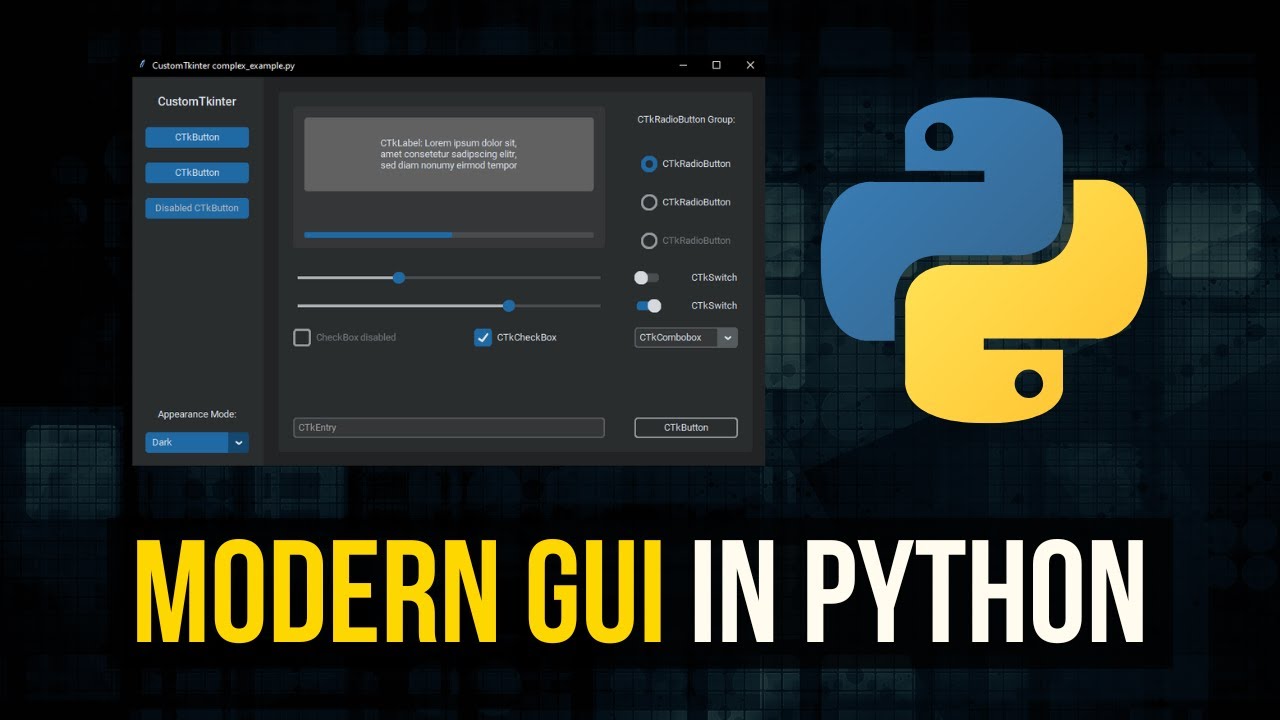
Modern Graphical User Interfaces in Python
Tkinter Layout Managers - Simple Crash Course
Intro to GUI - Roblox GUI Tutorial #1
Pengenalan User Interface, Folder, dan File - Informatika kelas 7 SMP/MTs (TIK)
Build Your Own GUI CALENDAR with Tkinter in Python | Python Projects | GeeksforGeeks

Struktur Sistem Operasi Layanan Sistem Operasi
5.0 / 5 (0 votes)