Tutorial Srikandi V3 | 9. Registrasi Naskah Masuk
Summary
TLDRThis tutorial demonstrates how to register an incoming letter into the 'Srikandi' system. It walks users through logging in with a registered account, selecting the correct registration type, and entering necessary details such as sender, position, and letter number. Users will also upload the letter and any attachments. After inputting all the required information, the system allows for review before submission to the leader. The process includes ensuring accuracy, saving the document, and finally sending it to the designated recipient, providing a comprehensive overview of the letter registration process.
Takeaways
- 😀 Log in to the Srikandi application using an account with letter registration access or administrative rights.
- 😀 Navigate to the 'Naskah Masuk' menu and select the 'Registrasi Naskah Masuk' submenu.
- 😀 Fill in the sender's details, including the sender's name, position, institution, and letter number.
- 😀 Choose the correct letter type and urgency according to the institution's regulations.
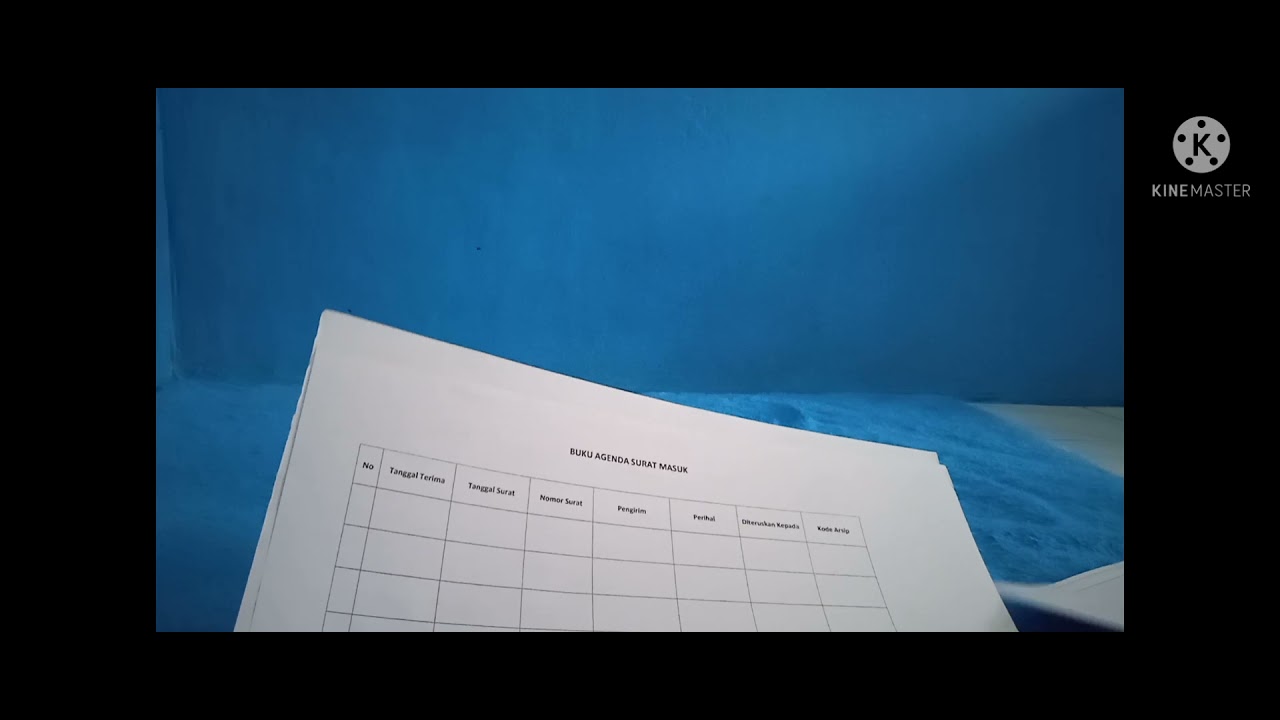
- 😀 Enter the date the letter was received and the subject of the letter, which can be copied from the original letter.
- 😀 Ensure that all necessary document requirements are met before uploading files.
- 😀 Upload the main letter file using the 'Browse' or 'Drag and Drop' method.
- 😀 If applicable, upload separate attachments as additional files in the 'Lampiran' section.
- 😀 Assign the letter to the correct recipient or leadership account from the 'Pinan' section.
- 😀 Save the letter registration by clicking the 'Simpan' button, though it has not been sent to the leadership yet.
- 😀 Review the registered letter for accuracy by clicking the eye icon and then send it to the leadership by clicking the 'Kirim' button.
Q & A
What is the first step in registering a document in the Srikandi application?
-The first step is to log in using an account that has the appropriate access rights, such as a letter recording account or an account with administrative privileges like a secretary.
After logging in, where should the user go to register a document?
-Once logged in, the user should navigate to the 'Naskah Masuk' menu and then select the 'Submenu Registrasi Naskah Masuk'.
How should the sender's name be entered in the registration process?
-The sender's name should be entered as the name of the signatory of the letter.
What should be entered in the 'Jabatan Pengirim' field?
-The 'Jabatan Pengirim' field should be filled with the job title of the signatory of the letter.
How is the 'Instansi Pengirim' field filled out?
-The 'Instansi Pengirim' field should be filled with the name of the institution as it appears on the letterhead.
What should be selected under 'Jenis Naskah'?
-Under 'Jenis Naskah', the appropriate type of document should be selected according to the code listed on the document numbering system. For a letter from a regional head, select 'Pusat' as the document type.
How should the 'Sifat Naskah' field be filled?
-The 'Sifat Naskah' field should be filled out according to what is indicated on the letter.
What information should be entered under 'Nomor Naskah'?
-The 'Nomor Naskah' field should be filled with the document number as it appears on the letter.
How should the 'Tanggal Naskah' and 'Tanggal Diterima' fields be filled?
-The 'Tanggal Naskah' field should be filled with the document's date, while the 'Tanggal Diterima' field should be filled with the date the document was received.
What should be entered in the 'Perihal' field during registration?
-The 'Perihal' field should contain the subject of the letter, which can often be copied directly from the 'Hal' column.
What happens after all the required fields are filled out in the registration process?
-After all fields are filled, the user should check the document requirements for uploading and then proceed to upload the letter and any additional attachments using the 'Browse' or 'Drag and Drop' method.
How do you send the document to the leader in the application?
-To send the document to the leader, click the 'Kirim' button after ensuring the correct leader's name appears in the selection. The document will then be sent, and the status will be updated accordingly.
What is the status column used for in the registration process?
-The status column shows whether the document has been successfully sent to the leader, and provides options to edit, view, or delete the document entry.
Can the document's details be viewed before sending it?
-Yes, the document's details can be viewed by clicking the eye icon in the status column to ensure that all information is correct before sending.
What does the 'Histori Naskah' section display?
-The 'Histori Naskah' section shows the history of the document, including its status after being sent, and tracks its progress through the system.
Outlines

This section is available to paid users only. Please upgrade to access this part.
Upgrade NowMindmap

This section is available to paid users only. Please upgrade to access this part.
Upgrade NowKeywords

This section is available to paid users only. Please upgrade to access this part.
Upgrade NowHighlights

This section is available to paid users only. Please upgrade to access this part.
Upgrade NowTranscripts

This section is available to paid users only. Please upgrade to access this part.
Upgrade NowBrowse More Related Video

Tutorial Penggunaan Srikandi

MIPS Tutorial 6 Printing a Float

Sistema de Parqueadero , enlace de descarga 2023.
MACAM-MACAM BUKU AGENDA. Perbedaan 3 BUKU AGENDA SURAT. Sebutkan Macam-macam buku agenda!

Aplikasi ARSIP Surat Masuk dan Surat Keluar Berbasis Web - Free Source Code

Tutorial Penyimpanan Arsip Sistem Subjek (Filling System Subject)
5.0 / 5 (0 votes)