Difference between switch and hub using cisco packet tracer
Summary
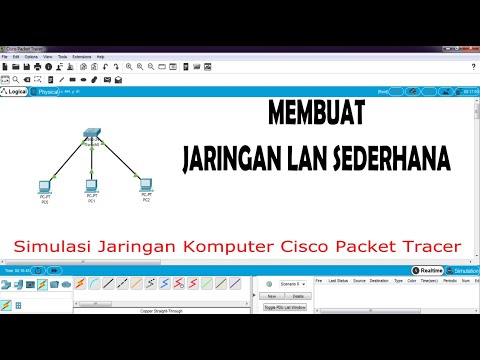
TLDRThis tutorial walks users through setting up a basic local area network (LAN) connection using PCs, a hub, and a switch. It covers key steps such as placing PCs, connecting them with a hub or switch, and assigning IP addresses to each device. The tutorial also includes a test to verify the connection's success by sending packets between PCs. Additionally, it explains the difference between a hub and a switch, highlighting how a switch forwards packets to the correct destination while a hub broadcasts them to all devices.
Takeaways
- 😀 The tutorial covers the process of setting up a LAN connection between multiple PCs.
- 😀 PCs are added to the network by selecting and placing them using the 'end devices' option in the software.
- 😀 A hub or switch is needed to connect all the PCs, and users can place them by pressing 'control' and 'genri'.
- 😀 To connect all PCs, the user clicks on the connection link and links them to the hub or switch.
- 😀 Each PC must have a unique static IP address assigned via the desktop IP configuration settings.
- 😀 The IP addresses should be assigned in sequential order, starting from 10.0.0.1 for the first PC.
- 😀 The IP address for each subsequent PC is incremented (10.0.0.2, 10.0.0.3, etc.).
- 😀 After assigning IP addresses, a connection test is performed by sending a packet from PC0 to PC2, which is successful.
- 😀 The tutorial demonstrates how a switch transfers packets to the correct destination, while a hub broadcasts packets to all devices.
- 😀 The difference between a hub and a switch is highlighted through a simulation mode, showing how the switch is more efficient in delivering data.
Q & A
What is the first step in setting up the LAN connection in the tutorial?
-The first step is to select and place the required number of PCs in the simulation environment by pressing 'Control' and then selecting the PC icon.
What devices are needed to connect all the PCs in the network?
-A hub or a switch is required to connect all the PCs in the network. The tutorial uses both devices to show how they work in a LAN setup.
How are the PCs connected to the network in the tutorial?
-The PCs are connected to the hub or switch using a connection link. The tutorial demonstrates selecting and connecting each PC to the network.
What is the method used to assign IP addresses to the PCs?
-IP addresses are assigned statically through the desktop’s 'IP Configuration' setting. The tutorial shows the process for assigning unique IP addresses to each PC.
What is the purpose of assigning different IP addresses to the PCs?
-Assigning different IP addresses ensures that each PC in the network can be uniquely identified, allowing for proper communication between them.
What IP addresses were assigned to the PCs in the example?
-The tutorial demonstrates assigning IP addresses like 10.0.0.1, 10.0.0.2, and 10.0.0.3 to the PCs. These addresses follow the static assignment method.
How do you verify that the LAN connection is successful?
-The tutorial verifies the LAN connection by sending a packet from one PC (PC0) to another (PC2) and checking for successful transmission, confirming that the network setup is working.
What is the difference between a hub and a switch as explained in the tutorial?
-A hub broadcasts data packets to all connected devices, while a switch forwards data packets only to the correct destination based on the destination MAC address.
What mode is used in the tutorial to demonstrate the differences between a hub and a switch?
-The simulation mode is used to demonstrate how a hub and a switch handle data packets. The capture and forward steps allow comparison of their behaviors.
Why is it important to understand the difference between a hub and a switch?
-Understanding the difference helps in designing efficient networks. A switch reduces network traffic and improves performance by targeting packets to the correct destination, while a hub can cause unnecessary congestion due to broadcasting.
Outlines

This section is available to paid users only. Please upgrade to access this part.
Upgrade NowMindmap

This section is available to paid users only. Please upgrade to access this part.
Upgrade NowKeywords

This section is available to paid users only. Please upgrade to access this part.
Upgrade NowHighlights

This section is available to paid users only. Please upgrade to access this part.
Upgrade NowTranscripts

This section is available to paid users only. Please upgrade to access this part.
Upgrade NowBrowse More Related Video

Video Materi : Instalasi Jaringan Lokal (LAN) sederhana
Cara Membuat Jaringan LAN Sederhana Cisco Packet Tracer

Cara membuat jaringan Peer to Peer sederhana || Jaringan Dasar #1
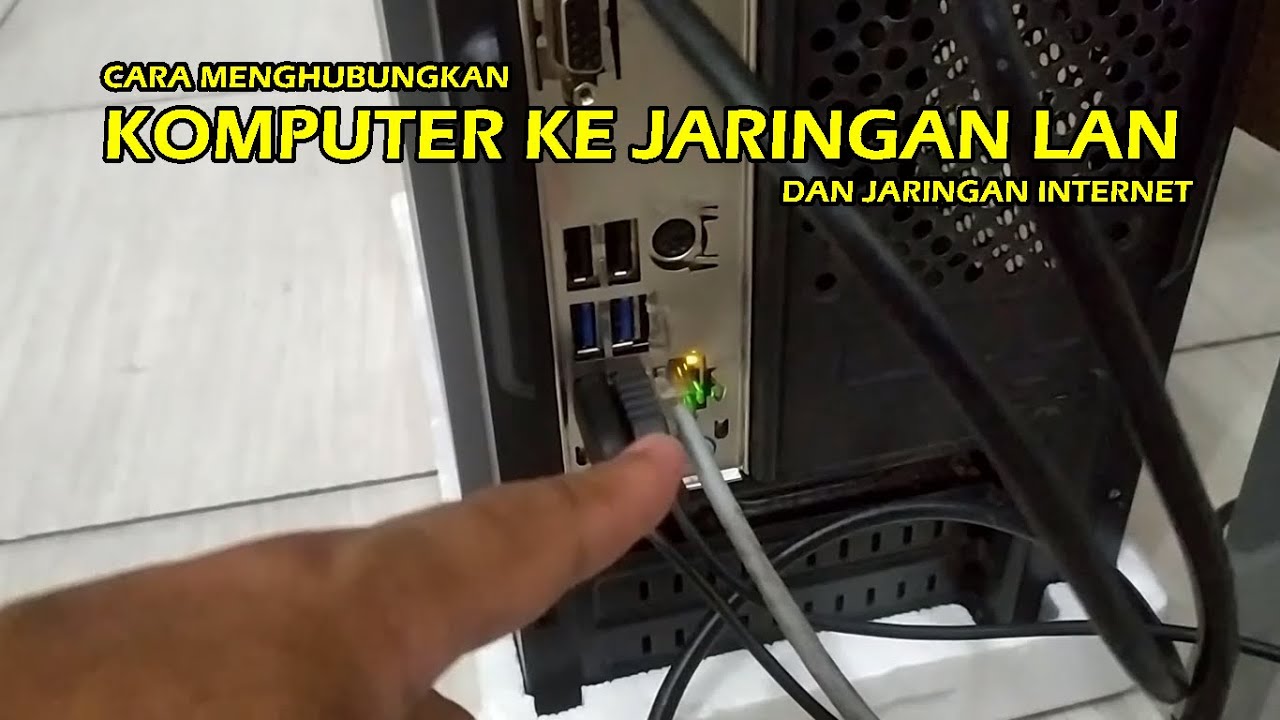
CARA MENGHUBUNGKAN KOMPUTER/PC KE JARINGAN LAN DAN INTERNET (UNTUK PEMULA) 2022
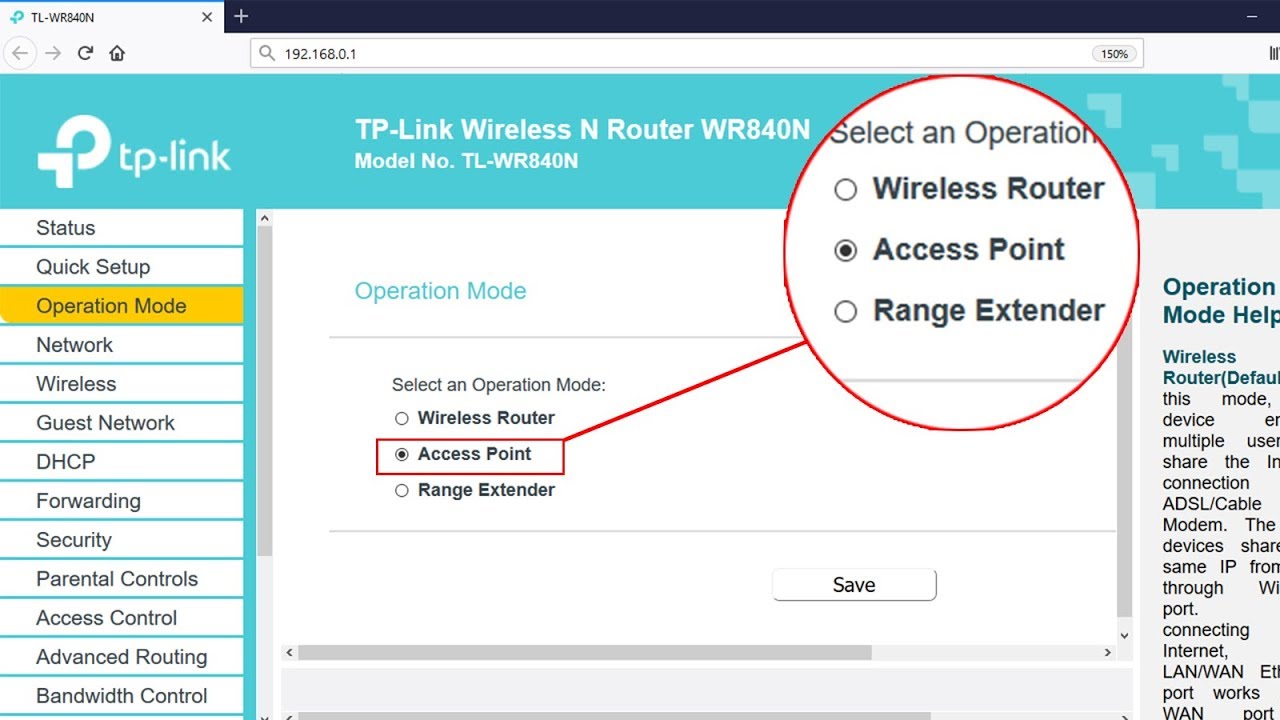
Setup ACCESS POINT mode on TP-LINK TL-WR840N | NETVN

Konfigurasi Dasar Mikrotik Sebagai Router Menghubungkan Jaringan Internet dan Jaringan Lokal Terbaru
5.0 / 5 (0 votes)