Tutorial Konfigurasi Jaringan Fiber Optik dengan Cisco Paket Tracer
Summary
TLDRThis tutorial demonstrates the step-by-step process of configuring a fiber optic network using Cisco Packet Tracer. The instructor starts by guiding users through the setup of network devices, including routers, PCs, and laptops, and walks them through configuring network interfaces and IP settings. The process also includes connecting devices with fiber optic cables, configuring IP addresses for each device, and verifying the network setup through ping tests. The video concludes with a successful packet transmission between the devices, ensuring the proper configuration of a fiber optic network.
Takeaways
- 😀 Open Cisco Packet Tracer to begin configuring a fiber optic network.
- 😀 Add a router, a PC, and a laptop to the workspace for the network setup.
- 😀 Modify the network interface cards (NICs) of all devices to Gigabit Ethernet.
- 😀 Turn off the power to the devices before modifying their NIC settings.
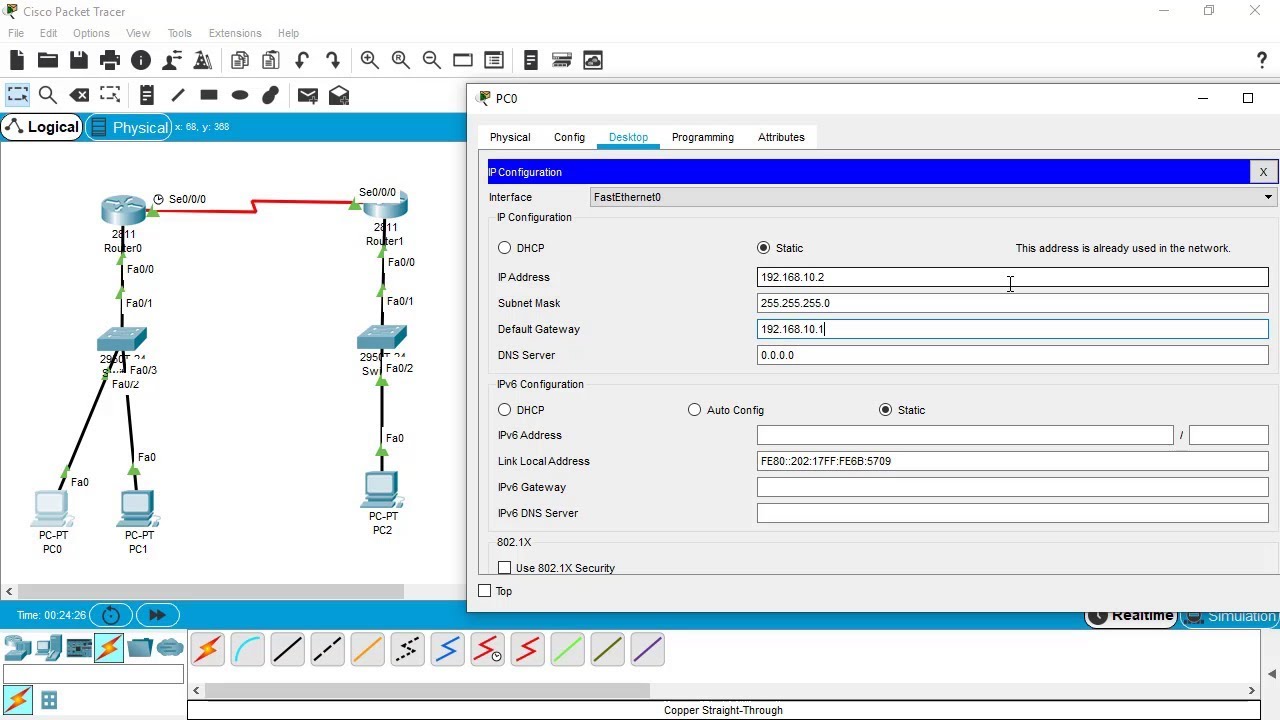
- 😀 Assign IP addresses to the router’s interfaces: 192.168.10.10 and 192.168.20.10.
- 😀 Assign static IP addresses to the PC (192.168.10.20) and the laptop (192.168.20.20).
- 😀 Set the default gateway for the PC to 192.168.10.10 and for the laptop to 192.168.20.10.
- 😀 Use fiber optic cables (yellow) to connect the devices via Gigabit Ethernet ports.
- 😀 Ensure the IP configurations are correct on both the router and the devices to establish communication.
- 😀 Test the network connection by pinging from the PC to the laptop and confirming packet transmission.
Q & A
What is the first step in configuring a fiber optic network using Cisco Packet Tracer?
-The first step is to open the Cisco Packet Tracer application and add one router, one PC, and one laptop to the workspace.
Why is it necessary to change the network card to Gigabit Ethernet?
-The network card needs to be changed to Gigabit Ethernet to ensure compatibility with modern network configurations, enabling faster data transmission.
How do you power on the devices in Cisco Packet Tracer?
-To power on the devices, you first turn off the device's lamp, then configure the network card and turn the lamp back on.
What are the IP address configurations for the router in this setup?
-The router is configured with two IP addresses: 192.168.10.10 for the first network and 192.168.20.10 for the second network.
What are the IP addresses assigned to the PC and laptop?
-The PC is assigned the IP address 192.168.10.20 with a gateway of 192.168.10.10. The laptop is assigned the IP address 192.168.20.20 with a gateway of 192.168.20.10.
What is the purpose of using fiber optic cables in this setup?
-The fiber optic cables are used to connect the router to the laptop, ensuring high-speed data transmission between the devices.
How do you connect the router to the PC and the laptop in Cisco Packet Tracer?
-You connect the router to the PC and laptop using Gigabit Ethernet cables. For the router to PC connection, select the Gigabit Ethernet interface and connect it to the PC, then repeat the process for the router to laptop connection.
What command is used to test the network connection between the PC and the laptop?
-The 'ping' command is used in the command prompt of the PC to test the network connection by pinging the laptop's IP address, 192.168.20.20.
What does a successful ping indicate in this configuration?
-A successful ping indicates that the network configuration is correct, and the devices can communicate with each other across the network.
How do you configure the IP settings on the router's interfaces?
-The IP settings for the router are configured by selecting the appropriate interface (Gigabit Ethernet 8 for the first network and Gigabit Ethernet 9 for the second network), then assigning the respective IP addresses: 192.168.10.10 and 192.168.20.10.
Outlines

This section is available to paid users only. Please upgrade to access this part.
Upgrade NowMindmap

This section is available to paid users only. Please upgrade to access this part.
Upgrade NowKeywords

This section is available to paid users only. Please upgrade to access this part.
Upgrade NowHighlights

This section is available to paid users only. Please upgrade to access this part.
Upgrade NowTranscripts

This section is available to paid users only. Please upgrade to access this part.
Upgrade NowBrowse More Related Video
SSH Configuration on Cisco Routers and Switches using Cisco Packet Tracer
How to set up a WiFi router (wireless router) - Cisco Packet Tracer
Membuat Jaringan PAN pada Cisco Packet Tracer
How to Configure RIP Version 1 (RIPv1) on Cisco Router in Cisco Packet Tracer | Expert Guide 🌐🔧
Cara Setting IP Dinamis menggunakan Cisco Packet Tracer #SMKTELKOMPWT
Cara Membuat Jaringan LAN Sederhana Cisco Packet Tracer
5.0 / 5 (0 votes)