TUTORiAL MEMBUAT PiSTON, BELAJAR BERSAMA - AUTOCAD 2017
Summary
TLDRIn this tutorial, Vicky Bryan guides viewers through the process of designing a piston and connecting rod (stang seher) using AutoCAD. Starting with basic shapes like rectangles, circles, and lines, Vicky demonstrates techniques like filleting, extruding, and mirroring to create detailed 3D components. The tutorial covers steps for designing both the piston and the connecting rod, with practical instructions for adjusting dimensions, moving objects, and combining parts. Ideal for those wanting to deepen their AutoCAD skills, this video offers hands-on, step-by-step guidance for creating mechanical parts in a CAD environment.
Takeaways
- 😀 Begin by drawing a rectangle with specific dimensions: 40x82 for width and 18 for height.
- 😀 Use the 'fillet' command to round the corners of the rectangle with a radius of 18.
- 😀 Draw a second rectangle with dimensions of 42x28, and add a circle with a radius of 10 at the center.
- 😀 Create a series of lines to shape the structure, trimming and adjusting measurements as needed.
- 😀 Use the 'region' command to combine elements into one object before manipulating it further.
- 😀 Utilize the 'move' command to adjust the placement of objects and align them as needed for the 3D model.
- 😀 To make the model 3D, extrude certain components like the piston body and subtract unnecessary parts.
- 😀 For the connecting rod (stang seher), start by creating circles, then use the 'offset' command to adjust the inner and outer parts.
- 😀 Apply the 'mirror' command to create a symmetrical model, ensuring the connecting rod is evenly designed.
- 😀 After completing the 3D piston and connecting rod, use the 'union' command to combine parts and finalize the design.
- 😀 At the end of the tutorial, the model is ready for further refinement, and the instructor encourages users to experiment and correct mistakes.
Q & A
What is the first step in creating the piston in AutoCAD?
-The first step is to create a rectangle with dimensions 40x82 for the base, followed by setting the height to 18.
How do you modify the corners of the initial rectangle?
-The corners of the rectangle are modified using the 'Fillet' command with a radius of 18.
What is the purpose of creating a second rectangle in the tutorial?
-The second rectangle is created with dimensions 42x28 and is used to create the base structure for the piston head.
How is the circular part of the piston formed?
-A circle with a radius of 10 is drawn in the center of the second rectangle to form part of the piston design.
What does the 'Line' tool do in this context?
-The 'Line' tool is used to draw various lines that help in shaping the piston and stang seher, connecting different points and components.
How is the smaller rectangle transformed into a 3D shape?
-The smaller rectangle is extruded and then subtracted from the main structure, turning it into a 3D shape.
What is the significance of using the 'Region' command?
-The 'Region' command is used to combine the different parts of the design into a single object, making it easier to manipulate and modify later on.
How is the 'Mirror' command used in the design?
-The 'Mirror' command is applied to duplicate components symmetrically, ensuring that the design is balanced and consistent.
Why is the 'Union' command important in this tutorial?
-The 'Union' command is crucial for merging multiple objects into a single solid object, which is necessary for the final assembly of the piston and stang seher.
What is the final result of the tutorial's design process?
-The final result is a 3D piston and connecting rod (stang seher) model, which can be used in various mechanical applications.
Outlines

This section is available to paid users only. Please upgrade to access this part.
Upgrade NowMindmap

This section is available to paid users only. Please upgrade to access this part.
Upgrade NowKeywords

This section is available to paid users only. Please upgrade to access this part.
Upgrade NowHighlights

This section is available to paid users only. Please upgrade to access this part.
Upgrade NowTranscripts

This section is available to paid users only. Please upgrade to access this part.
Upgrade NowBrowse More Related Video

How To Create A Free Website - with Free Domain & Hosting
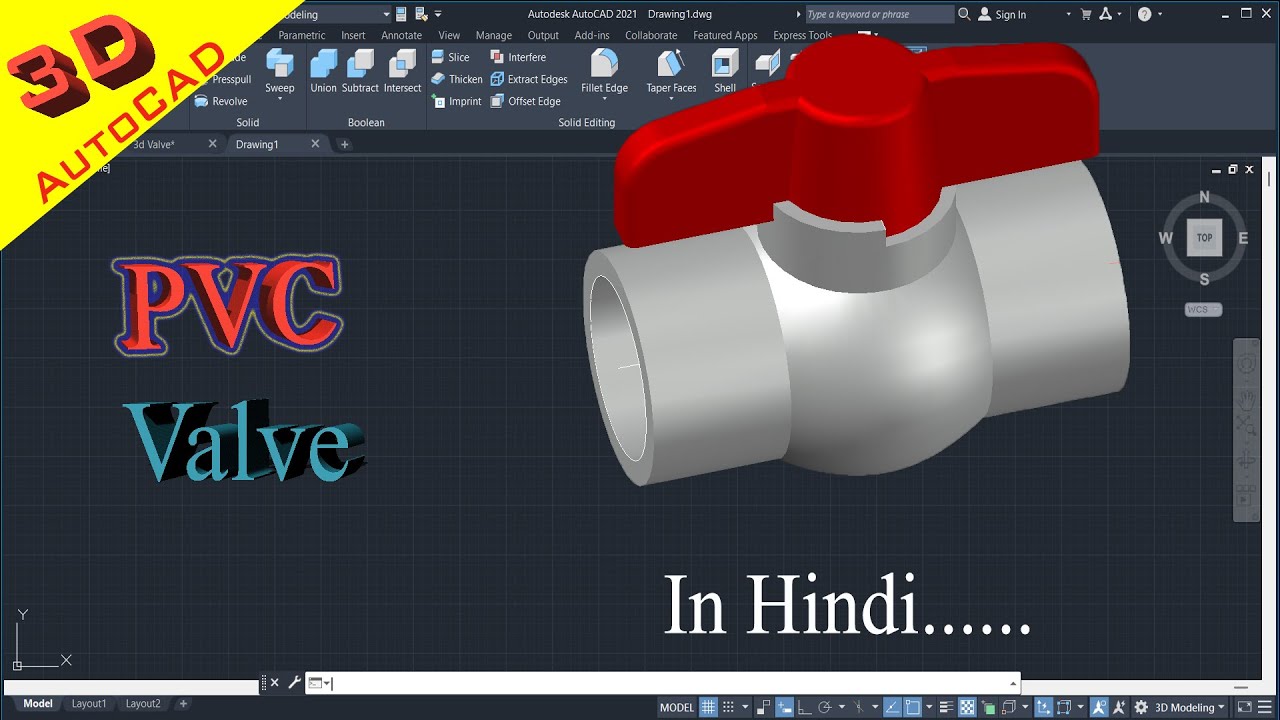
How to draw PVC Valve in AutoCAD 3D. #autocad_hindi_tutorial #autocaddrawing

Cylinder Install Lycoming O360 Engine

Basic Pembuatan SLD Pada Software ETAP || Single Line Diagram || Jaringan Distribusi ||

Cara Membuat Generator Sederhana by XII Ilmu Alam 1 MAN Model Palangka Raya Gen34 2015
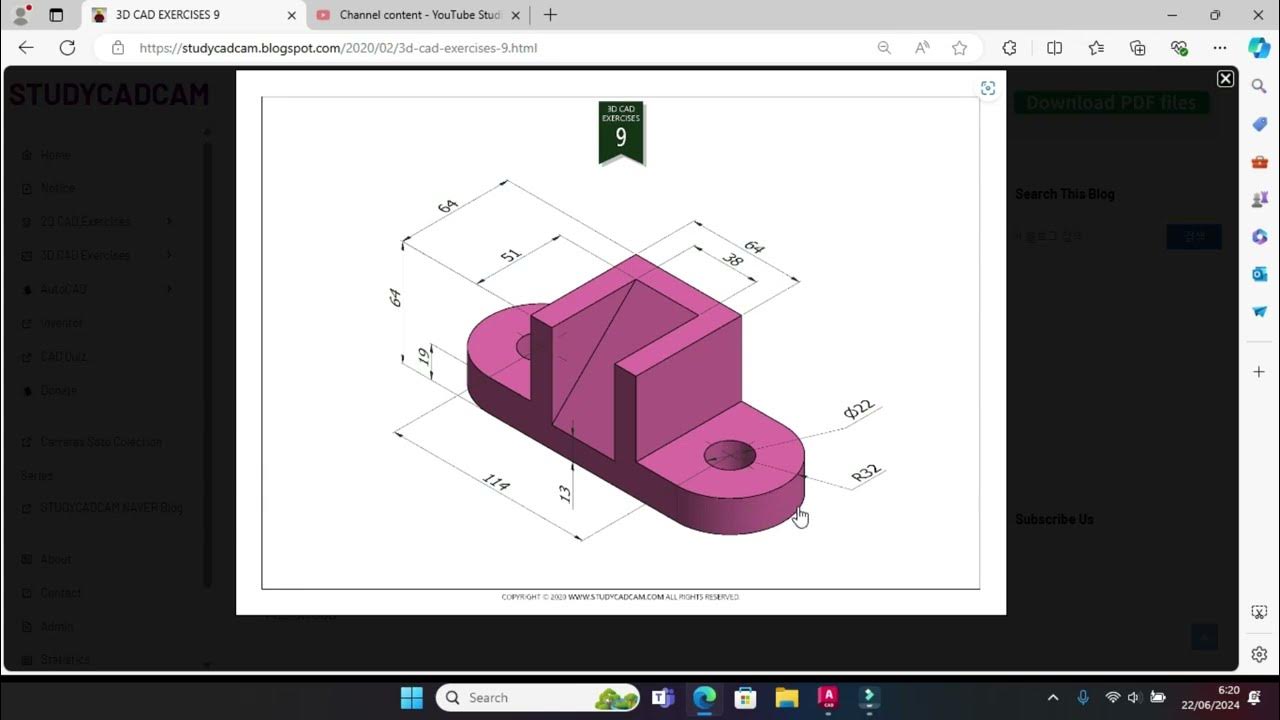
Tutorial Autocad 3D II Studycadcam Exercise 9
5.0 / 5 (0 votes)