Cara menggambar 2d dengan autocad (teknik mesin) #1
Summary
TLDRIn this AutoCAD tutorial, the presenter walks viewers through the process of creating basic shapes, starting with a rectangle and a rotated trapezoid. Using AutoCAD 2017, viewers are shown how to set up the workspace with the ISO template for millimeters and how to draw shapes with precision using commands like **RECTANGLE**, **LINE**, **ROTATE**, and **FILLET**. The tutorial also emphasizes the importance of verifying angles and using the **DIMANGULAR** command for accurate measurements. A brief introduction connects the tutorial to the first day of Ramadan, offering a mix of practical skills and well wishes.
Takeaways
- 😀 The video begins with a warm greeting and well wishes for Ramadan, emphasizing the importance of staying safe and following health protocols during the pandemic.
- 😀 The tutorial is focused on AutoCAD 2017, specifically using the student version of the software.
- 😀 The presenter encourages the viewers to use the 'ISO' template in AutoCAD to set units to millimeters by default, which helps avoid issues with inch measurements.
- 😀 To verify the unit setting in AutoCAD, the 'UN' command is used to check and confirm that millimeters (mm) are the active unit.
- 😀 The instructor demonstrates how to draw a simple rectangle in AutoCAD using the 'RC' (rectangle) command and specifying the dimensions.
- 😀 Another method to draw the rectangle is by using the 'Line' (LINE) command, where you can specify each line's length with the 'Enter' key to confirm dimensions.
- 😀 The second part of the tutorial shows how to draw a trapezoid by first creating a rectangle and then rotating one side using the 'ROTATE' command.
- 😀 The rotation of the trapezoid is done by selecting a specific pivot point and applying a 10° rotation, demonstrating how to adjust angles in AutoCAD.
- 😀 The instructor explains that the rotation direction (clockwise or counterclockwise) is controlled by using positive (counterclockwise) or negative (clockwise) values in the 'ROTATE' command.
- 😀 To extend lines in AutoCAD after rotation, the 'FILLED' command (or 'F' shortcut) is used, and the 'Enter' key helps complete the process.
- 😀 The tutorial concludes with the creation of a complete trapezoid and emphasizes the importance of verifying angles using the 'ANGLE' tool to confirm that the rotation was accurate.
Q & A
What is the purpose of the tutorial in the video?
-The tutorial demonstrates how to draw various objects in AutoCAD 2017, starting with basic shapes such as squares and trapezoids, and explains the tools and commands used during the process.
What is the significance of choosing the 'iso' template in AutoCAD?
-The 'iso' template is recommended because it uses millimeters (mm) as the default unit of measurement, which is more commonly used for drawing in AutoCAD, as opposed to inches used by the default template.
Why does the instructor recommend checking the units after selecting the template?
-The instructor suggests checking the units to confirm that the drawing uses millimeters (mm) and not inches, ensuring accuracy for the user's drawing project.
What is the purpose of pressing F7 and F8 in AutoCAD?
-Pressing F7 hides the grid to simplify the workspace, and pressing F8 activates 'Ortho Mode', which ensures that the drawing stays aligned along straight lines, either horizontally or vertically.
How can you draw a square in AutoCAD according to the tutorial?
-To draw a square, you can either use the 'Rectangle' command (RC) by specifying the dimensions, or use the 'Line' command (LINE) to draw four connected lines of specified lengths.
What is the method to create a trapezoid in AutoCAD?
-To create a trapezoid, start by drawing a base line using the 'Line' command, then create the second line at an angle using the 'Rotate' command, adjusting the angle to 10°. The other sides are completed by drawing additional lines and ensuring that the dimensions are correct.
How do you use the 'Rotate' command to adjust angles in AutoCAD?
-The 'Rotate' command can be used by selecting the object to rotate, specifying a base point, and then entering the rotation angle. For counterclockwise rotation, a positive value (e.g., 10°) is used, while for clockwise rotation, a negative value (e.g., -10°) is used.
What command can be used to extend lines in AutoCAD?
-To extend lines in AutoCAD, the 'Extend' command (shortcut: F) can be used. This allows you to click on the endpoints of existing lines and extend them as needed.
How can you verify the accuracy of the angle after rotating an object?
-To verify the accuracy of the angle, you can use the 'Angle' command to measure the angle between two lines, ensuring it matches the intended rotation value (e.g., 10°).
What does the instructor recommend for users working from home during the pandemic?
-The instructor encourages viewers to stay safe by following government guidelines, such as staying at home and practicing good hygiene (washing hands and wearing a mask) if they need to go out.
Outlines

This section is available to paid users only. Please upgrade to access this part.
Upgrade NowMindmap

This section is available to paid users only. Please upgrade to access this part.
Upgrade NowKeywords

This section is available to paid users only. Please upgrade to access this part.
Upgrade NowHighlights

This section is available to paid users only. Please upgrade to access this part.
Upgrade NowTranscripts

This section is available to paid users only. Please upgrade to access this part.
Upgrade NowBrowse More Related Video

Autocad tutorial 2D gambar mesin #13

TUTORiAL MEMBUAT PiSTON, BELAJAR BERSAMA - AUTOCAD 2017
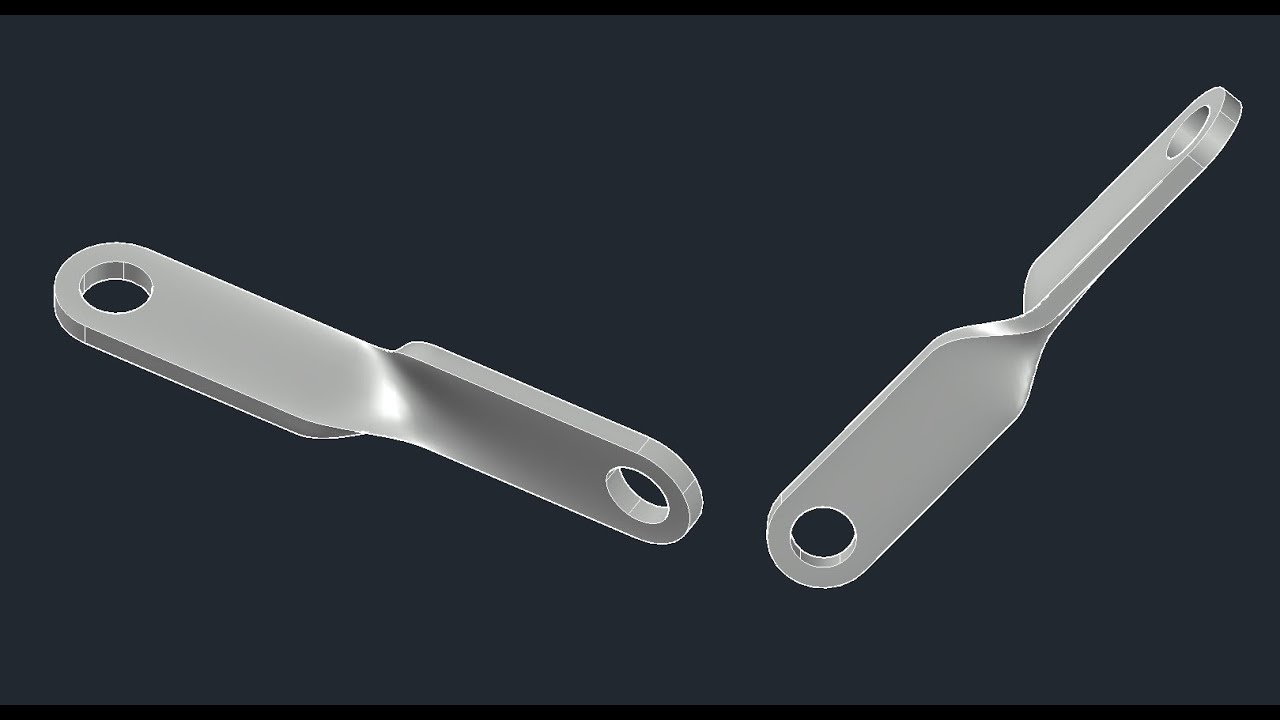
3D bracket with Solid and Surface tools of AutoCAD
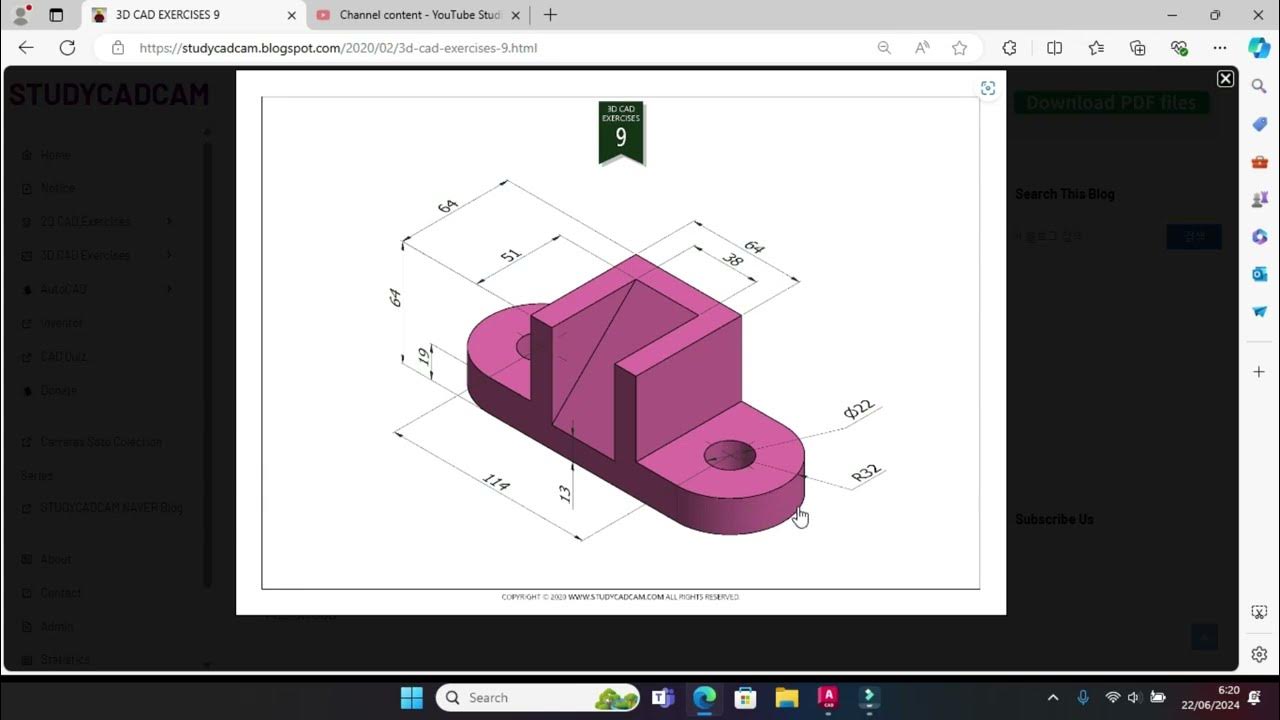
Tutorial Autocad 3D II Studycadcam Exercise 9

CARA MEMBUAT RODA GIGI DENGAN GAMPANG❕| BELAJAR AUTOCAD PART 3
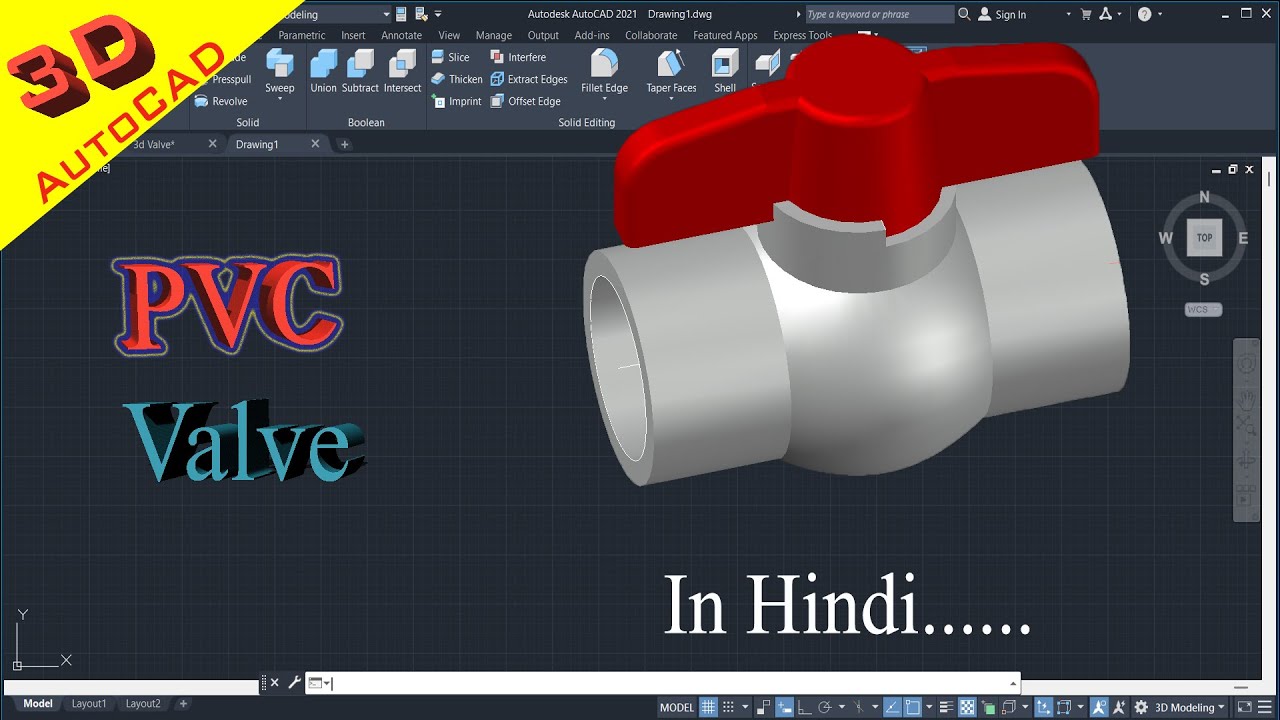
How to draw PVC Valve in AutoCAD 3D. #autocad_hindi_tutorial #autocaddrawing
5.0 / 5 (0 votes)