CARA MENGETES ARMATURE/ANGKER YANG BENAR DAN AKURAT.
Summary
TLDRThis tutorial demonstrates how to test an armature (electric motor component) for damage using a multitester (multimeter). The presenter explains the easy and quick process of identifying a faulty armature by observing the needle movement on the multitester. They show how to distinguish a damaged armature from a functional one, using both physical inspection and the multitester. By carefully following these steps, even beginners can test armatures in tools like Makita drills and grinders to determine whether they need repair or replacement.
Takeaways
- 😀 A multitester (or multimeter) is a useful tool for testing whether an armature is functioning properly or is damaged.
- 😀 To test an armature, connect the multitester's probes to the armature's terminals and observe the needle or digital display.
- 😀 If the multitester needle moves erratically or fluctuates, it suggests the armature is damaged, possibly due to burnt or broken windings.
- 😀 A stable needle position or consistent reading on the multitester indicates the armature is in good condition.
- 😀 Always set your multitester to the highest resistance range (e.g., x1000) to get accurate readings when testing the armature.
- 😀 Physical appearance of the armature (e.g., burnt spots or discoloration) can provide clues, but a multitester provides more accurate results.
- 😀 The multitester works by measuring resistance, and irregular resistance typically indicates damage to the armature.
- 😀 Even if an armature looks physically fine, internal damage can still be present, so always verify with a multitester.
- 😀 The tutorial demonstrates how to use a multitester to identify armature issues, helping users avoid costly mistakes in diagnosing faults.
- 😀 The process is beginner-friendly and designed to be simple, allowing even non-technical users to perform the test easily.
- 😀 If the armature needle on the multitester stays still at zero, the armature is good, confirming no issues in the electrical windings.
Q & A
What is the main topic of the tutorial video?
-The video provides a tutorial on how to test whether an electric motor (amateur) is damaged using a multitester.
Why is it difficult to tell if an electric motor is damaged by just looking at it?
-It is difficult because motors do not always show obvious signs of damage, such as visible burn marks or physical deformations. Some motors may look fine even if they are not functioning properly.
What is the first step in the testing process?
-The first step is to visually inspect the motor. This includes checking for any obvious signs of damage like burn marks or physical wear, but it is not always sufficient to determine the condition of the motor.
What tool is recommended for testing the motor?
-The recommended tool for testing the motor is a multitester, as it provides an accurate reading of whether the motor is functioning properly or not.
What setting should the multitester be on when testing a motor?
-The multitester should be set to the highest range (e.g., 1000 or 1000x) to ensure an accurate measurement.
How do you interpret the results on the multitester?
-If the multitester needle moves, it indicates that the motor is damaged. If the needle stays still or does not move, it means the motor is in good condition.
What should you do if the multitester needle moves during testing?
-If the multitester needle moves, it suggests that the motor is damaged and may require further inspection or repair.
What does it mean if the multitester needle does not move?
-If the multitester needle remains still and does not move, it means the motor is functioning properly and is not damaged.
What additional test is performed in the video?
-The video also tests another motor, a Makita concrete drill, using the same multitester technique to demonstrate the procedure for diagnosing motor damage.
How can viewers further enhance their understanding of the motor testing process?
-Viewers can refer to additional videos on the channel to get more detailed explanations and examples of motor testing and troubleshooting.
Outlines

This section is available to paid users only. Please upgrade to access this part.
Upgrade NowMindmap

This section is available to paid users only. Please upgrade to access this part.
Upgrade NowKeywords

This section is available to paid users only. Please upgrade to access this part.
Upgrade NowHighlights

This section is available to paid users only. Please upgrade to access this part.
Upgrade NowTranscripts

This section is available to paid users only. Please upgrade to access this part.
Upgrade NowBrowse More Related Video
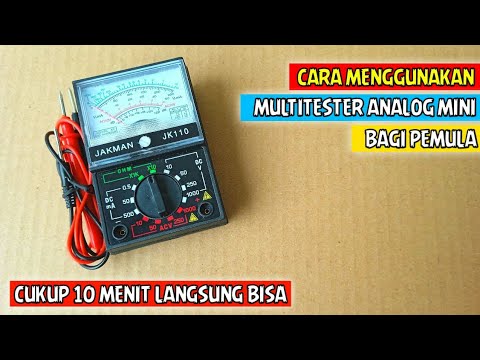
CARA MENGGUNAKAN MULTITESTER ANALOG BAGI PEMULA
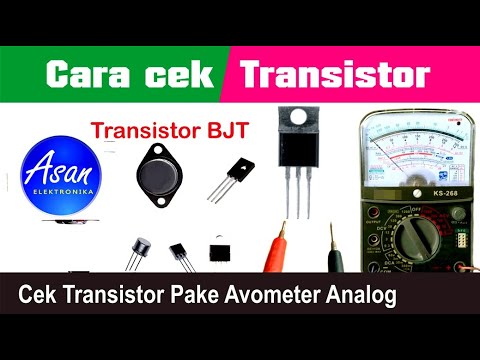
CEK KOMPONEN PART 2 , MENGUKUR TRANSISTOR BJT

How do i Check and Measure Resistor Value With Digital Multimeter?
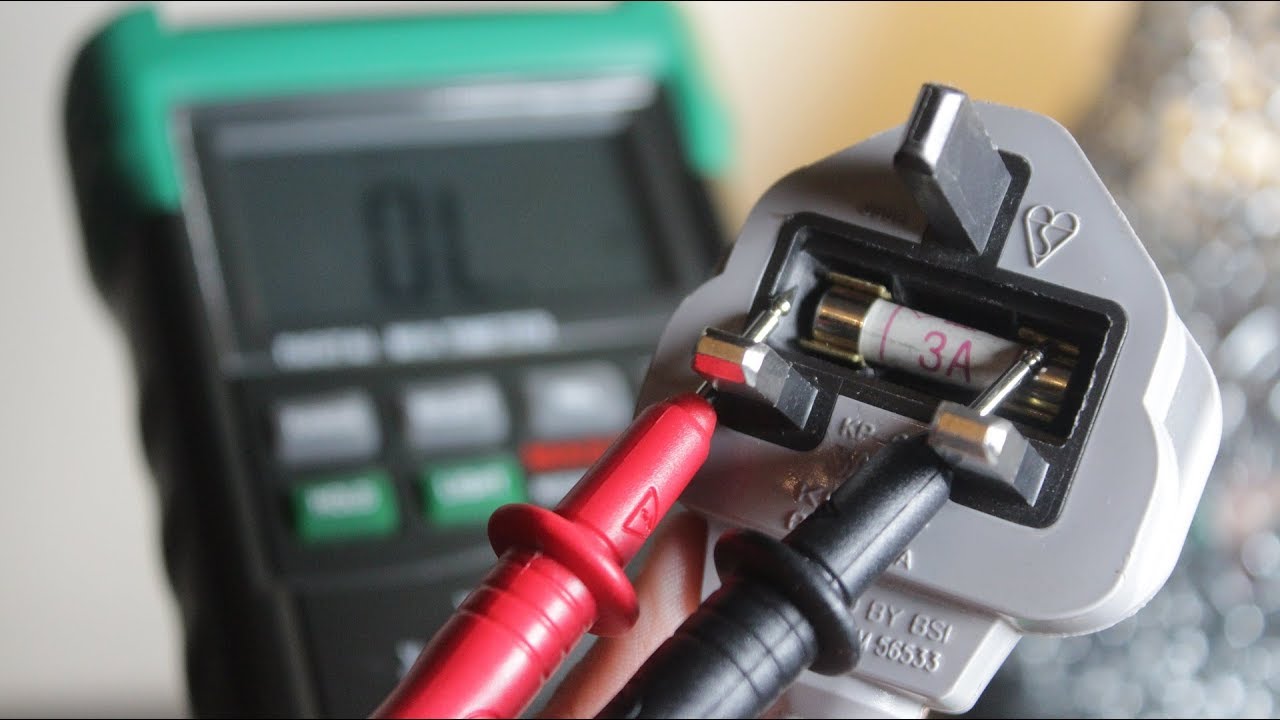
How To Test A Fuse With A Multimeter (Voltmeter | Ohmmeter) For Beginners | Continuity Test

How to test electronic components using an avometer
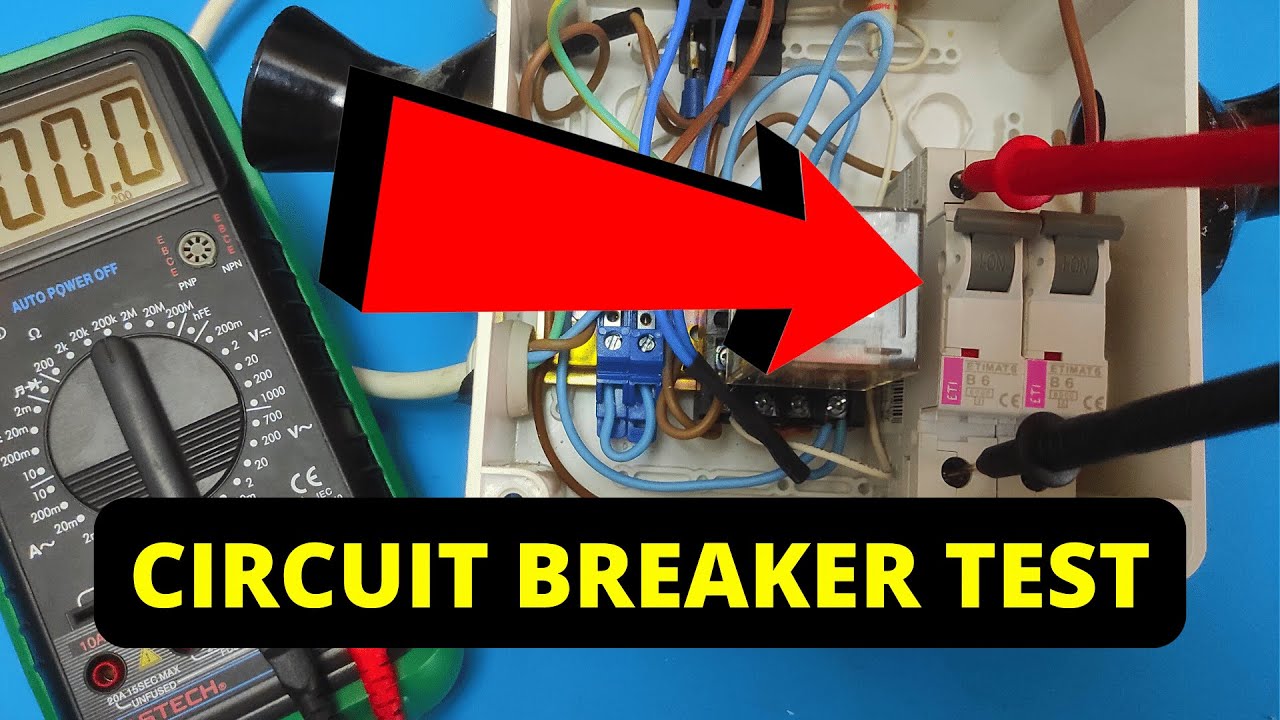
How To Test A Circuit Breaker With A Multimeter
5.0 / 5 (0 votes)