Alat sederhana tapi sangat berguna.PLN JANGAN SAMPAI TAU !!
Summary
TLDRIn this instructional video, the creator demonstrates how to construct a simple, yet highly useful device for electronic repair technicians, utilizing basic materials including a single-outlet electric plug. The key component featured is a capacitor from a fan, specifically a 2 uf 450-volt type, which is integrated into the plug's wiring. This DIY project is straightforward, involving drilling a hole in the plug for the wires, and connecting the capacitor in series with the plug's circuit. The final product is a practical tool for safely testing electronic devices, ensuring they function correctly before connecting them to the main power supply, thus preventing potential damage to the home's circuit breaker. This easy-to-follow guide emphasizes the importance of such a device for anyone involved in electronic repairs.
Takeaways
- 😀 The video demonstrates how to build a simple electrical testing device
- 😀 It requires only a power socket and a fan capacitor
- 😀 The device separates circuits to prevent short circuits from impacting the household electrical system
- 😀 It allows technicians to safely test malfunctioning appliances before plugging them into household power
- 😀 One wire from the socket is disconnected and connected to the capacitor
- 😀 The capacitor wires are connected in series with the socket wires
- 😀 After assembly, the device is tested successfully with a light bulb
- 😀 A short-circuited power bar is then safely tested with the device
- 😀 The device prevents the household electrical from short circuiting during testing
- 😀 The video creator recommends all technicians build this simple testing device
Q & A
What is the main purpose of the device created in the video?
-The main purpose of the device created in the video is to serve as a useful tool for electronics service technicians.
What are the basic materials required to make the device?
-The basic materials required to make the device include an electrical plug and a capacitor from a fan.
What type of electrical plug is recommended for creating the device?
-A single-hole electrical plug is used in the video, but plugs with more holes, such as 3 or even more, can also be used.
What is the first step in modifying the electrical plug for the device?
-The first step is to dismantle the electrical plug to access its internal components.
What are the colors of the wires mentioned in the electrical plug's internal components?
-The internal components of the electrical plug include wires colored blue and brown.
Which wire is removed from the plug during the modification process?
-The blue wire is removed from the plug during the modification process.
What is the specification of the capacitor used in the device?
-The capacitor used in the device has a specification of 2 uF 450 volts.
How are the capacitor wires connected to the electrical plug?
-The black wire of the capacitor is connected to the pin of the electrical plug, and the method of connecting the red wire is flexible, indicating that polarity does not matter in this setup.
What is the final configuration of the device's wiring?
-The final configuration involves connecting one capacitor wire to the electrical plug and the other directly to the plug's remaining wire, making a series connection.
How is the device tested for functionality?
-The device is tested by connecting it to a power source and using it to check if an electronic appliance, like a lamp, can be powered, indicating the device's proper function and safety for testing other electronic devices.
Outlines

This section is available to paid users only. Please upgrade to access this part.
Upgrade NowMindmap

This section is available to paid users only. Please upgrade to access this part.
Upgrade NowKeywords

This section is available to paid users only. Please upgrade to access this part.
Upgrade NowHighlights

This section is available to paid users only. Please upgrade to access this part.
Upgrade NowTranscripts

This section is available to paid users only. Please upgrade to access this part.
Upgrade NowBrowse More Related Video
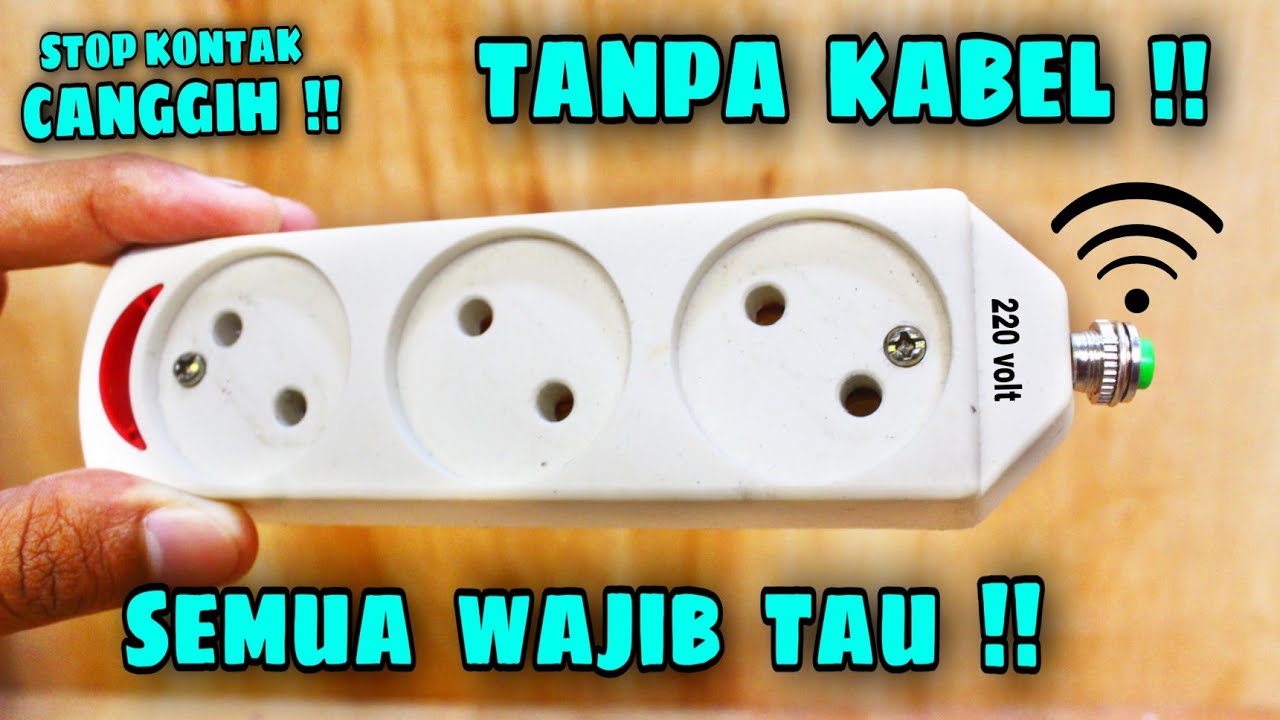
SETELAH NONTON PASTI SEMUA PENGEN BUAT STOP KONTAK CANGGIH TANPA KABEL !!

Mosquitoes Killer Machine 🦟 | How To Make Automatic Mosquito Killer Machine
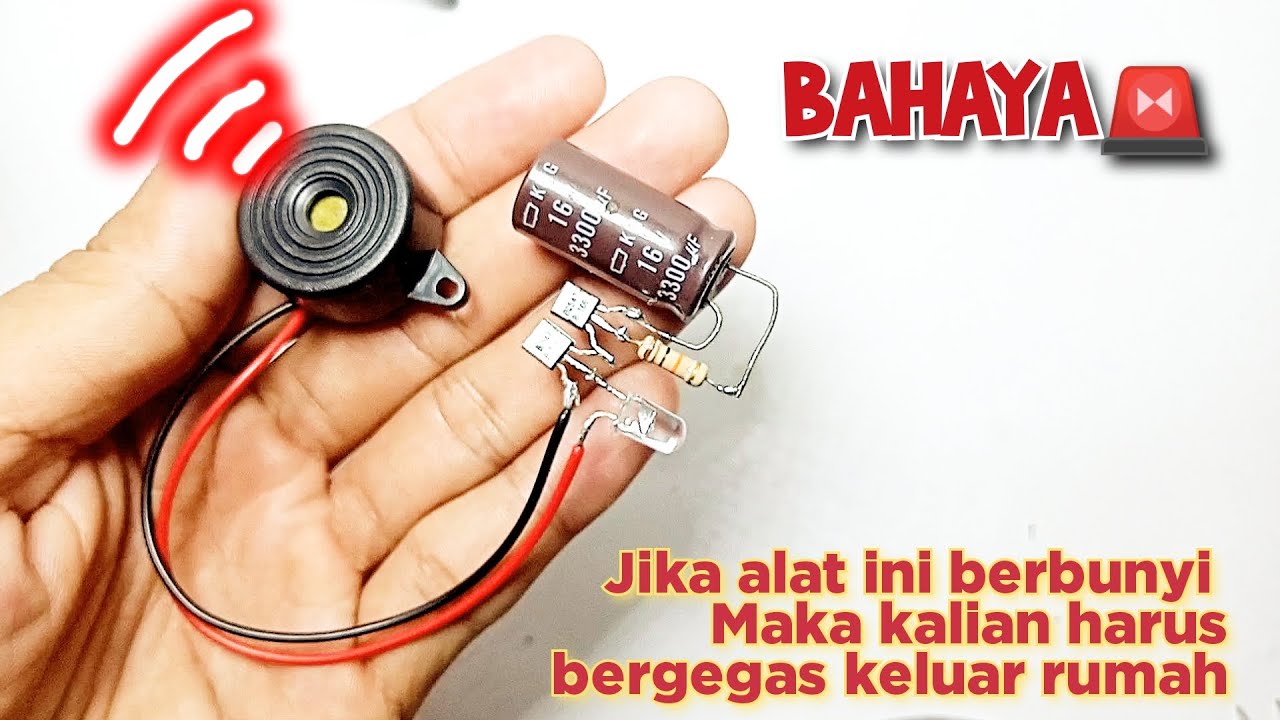
Cara membuat alarm pendeteksi gempa dengan rangkaian elektronika sederhana

How to Fix a Punctured Tire - Slime Tire Repair Plug Kit - Easy! - TO THE POINT, NO NONSENSE! - Tyre

COMO CREAR UN CV SIN EXPERIENCIA LABORAL EN WORD ( PASO A PASO)

CUMA MODAL RP.5000 !! begini Cara buat METAL DETEKTOR dari barang bekas
5.0 / 5 (0 votes)