Building IKEA's Interactive website in @Figma | 🔗 Source file included.
Summary
TLDRIn this video, the creator demonstrates how to build an interactive Ikea-style website using Figma. The process involves creating pulsating dots on a product image, linking them to detailed product cards, and animating these interactions. The tutorial covers the creation of components, managing delays and transitions, and designing overlay details that appear when users click on the dots. The final result is a simple yet engaging user interface where users can interact with product visuals, seamlessly navigate through different items, and view additional details, all powered by smooth Figma prototyping techniques.
Takeaways
- 😀 Start with a desktop artboard and insert an image from the IKEA website or any product image of your choice for the project.
- 😀 Use Figma's frame feature to group images and elements, and enable 'Clip Content' to control visibility within the frame bounds.
- 😀 Create a pulsating dot animation by combining a smaller circle (for the dot) and a larger, semi-transparent background circle.
- 😀 Duplicate the pulsating dot into three variations, each representing a different pulse stage (small, expanding, disappearing).
- 😀 Use Smart Animate and set up transitions with delays and different timings to create smooth, automated pulsation between the dot states.
- 😀 Convert the pulsating dot variations into a component set to allow reuse and consistency across the design.
- 😀 Design product detail cards with a clean layout, grouping product images, text, and buttons into frames with rounded corners.
- 😀 Enable horizontal scrolling within the product detail card for users to swipe through additional images of the product.
- 😀 Link the pulsating dots to the corresponding product detail cards using Figma's prototyping features (Open Overlay).
- 😀 Set overlay animations like dissolve transitions and control the behavior of the overlay (e.g., closing when clicked outside).
- 😀 Test the interaction in Figma’s prototype mode to ensure smooth transitions, proper overlay displays, and easy navigation through different product details.
Q & A
What is the main goal of the video tutorial?
-The main goal of the tutorial is to demonstrate how to build an interactive Ikea website prototype in Figma. The prototype features pulsating dots on products in a room, which provide additional product information when clicked.
What assets are needed for the interaction design?
-The required assets include a desktop artboard with a screenshot of the Ikea website, images of individual products, text descriptions, and a simple 'Add to Cart' button with a heart icon.
How are the pulsating dots created in Figma?
-The pulsating dots are created by drawing two circles: a smaller center circle with a solid yellow fill, and a larger background circle with reduced opacity and a yellow stroke. These circles are then grouped into a frame and animated with three states of pulsation, using Figma's prototyping features.
What are the three stages of the pulsating effect?
-The three stages of the pulsating effect include: a small background circle, an expanding background circle, and a background circle that disappears, creating the illusion of pulsation.
How is the animation linked in Figma?
-The animation is linked using Figma's prototyping feature called 'Interactive Variants.' The transitions between the three pulsating states are set with a delay, smart animate for smooth transitions, and specific timings for each stage.
What is the purpose of the 'clip content' property in Figma?
-The 'clip content' property is used to hide any overflowing elements within a frame. This ensures that only the content within the frame's bounds is visible, which is especially useful when creating a horizontal scrolling effect for images.
How is horizontal scrolling enabled in Figma?
-Horizontal scrolling is enabled by selecting the images frame, going to the prototyping settings, and adjusting the overflow behavior to 'horizontal scrolling.' This allows users to swipe through images within the frame.
What role do the detail cards play in the prototype?
-The detail cards display additional product information when a pulsating dot is clicked. They include images of the product, text descriptions, and action buttons like 'Add to Cart.' These cards are linked to the pulsating dots through overlays, allowing for a dynamic, interactive experience.
What is the benefit of using overlays in this prototype?
-Overlays allow the detail cards to appear above the main content without navigating away from the screen. The overlay can be manually positioned and provides a smooth transition effect, offering a seamless user experience.
How is the interaction between the pulsating dots and the detail cards configured?
-The interaction is configured by linking each pulsating dot to a corresponding detail card using the 'open overlay' action in Figma. When clicked, the relevant detail card appears, with a smooth dissolve animation and the ability to click outside the card to close it.
Outlines

This section is available to paid users only. Please upgrade to access this part.
Upgrade NowMindmap

This section is available to paid users only. Please upgrade to access this part.
Upgrade NowKeywords

This section is available to paid users only. Please upgrade to access this part.
Upgrade NowHighlights

This section is available to paid users only. Please upgrade to access this part.
Upgrade NowTranscripts

This section is available to paid users only. Please upgrade to access this part.
Upgrade NowBrowse More Related Video

Master Figma UI Design in 15 Minutes | This Tutorial Is For You!
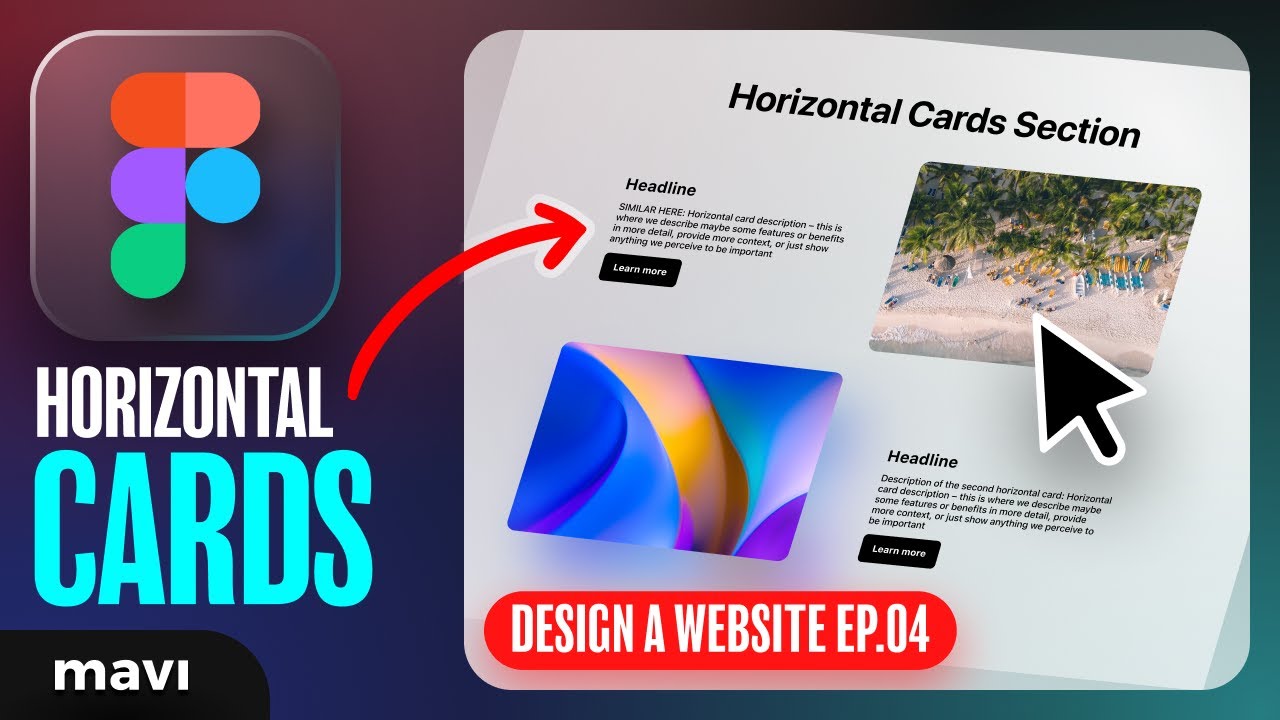
WEB DESIGN IN FIGMA ep.04: Horizontal Text + Image Cards (Free Web Design Course)
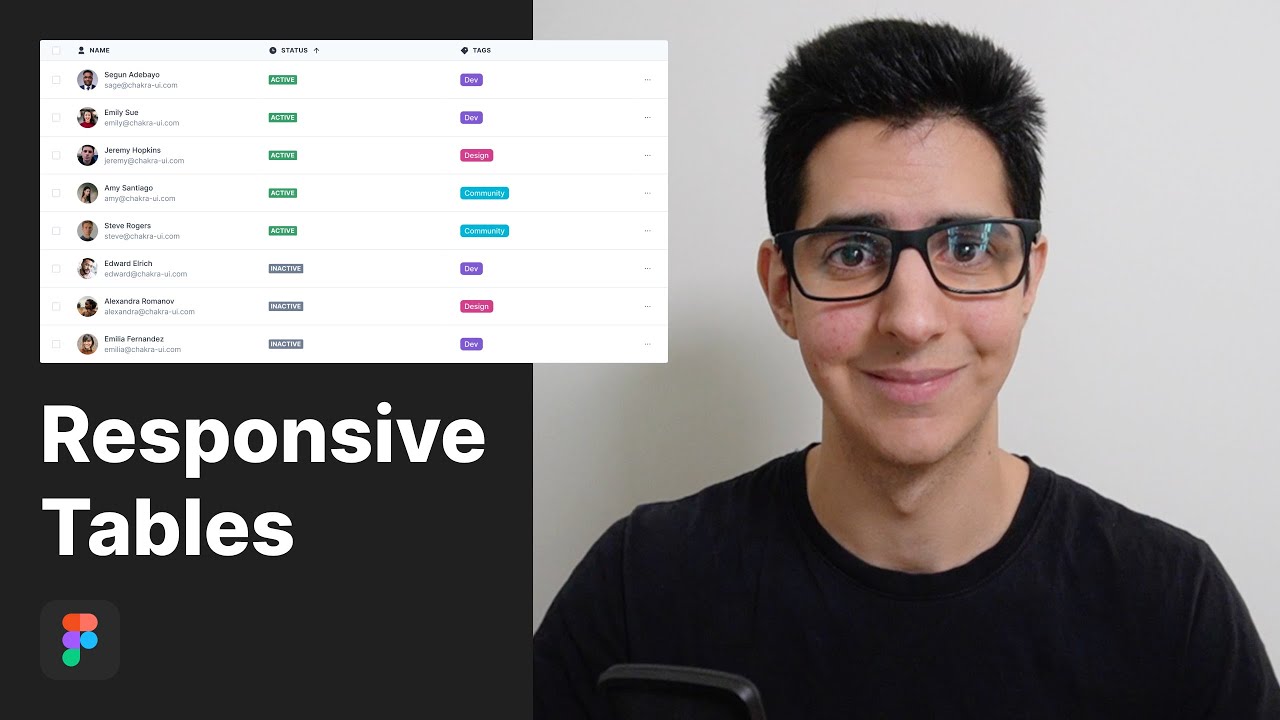
Designing Responsive Tables with Auto Layout in Figma

Build $10,000 AI 3D Websites in 10 Minutes (Google Anti-Gravity Full Tutorial)

❌FORGET Shopify! Use this Free AI Website Builder to Create Your Online Store🤑 | Digital Products

I built a full website with ONE AI prompt (ZERO coding skills)
5.0 / 5 (0 votes)