WEB DESIGN IN FIGMA ep.04: Horizontal Text + Image Cards (Free Web Design Course)
Summary
TLDRIn this episode of the Figma web design series, the creator guides viewers through the process of designing horizontal cards for a website. Emphasizing the importance of layout and spacing, they demonstrate how to structure elements using a 12-column grid and adjust proportions for visual balance. The tutorial covers creating components for reuse, including setting properties for text and button visibility. By the end, viewers gain practical insights into web design principles, such as the law of proximity, and learn how to effectively use Figma to build functional and visually appealing web sections.
Takeaways
- 😀 This episode focuses on designing horizontal cards in Figma, featuring text and images side by side.
- 🎨 The design uses a 12-column layout, with each column measuring 74 pixels wide and a total width of 1152 pixels.
- 📜 The title for the horizontal card is set to H2 or H3, rather than H1, to maintain a structured hierarchy.
- 📏 The spacing between elements is set to 24 pixels using Auto Layout for consistent alignment.
- 🖼️ Images are resized without distorting their aspect ratios by using object masking techniques.
- 🔄 The component allows for easy swapping of the image and text properties, enhancing reusability across the design.
- ⚖️ The law of proximity is emphasized, ensuring related elements are visually grouped closer together.
- 🔄 Variants of the horizontal card are created for different layouts, enabling easy toggling between image-first and text-first designs.
- 📚 A focus on maintaining consistency across components helps streamline the design process.
- 📅 Future episodes will explore social proof sections and call-to-action designs to further enhance website usability.
Q & A
What is the main topic of the video?
-The video discusses the importance of mental health and strategies for maintaining it.
What strategies are suggested for improving mental health?
-The video suggests mindfulness practices, regular exercise, and seeking professional help as effective strategies.
How does the video define mental health?
-Mental health is defined as a state of well-being where individuals can cope with the stresses of life, work productively, and contribute to their community.
What role does physical health play in mental well-being?
-Physical health plays a crucial role in mental well-being, as regular physical activity can reduce symptoms of anxiety and depression.
Are there any myths about mental health mentioned in the video?
-Yes, the video debunks common myths such as the idea that mental health issues are a sign of weakness.
What resources are recommended for individuals struggling with mental health?
-The video recommends online resources, hotlines, and community support groups for individuals seeking help.
How can mindfulness practices benefit mental health?
-Mindfulness practices can help reduce stress, increase focus, and improve emotional regulation.
What is the significance of seeking professional help?
-Seeking professional help is significant as it provides individuals with tailored strategies and support for their mental health challenges.
Does the video address the stigma surrounding mental health?
-Yes, the video addresses stigma by encouraging open conversations about mental health to foster understanding and support.
What are the key takeaways from the video?
-The key takeaways include the importance of mental health awareness, the effectiveness of self-care strategies, and the need to destigmatize mental health issues.
Outlines

This section is available to paid users only. Please upgrade to access this part.
Upgrade NowMindmap

This section is available to paid users only. Please upgrade to access this part.
Upgrade NowKeywords

This section is available to paid users only. Please upgrade to access this part.
Upgrade NowHighlights

This section is available to paid users only. Please upgrade to access this part.
Upgrade NowTranscripts

This section is available to paid users only. Please upgrade to access this part.
Upgrade NowBrowse More Related Video

I built a full website with ONE AI prompt (ZERO coding skills)

How To Design Ready To Print Business Card in Figma (Front and Back) For Free.

Figma To Real Website | Responsive Homepage | HTML, CSS & JavaScript | Part 8
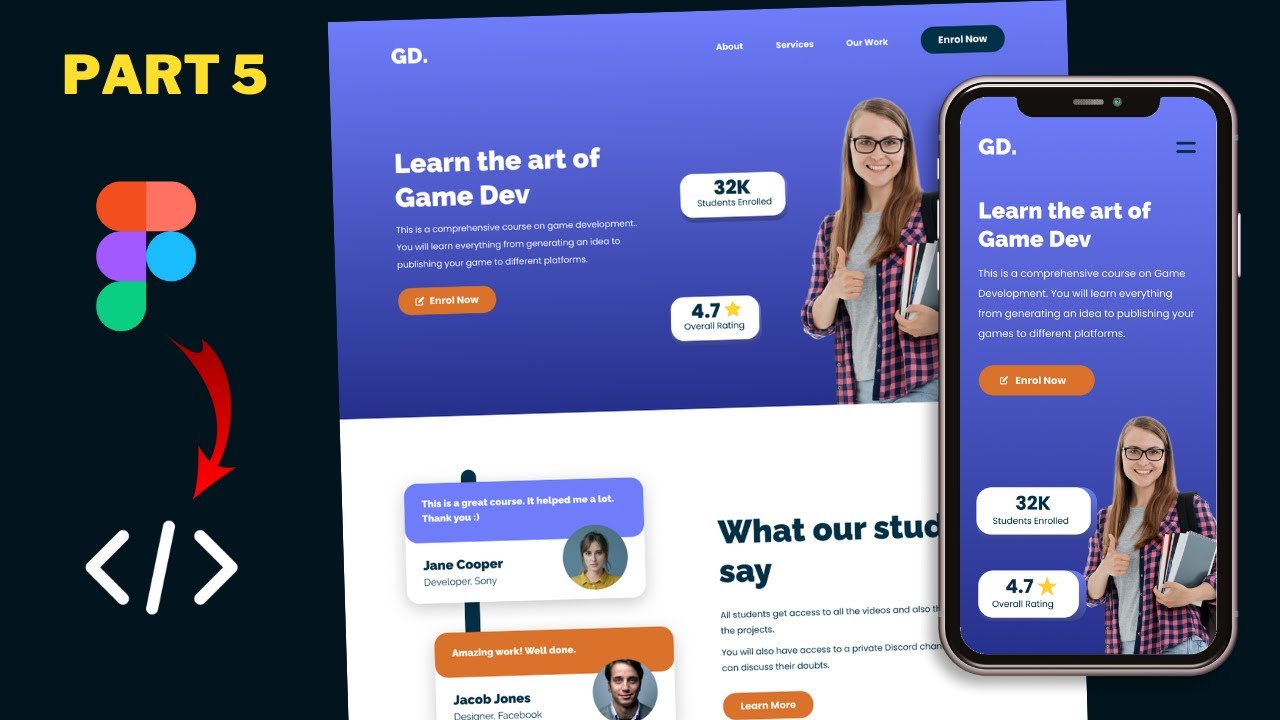
Figma To Real Website | Responsive Homepage | HTML, CSS & JavaScript | Part 5
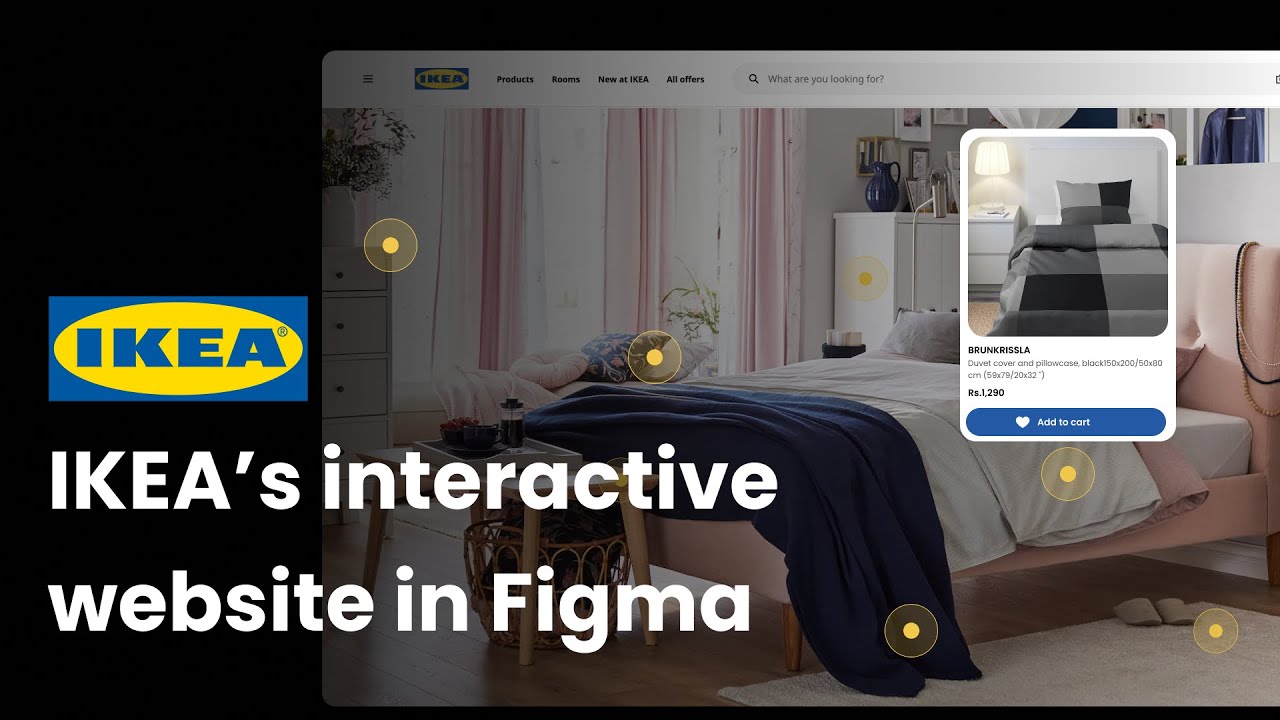
Building IKEA's Interactive website in @Figma | 🔗 Source file included.

Figma To Real Website | Responsive Homepage | HTML, CSS & JavaScript | Part 7
5.0 / 5 (0 votes)