LESSON 4: Printing Over the Arduino Serial Port
Summary
TLDRIn this video, the instructor introduces the basics of Arduino programming, focusing on the use of serial communication to monitor and debug code. Key topics include how to use `Serial.print()` and `Serial.println()` for formatted output, the importance of debugging code by checking for missing semicolons and unclosed brackets, and how to make output more readable. The instructor demonstrates how to adjust text formatting for easier monitoring and encourages learners to experiment with print statements. Future lessons will explore strings as variables and deeper aspects of Arduino programming.
Takeaways
- 😀 Always close curly brackets and quotes when coding, as errors can arise from unclosed elements, often showing up later in the code.
- 😀 Missing semicolons can cause errors in code execution, so always ensure semicolons are included at the end of statements.
- 😀 `Serial.print` keeps the output on the same line, while `Serial.println` moves the output to the next line for better readability.
- 😀 Formatting output is important—adding spaces and indentation makes the printed text easier to read and understand.
- 😀 Experiment with different baud rates in serial communication, ensuring the chosen baud rate matches in both `Serial.begin()` and the serial monitor.
- 😀 When printing numbers with a colon, add spaces between the number and the colon to prevent the output from looking too cramped.
- 😀 Practice using print statements by modifying the code to show not only the red LED status but also the yellow LED status.
- 😀 Get comfortable with the serial monitor by adjusting baud rates and experimenting with different print statement formats.
- 😀 Before using serial communication, always initialize it with `Serial.begin()`, and choose a baud rate such as 9600 or 115200.
- 😀 Debugging often requires checking the entire code carefully for missing punctuation or syntax, especially when errors appear later in the code.
- 😀 Use variables within `print` statements for more dynamic and flexible output, though this will be further explored in later lessons.
Q & A
What is the purpose of the Serial.print() and Serial.println() functions in Arduino programming?
-The Serial.print() function is used to print output to the serial monitor without moving to a new line, while the Serial.println() function prints the output and then moves to the next line. These are crucial for displaying and debugging information in an Arduino program.
What is the significance of closing curly brackets and quotes properly in your code?
-Closing curly brackets and quotes properly is essential in programming because if they are left open, the code will fail to compile or may cause errors that appear later in the program. This is a common issue that can be identified through careful debugging.
Why is it important to match the baud rate between the Arduino code and the serial monitor?
-Matching the baud rate between the Arduino code and the serial monitor ensures proper communication. If the baud rate doesn't match, data may not be transmitted correctly, leading to unreadable or garbled output in the serial monitor.
What is the recommended baud rate for most Arduino projects?
-The most common baud rate for Arduino projects is 9600, but other baud rates such as 115200 can also be used depending on the requirements of the project.
What is the purpose of using 'Serial.begin()' in Arduino programming?
-'Serial.begin()' initializes the serial communication and is required before any serial data can be transmitted to or received from the serial monitor. It must be called in the setup() function of the program.
What is the difference between a print statement and a print line statement in Arduino?
-A print statement (Serial.print()) outputs text on the same line, while a print line statement (Serial.println()) outputs text and moves the cursor to the next line, making the output more readable when multiple print statements are used.
How can you improve the readability of printed output in Arduino?
-You can improve readability by adding proper indentation, spacing between printed characters, and ensuring there is enough whitespace between elements like colons and numbers. This helps make the output more intuitive and easier to follow.
What kind of assignment does the instructor give to the students in this lesson?
-The instructor asks the students to experiment with print statements in the serial monitor, reproduce the blinking red LED example, and add additional print statements to improve the output. The goal is to get comfortable with the serial monitor and baud rates.
What does the instructor mean by 'indentation' in the context of print statements?
-Indentation refers to adding spaces before the printed output to visually separate and organize the information, making it easier to read and understand. In this case, the instructor suggests adding three spaces before the printed text.
What does the 'yellow part' mentioned by the instructor refer to in the assignment?
-The 'yellow part' refers to an additional print statement that the students need to implement in their assignment. The instructor encourages students to not only print information about the red LED but also incorporate a yellow LED or related output in their code.
Outlines

This section is available to paid users only. Please upgrade to access this part.
Upgrade NowMindmap

This section is available to paid users only. Please upgrade to access this part.
Upgrade NowKeywords

This section is available to paid users only. Please upgrade to access this part.
Upgrade NowHighlights

This section is available to paid users only. Please upgrade to access this part.
Upgrade NowTranscripts

This section is available to paid users only. Please upgrade to access this part.
Upgrade NowBrowse More Related Video
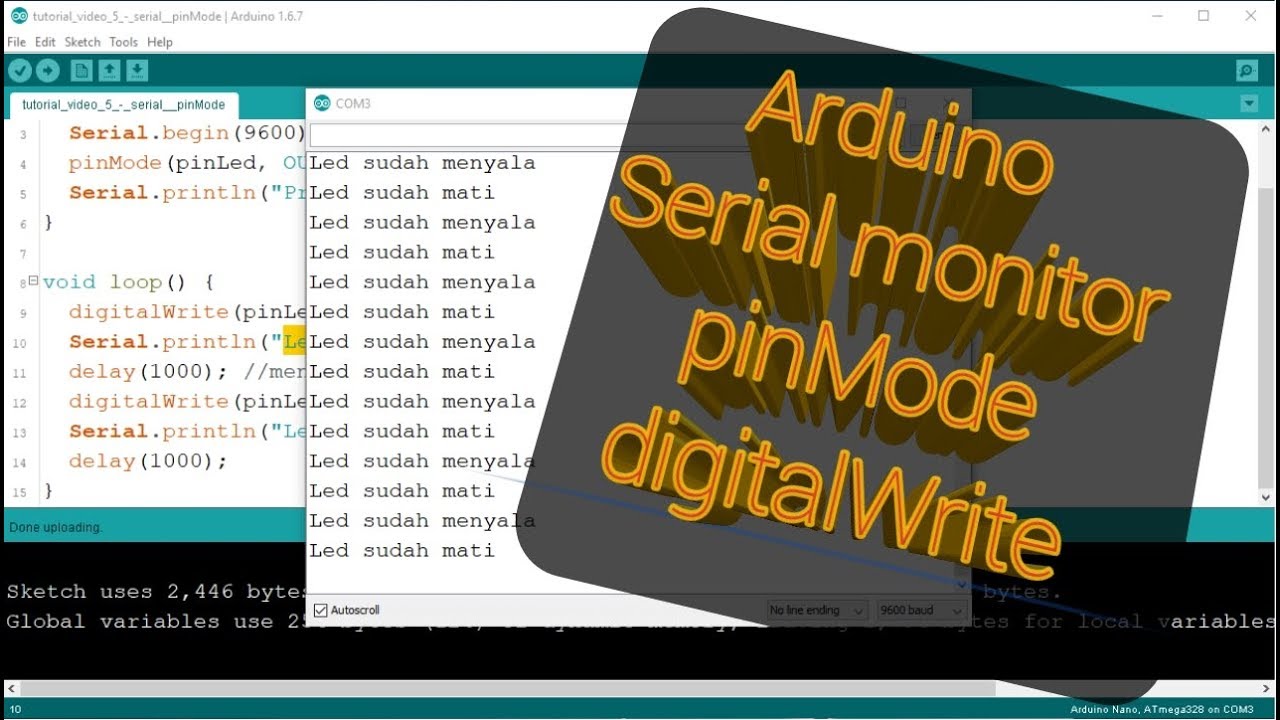
BELAJAR 2 PEMROGRAMAN ARDUINO PEMULA - SERIAL MONITOR, PINMODE, DIGITALWRITE

LESSON 4: Printing Over the Arduino Serial Port

Belajar Arduino #3 - Pengenalan Fitur Arduino IDE
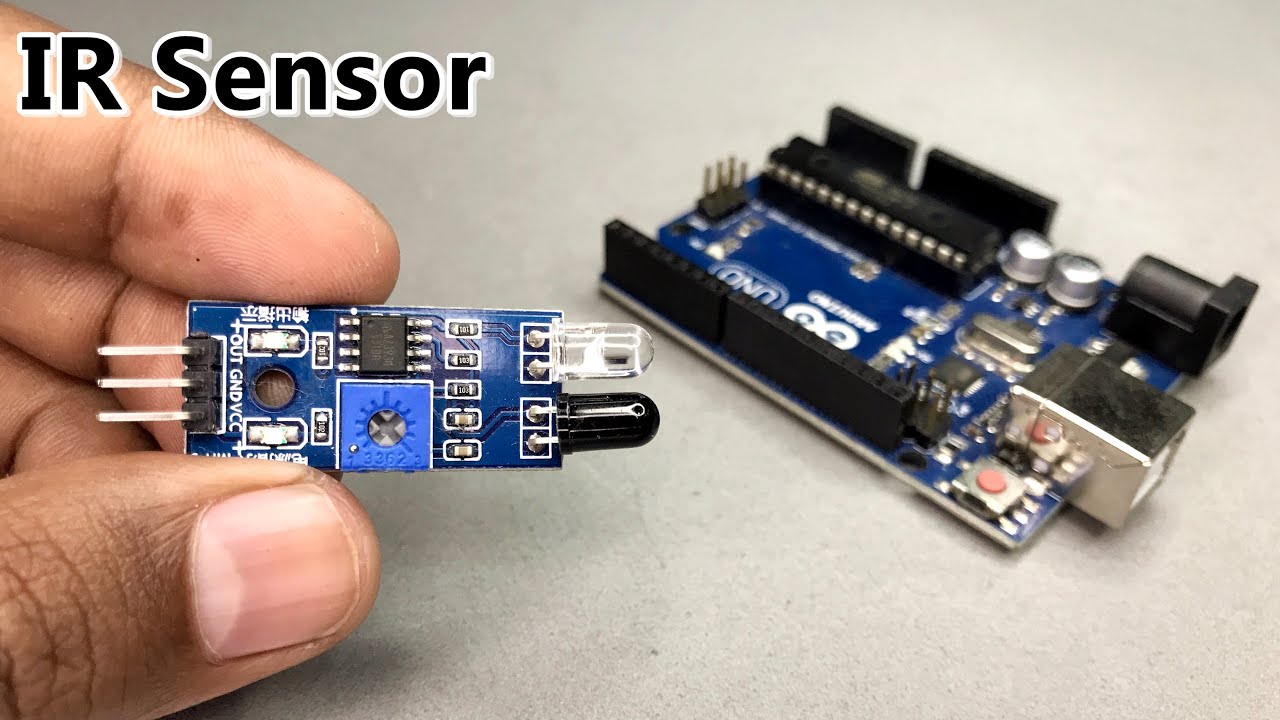
VERY EASY Arduino IR Sensor Tutorial for Beginners | IR Sensor Arduino Tutorial | Infrared Sensor

Talk to Your Pico Over Serial | Raspberry Pi Pico UART Tutorial

Belajar Arduino #1 - Apa Itu Arduino?
5.0 / 5 (0 votes)