VERY EASY Arduino IR Sensor Tutorial for Beginners | IR Sensor Arduino Tutorial | Infrared Sensor
Summary
TLDRThis tutorial demonstrates how to use an IR proximity sensor with an Arduino to operate various devices. It covers the sensor's working principle, circuit diagrams, and source code. The sensor detects objects within 2 to 60 cm and its sensitivity is adjustable. The video guides through connecting the sensor to Arduino, calibrating it, and uploading sample code that triggers a buzzer and displays sensor status on the serial monitor. It also suggests modifying the code for different applications and using a relay module for motors or appliances.
Takeaways
- 🔍 The video demonstrates how to use an IR proximity sensor with an Arduino board to operate various devices.
- 💡 The sensor consists of an infrared emitter and a receiver, which can detect objects within a range of 2 to 60 centimeters.
- 🔧 The sensitivity of the sensor can be adjusted using a potentiometer.
- 🔌 The sensor is connected to the Arduino using three jumper wires, linking VCC, ground, and the output pin to the board's corresponding pins.
- 📢 A 5-volt active buzzer is used as an indicator, connected to digital pin 8 and ground.
- 🖥️ The Arduino board is connected to a computer via USB for programming and power.
- 🔧 The sensor's calibration involves placing an object at a specific distance and adjusting the potentiometer until the obstacle LED turns on and off correctly.
- 📝 The provided Arduino code includes setup and loop functions, with the loop function checking the sensor's state and controlling the buzzer accordingly.
- 👀 The code differentiates between a high signal (no object detected) and a low signal (object detected), triggering the buzzer and serial monitor messages.
- 🛠️ Beginners can refer to a previous tutorial for uploading code to the Arduino board, linked in the video description.
- 🔄 The buzzer and serial monitor demonstrate the sensor's functionality in real-time when an object is near or away.
- 🔌 The tutorial suggests using a relay module to control motors or other appliances with the IR sensor for more complex projects.
Q & A
What is the purpose of the infrared emitter in the proximity sensor?
-The infrared emitter in the proximity sensor emits IR signals which, when they hit an object, bounce back and are detected by the IR receiver, allowing the sensor to detect objects within a certain range.
How can the sensitivity of the proximity sensor be adjusted?
-The sensitivity of the proximity sensor can be adjusted by rotating the potentiometer, which helps in calibrating the sensor to detect objects at the desired distance.
What are the three connections required to connect the proximity sensor to the Arduino board?
-The three connections required are: VCC pin of the sensor to the 5V pin of Arduino, the ground pin of the sensor to the ground pin of Arduino, and the OUT pin of the sensor to digital pin 2 of Arduino.
How is the buzzer connected to the Arduino board in the tutorial?
-The buzzer is connected to the Arduino board using two male-to-female jumper wires, with the positive pin connected to digital pin 8 of Arduino and the negative pin connected to the ground pin of Arduino.
What is the function of the serial communication in the Arduino code provided in the tutorial?
-The serial communication in the Arduino code starts at a baud rate of 9600, which allows the Arduino to communicate with the computer and print messages on the serial monitor.
What does the 'sensor status' variable in the code represent?
-The 'sensor status' variable in the code represents the digital input from the IR sensor, which is used to determine whether an object is detected or not.
How does the code differentiate between the presence and absence of an object in front of the sensor?
-The code checks the digital state of the sensor; it outputs a low signal when an object is detected and a high signal when no object is present. Based on this, the code turns the buzzer on or off and prints the corresponding message on the serial monitor.
What is the purpose of the delay in the loop function of the Arduino code?
-The delay in the loop function of the Arduino code, set to 500 milliseconds, ensures that the code does not loop too quickly, giving the sensor time to stabilize and accurately detect objects.
How can the basic code provided in the tutorial be modified to control other devices like motors?
-The basic code can be modified by using a relay module instead of the buzzer, which allows the IR sensor to control motors or other electrical appliances.
What additional tutorial is recommended for those who want to learn about using relays with Arduino?
-The tutorial creator recommends watching a detailed tutorial about using relays with Arduino, which will provide insights on how to implement such functionality.
Outlines

This section is available to paid users only. Please upgrade to access this part.
Upgrade NowMindmap

This section is available to paid users only. Please upgrade to access this part.
Upgrade NowKeywords

This section is available to paid users only. Please upgrade to access this part.
Upgrade NowHighlights

This section is available to paid users only. Please upgrade to access this part.
Upgrade NowTranscripts

This section is available to paid users only. Please upgrade to access this part.
Upgrade NowBrowse More Related Video
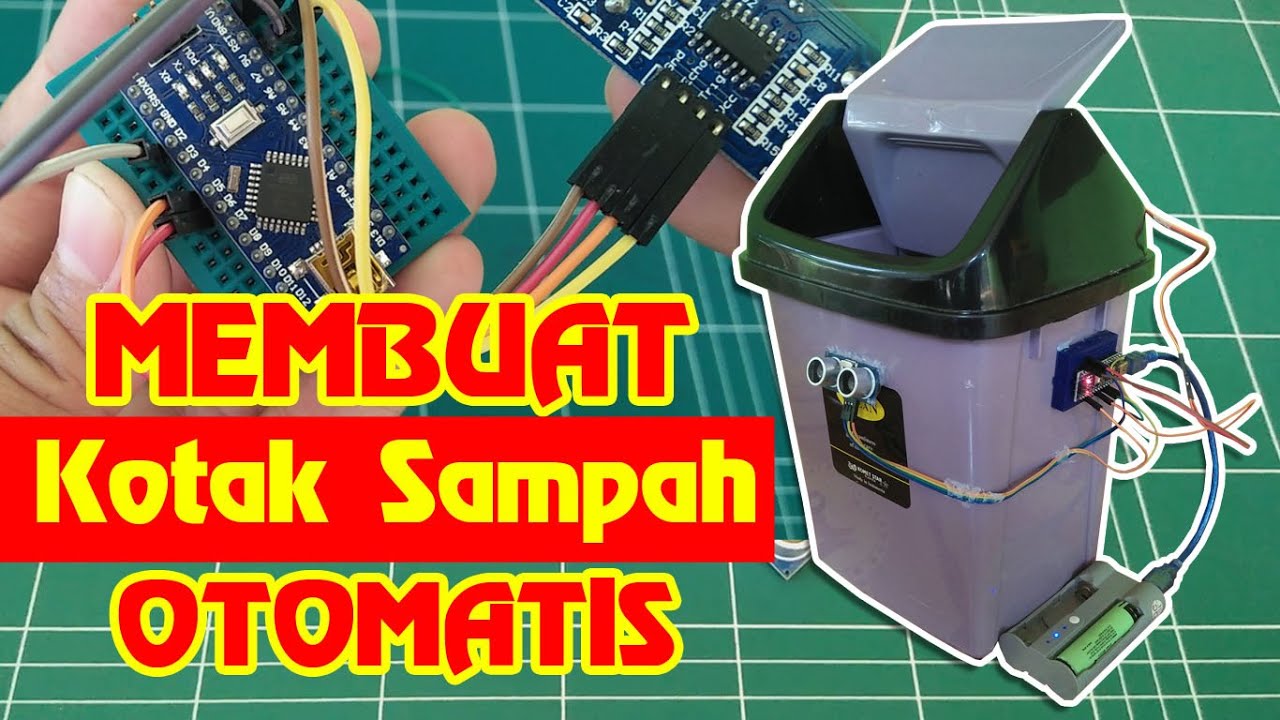
Dijamin Bisa | Membuat Kotak Sampah Otomatis
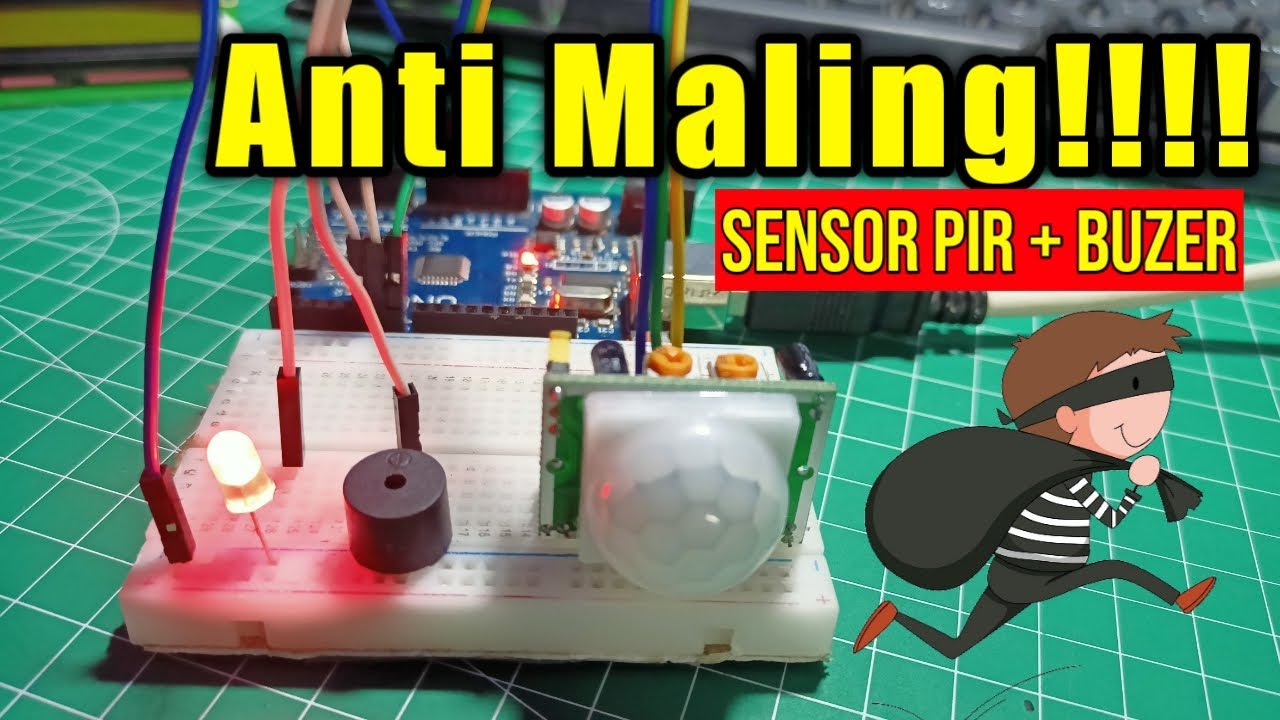
Alarm Anti Maling!!! Menggunakan Sensor PIR

MENYIMPAN DATA SERIAL MONITOR ARDUINO IDE KE EXCEL MENGGUNAKAN DATA STREAMER
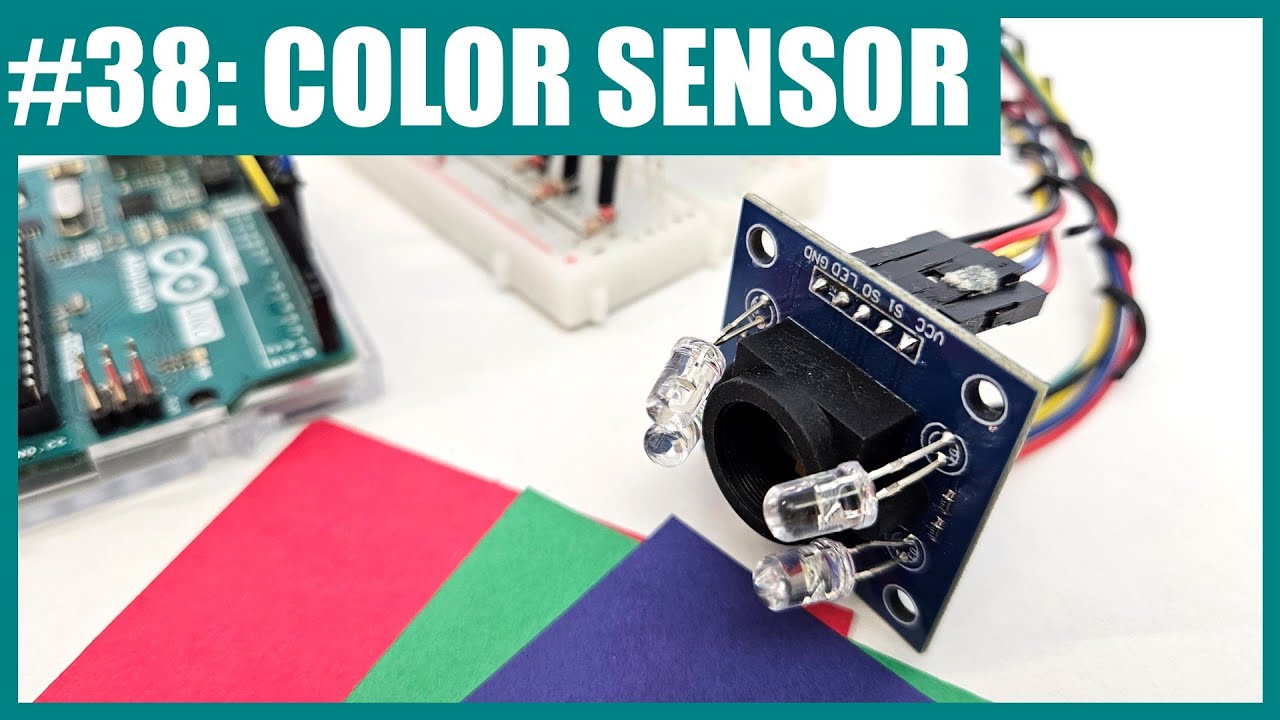
How to Use a TCS3200 Color Sensor with Arduino (Lesson #38)

Membuat Alat Kontrol Peralatan Listrik Jarak Jauh - ARDUINO PROJECT INDONESIA
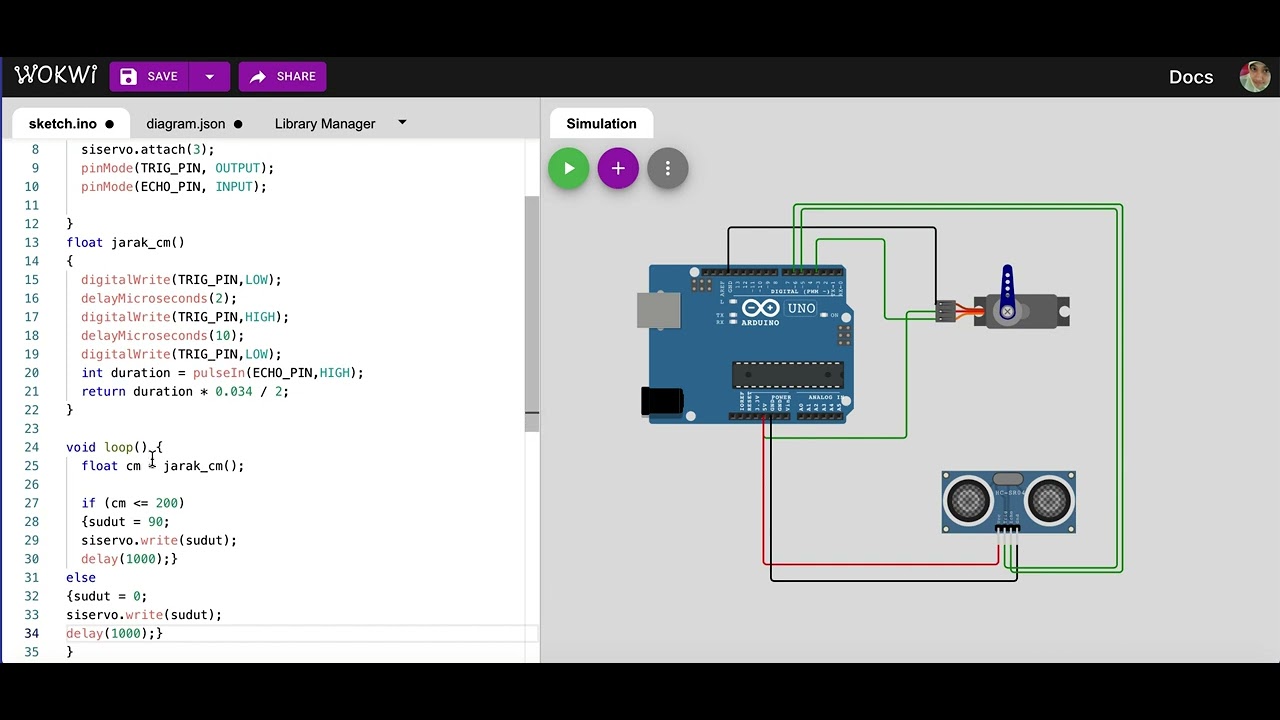
Simulasi kontrol gerakan servo dengan sensor ultrasonik | mikrokontroler arduino di wokwi.com
5.0 / 5 (0 votes)