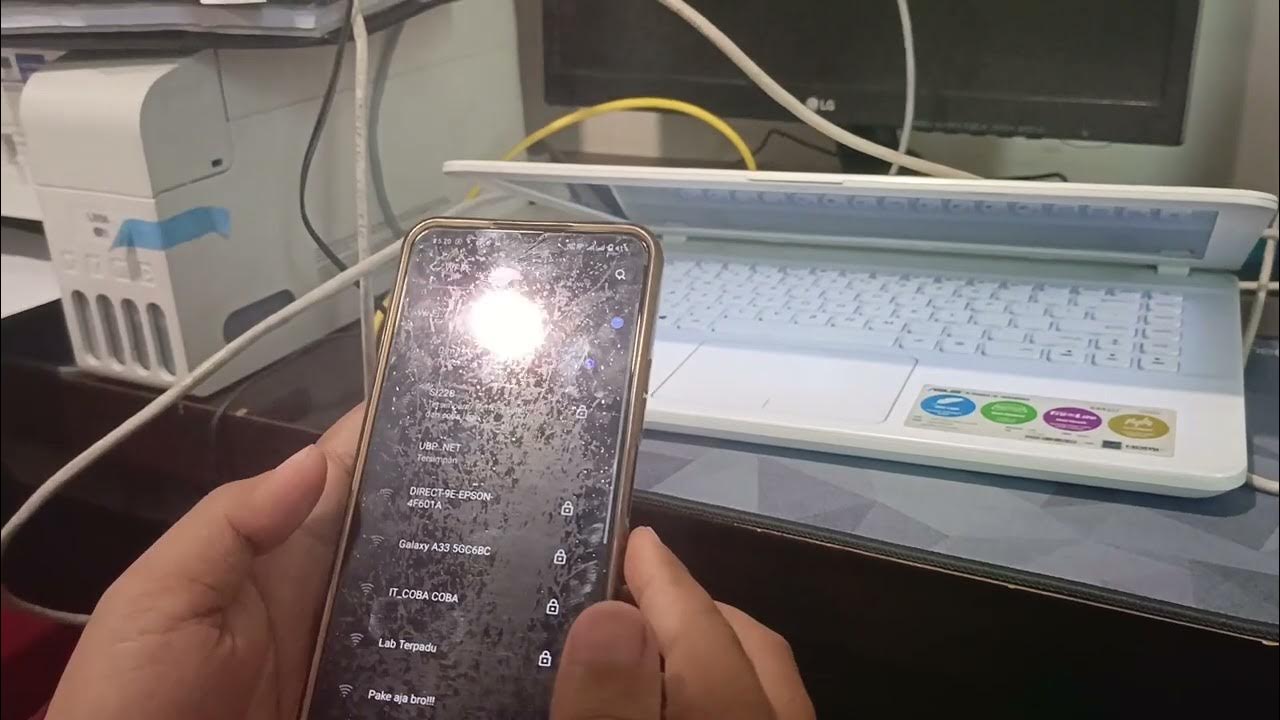
cara sharing printer || 1 printer dipake banyak komputer
Summary
TLDRThis tutorial video guides viewers through the process of setting up printer sharing on a network. The tutorial demonstrates how to configure the IP address on the first computer, enable printer sharing for an Epson L220 printer, and verify network connectivity between computers. The second computer is shown connecting to the shared printer, with a successful print test. Viewers are encouraged to follow the steps to share and use a printer across multiple computers. The video emphasizes the benefits of sharing knowledge and encourages viewers to like, comment, share, and subscribe.
Takeaways
- 😀 Set up printer sharing by configuring the IP address on your computer.
- 😀 Access the network settings by going to 'Open Network' and selecting 'Change Adapter Settings'.
- 😀 Set the IP address manually using 'Internet Protocol Version 4' (TCP/IPv4).
- 😀 After configuring the IP address, close the settings and ensure the changes are saved.
- 😀 Go to the 'Control Panel', then 'Hardware and Sound', and choose 'Devices and Printers' to access your printer settings.
- 😀 Select the printer (Epson L220 in this case) and enable printer sharing through the 'Sharing' tab.
- 😀 On the second computer, ensure network connectivity by using the 'ping' command in Command Prompt to test the connection to the first computer.
- 😀 If the ping test is successful, access the shared printer from the second computer by typing the network path in the address bar.
- 😀 Double-click the shared printer to connect it to the second computer.
- 😀 Once the printer is connected, you can use it on the second computer for printing tasks.
- 😀 Test the printer by printing from a program like Microsoft Word to ensure everything is set up correctly.
Q & A
What is the main goal of the tutorial?
-The main goal of the tutorial is to teach viewers how to set up printer sharing, so a single printer can be used by multiple computers.
How do you set the IP address on a computer for printer sharing?
-To set the IP address, go to 'Control Panel' > 'Network and Sharing Center' > 'Change adapter settings'. Right-click on the 'Local Area Connection', select 'Properties', then choose 'Internet Protocol Version 4 (TCP/IPv4)', select 'Use the following IP address', and enter the desired IP address (e.g., 192.168.1.5).
What is the purpose of setting the IP address during the printer sharing process?
-Setting the IP address ensures that the computer is correctly networked, allowing it to communicate with other devices for sharing resources like printers.
What is the next step after setting the IP address?
-After setting the IP address, click 'OK' to save the settings and close the network settings window.
How do you enable printer sharing on the first computer?
-To enable printer sharing, go to 'Start' > 'Control Panel' > 'Hardware and Sound' > 'Devices and Printers'. Right-click on the printer you want to share, select 'Printer Properties', go to the 'Sharing' tab, and check 'Share this printer'.
What should you do if you need to confirm the network connection between computers?
-To confirm the network connection, open 'Command Prompt' (CMD) and type 'ping' followed by the IP address of the first computer (e.g., ping 192.168.1.5). If you receive a reply, the connection is successful.
What does a 'reply from [IP]' message indicate?
-A 'reply from [IP]' message indicates that the second computer is successfully connected to the first computer on the network.
How do you add the shared printer to the second computer?
-To add the shared printer, open the 'Run' dialog (Windows + R), type '\[IP address of the first computer]' (e.g., \192.168.1.5), and press 'Enter'. The shared printer should appear, and you can click on it to connect.
What does successfully connecting the printer to the second computer mean?
-Successfully connecting the printer means that the second computer can now use the printer shared by the first computer.
How do you test the printer after sharing it between computers?
-To test the printer, open a program like Microsoft Word, type something, and select 'Print'. Choose the shared printer (e.g., Epson L220) from the print options, and click 'Print'. If the document prints successfully, the sharing setup is complete.
Outlines

This section is available to paid users only. Please upgrade to access this part.
Upgrade NowMindmap

This section is available to paid users only. Please upgrade to access this part.
Upgrade NowKeywords

This section is available to paid users only. Please upgrade to access this part.
Upgrade NowHighlights

This section is available to paid users only. Please upgrade to access this part.
Upgrade NowTranscripts

This section is available to paid users only. Please upgrade to access this part.
Upgrade NowBrowse More Related Video

Kelompok 1 Desain Manajemen Jaringan Komputer

CONECTAR DOS REDES A UNA IMPRESORA EN PACKET TRACER 7

How to setup a Windows Print Server and deploy printers using Group Policy

Uji Kompetensi Keahlian TKJ Paket 4 - Cara Sharing File Menggunakan Kabel UTP (Peer to Peer)

How to Share Files, Folders and Drives Over A Network

✔️ Windows 11 - How to Share Files, Folders & Drives Between Computers Over a Network
5.0 / 5 (0 votes)