Prototipe Penyiram Tanaman Otomatis
Summary
TLDRIn this video, the creator demonstrates how to assemble an automatic plant watering system using a soil moisture sensor. The step-by-step process includes connecting various components like the soil moisture sensor, relay, and mini DC pump, ensuring they are properly wired and tested with a multimeter. The system works by activating the pump when the soil moisture level is low, and turning it off once the moisture level reaches the desired threshold. The video offers clear instructions for assembling and testing the device, ensuring a functional automated watering system for plants.
Takeaways
- 😀 The script demonstrates how to assemble an automatic plant watering system using a soil moisture sensor.
- 😀 Key tools and materials include a micro USB cable, 5V charger adapter, 5V 1-channel relay, soil moisture sensor module, jumper cables, mini DC submersible pump, and a multimeter.
- 😀 The process begins by connecting the soil moisture sensor to a sensor module using female-to-female jumper cables.
- 😀 The VCC and ground pins of the sensor module are connected to the breadboard, with VCC being positive and ground being negative.
- 😀 The 5V 1-channel relay is integrated with female-to-male jumper cables, linking its VCC and ground to the breadboard.
- 😀 The digital output of the sensor is connected to the relay's input, and male-to-male jumper cables are used to link the relay to the pump.
- 😀 A multimeter is used to test the functionality of the system by measuring the circuit’s response.
- 😀 After confirming the wiring setup, the system is powered on using a 5V charger adapter, and the relay’s red LED lights up.
- 😀 The system is tested with a water pump connected to a hose. When the moisture sensor detects a sufficient water level, it triggers the pump to stop.
- 😀 The proper functioning of the system is verified through indicator lights on both the sensor and relay, confirming the automatic plant watering system is working correctly.
Q & A
What is the purpose of the soil moisture sensor in the automatic plant watering system?
-The soil moisture sensor is used to detect the moisture level of the soil. When the moisture falls below a certain threshold, it triggers the pump to water the plants.
Which components are required for assembling the automatic plant watering system?
-The required components include a micro USB cable, a 5V charger adapter, a 5V 1-channel relay, a soil moisture sensor module, jumper cables, a mini DC submersible pump, a hose, and a multimeter.
What role does the relay play in the circuit?
-The relay acts as a switch that controls the power flow to the pump. It is triggered by the signal from the soil moisture sensor, turning the pump on or off based on the soil's moisture level.
How is the soil moisture sensor connected to the rest of the components?
-The soil moisture sensor is connected to the relay using jumper cables. The VCC and ground of the sensor are connected to the breadboard, and the digital output of the sensor is linked to the relay module.
Why is it important to connect the positive and negative terminals of the components correctly?
-Correctly connecting the positive and negative terminals ensures the proper flow of electricity through the circuit. Reversed connections can damage the components or prevent the system from working.
How do you test if the system is working correctly during assembly?
-To test the system, a multimeter is used to measure the circuit's performance. If the multimeter shows the correct reading (e.g., 26), it indicates that the system is functioning properly.
What happens when the system is powered on?
-When the system is powered on, the relay’s red LED light will turn on, and the soil moisture sensor will activate, displaying one light to indicate that the system is functioning.
How does the system stop watering the plants once the soil is sufficiently moist?
-Once the soil moisture reaches the set threshold, the sensor triggers the relay to stop the pump, halting the watering process. The relay will show a green light, indicating the system is off.
What is the function of the multimeter in the testing process?
-The multimeter is used to measure the electrical readings in the circuit. It helps verify that the system is operating within expected parameters, ensuring proper functionality before connecting to a power source.
What is the final step in the assembly process for the automatic watering system?
-The final step is to connect the system to a power source, then test the pump and sensor by placing the pump in water. The system should turn off the pump once the water reaches the sensor’s set moisture level.
Outlines

This section is available to paid users only. Please upgrade to access this part.
Upgrade NowMindmap

This section is available to paid users only. Please upgrade to access this part.
Upgrade NowKeywords

This section is available to paid users only. Please upgrade to access this part.
Upgrade NowHighlights

This section is available to paid users only. Please upgrade to access this part.
Upgrade NowTranscripts

This section is available to paid users only. Please upgrade to access this part.
Upgrade NowBrowse More Related Video

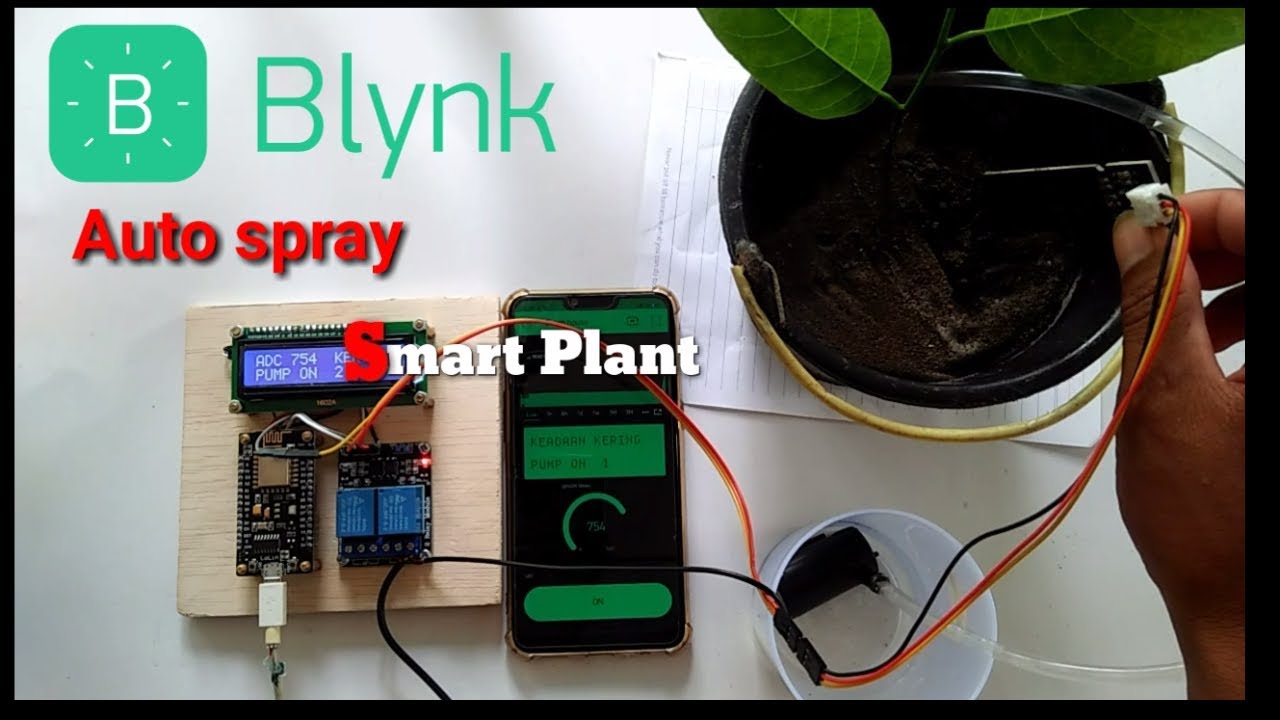
IoT Monitoring Kelembaban Tanah & Temperatur Udara Penyiram Tanaman Otomatis Smart Garden BLYNK
Sistema de Irrigação Automática com Arduino e Sensor de Umidade do Solo

PROJECT ARDUINO PENYIRAM TANAMAN OTOMATIS /SMARTGARDEN BERBASIS ARDUINO NANO DAN SENSOR SOILMOISTURE
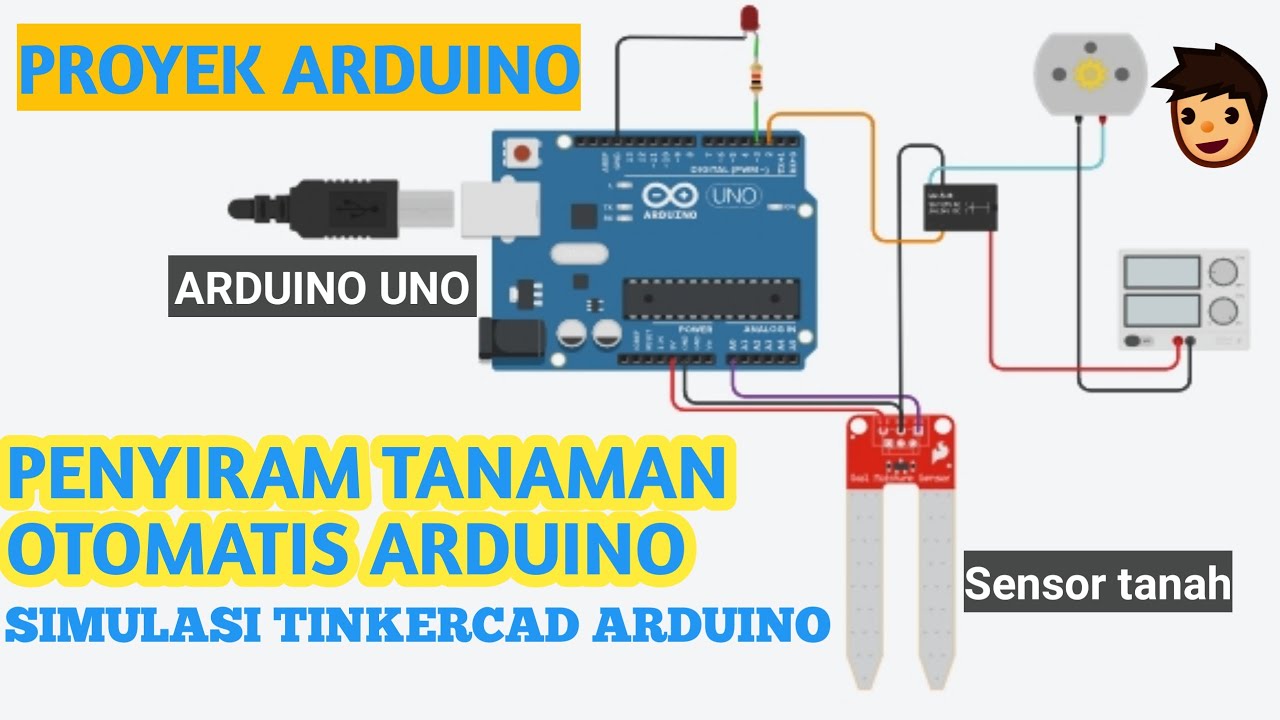
PROYEK ARDUINO PENYIRAM TANAMAN OTOMATIS DENGAN SENSOR KELEMBABAN TANAH SIMULASI TINKERCAD ARDUINO
Penyiraman tanaman otomatis berbasis IOT(Internet Of Things) graph chart blynk nodemcu esp8266

REKA:BIT RBT Project Kit | Project 3B: Auto Plant Watering System #microbit #stemeducation
5.0 / 5 (0 votes)