Penyiraman tanaman otomatis berbasis IOT(Internet Of Things) graph chart blynk nodemcu esp8266
Summary
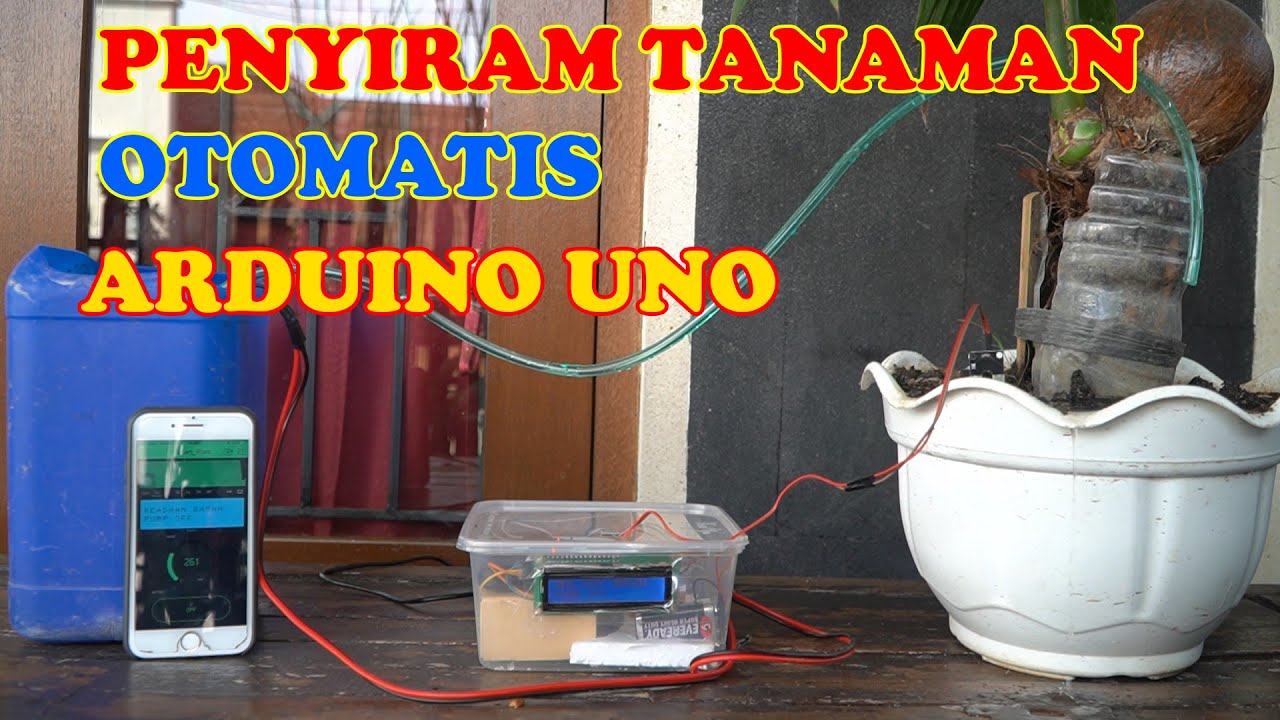
TLDRThis project demonstrates the creation of an IoT-based automatic plant watering system, controlled via an Android smartphone. Using a NodeMCU (ESP8266), a capacitive soil moisture sensor, a relay, and a mini pump, the system monitors soil moisture levels and waters the plant when dry. The project integrates real-time monitoring through the Blink app, providing visual feedback on soil conditions. With clear hardware setup, programming, and testing steps, the system ensures plants are well-maintained automatically, offering an innovative solution for smart gardening.
Takeaways
- 😀 IoT (Internet of Things) is used to connect devices to the internet, allowing remote control, such as turning off a TV when you're away from home.
- 😀 The project aims to implement IoT for automatic plant watering, which is controlled and monitored through an Android smartphone.
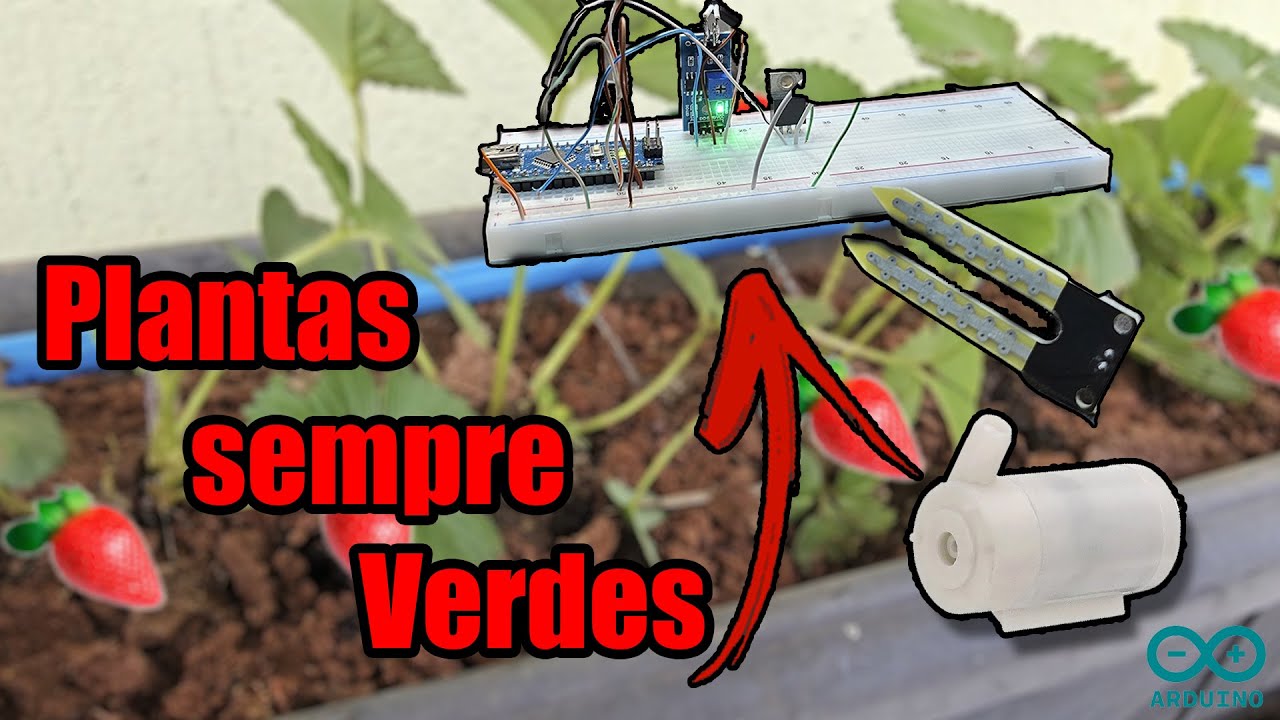
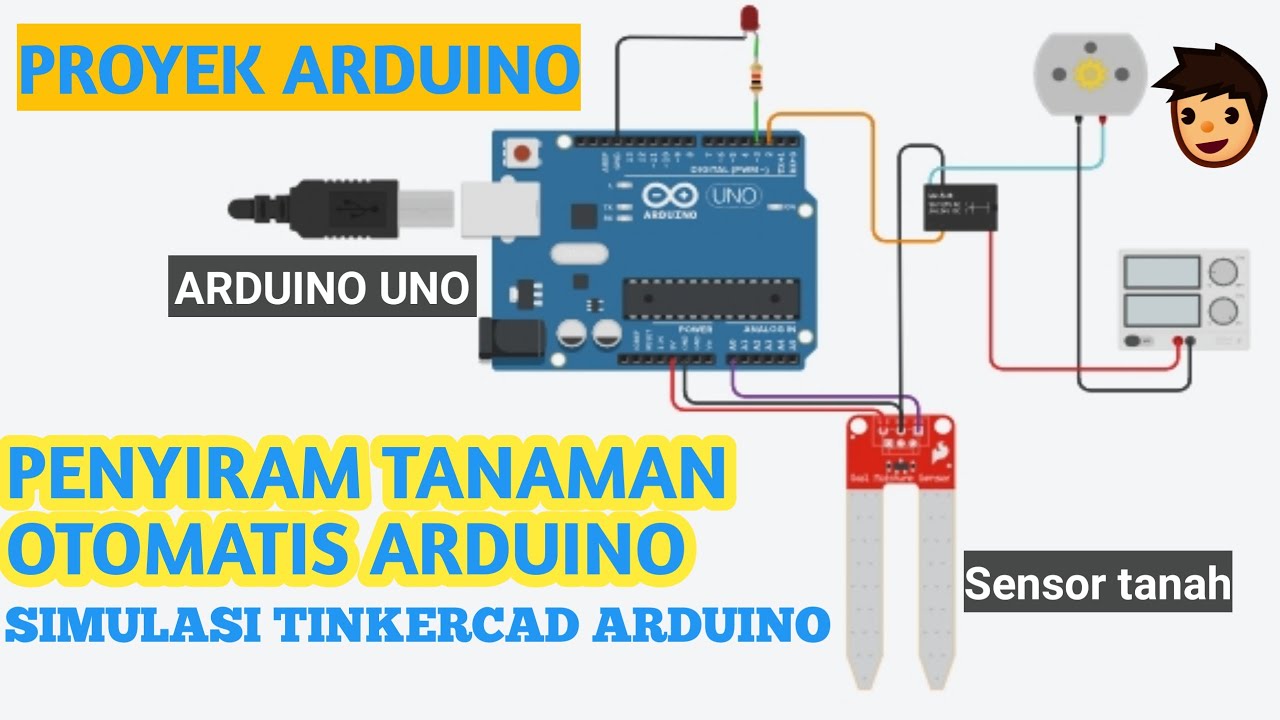
- 😀 Key components for the project include NodeMCU (ESP8266), capacitive soil moisture sensor, relay, mini water pump, and an LCD display.
- 😀 The NodeMCU board is used to connect the system to the internet and control other components like the pump and sensors.
- 😀 A capacitive soil moisture sensor is preferred over a resistive one because it is more durable and resistant to damage.
- 😀 The system uses an LCD to display the moisture level, indicating whether the soil is wet or dry.
- 😀 To set up the system, connect the components according to the wiring diagram, ensuring proper power supply and sensor placement.
- 😀 Before programming the NodeMCU, ensure necessary drivers are installed, and the correct settings are configured in the Arduino IDE.
- 😀 The Blink app on an Android smartphone is used to monitor the soil moisture and control the watering system remotely.
- 😀 The system uses a virtual switch in the Blink app to activate the water pump based on soil moisture readings, with thresholds for wet, normal, and dry conditions.
Q & A
What is the main objective of the project described in the script?
-The main objective is to create an automated plant watering system controlled via an Android smartphone using the Internet of Things (IoT). The system monitors soil moisture levels and activates a mini pump to water plants accordingly.
Which components are used in the project?
-The components used in the project include a NodeMCU (ESP8266), capacitive soil sensor, relay, LCD display, mini pump, jumper wires, a mounting stand, and tubing for watering the plants.
Why was a capacitive soil sensor chosen for the project?
-A capacitive soil sensor was chosen because it is more durable and less prone to damage compared to resistive sensors, making it a reliable choice for measuring soil moisture.
What is the role of the NodeMCU in this project?
-The NodeMCU (ESP8266) serves as the main controller for the system. It processes the data from the soil sensor and controls the relay to activate the mini pump based on the moisture levels detected.
How does the system determine when to water the plants?
-The system uses the soil moisture sensor to determine the moisture level of the soil. When the soil is detected as dry (sensor value above 500), the system triggers the mini pump to water the plants.
What programming steps are required for the NodeMCU?
-The NodeMCU must be programmed using the Arduino IDE. This involves installing the necessary drivers, adding the NodeMCU board in the board manager, and uploading the program that handles sensor data and controls the pump based on the moisture readings.
How is the Blink app used in this project?
-The Blink app is used to monitor the soil moisture data and control the system remotely. It is configured with a project name, token, and virtual pins to display sensor data and control the pump via a manual switch in the app.
What should be done if the sensor detects the soil as wet?
-If the sensor detects the soil as wet (sensor value below 400), the pump will remain off, as no watering is required.
What is the importance of the LCD display in the project?
-The LCD display shows the current status of the soil moisture level, allowing users to visually monitor the data collected by the soil sensor.
What troubleshooting steps are recommended if the system doesn't work as expected?
-Ensure that the drivers for the NodeMCU are properly installed, check the wiring connections against the schematic, confirm the token and Wi-Fi settings in the Blink app, and test the sensor readings to make sure they are accurate. Additionally, verify that the program has been uploaded correctly to the NodeMCU.
Outlines

This section is available to paid users only. Please upgrade to access this part.
Upgrade NowMindmap

This section is available to paid users only. Please upgrade to access this part.
Upgrade NowKeywords

This section is available to paid users only. Please upgrade to access this part.
Upgrade NowHighlights

This section is available to paid users only. Please upgrade to access this part.
Upgrade NowTranscripts

This section is available to paid users only. Please upgrade to access this part.
Upgrade NowBrowse More Related Video

IoT Monitoring Kelembaban Tanah & Temperatur Udara Penyiram Tanaman Otomatis Smart Garden BLYNK

IoT Based Plant Watering System Indoor project using ESP32 Blynk | IoT Projects 2023

New Blynk IOT Smart Plant Monitoring System
Sistema de Irrigação Automática com Arduino e Sensor de Umidade do Solo
Sistem penyiraman tanaman otomatis esp8266 (BLYNK)
PROYEK ARDUINO PENYIRAM TANAMAN OTOMATIS DENGAN SENSOR KELEMBABAN TANAH SIMULASI TINKERCAD ARDUINO
5.0 / 5 (0 votes)