Cara Mudah Seting Mikrotik Dari Awal Sampai Bisa Online || How to setting mikrotik routerboard
Summary
TLDRThis video tutorial walks beginners through the process of setting up a MikroTik RB750r2 router to connect to the internet. It covers steps such as downloading and installing Winbox, configuring network interfaces, setting up DHCP, and assigning IP addresses. The tutorial also includes firewall and security settings, along with testing the connection to ensure everything is working. With clear instructions, viewers can easily follow along to configure their MikroTik device for both local network management and internet access.
Takeaways
- 😀 Ensure your laptop is connected to the internet before downloading WinBox software from the MikroTik website.
- 😀 To set up a MikroTik router, connect it to a modem for internet access and use another cable to connect it to your laptop for configuration.
- 😀 After powering up the MikroTik router, log in using WinBox with the default username 'admin' and an empty password, then change the password for security purposes.
- 😀 Rename router interfaces (Ethernet 1 to 'Internet') for better organization and ease of identification during configuration.
- 😀 Configure Google DNS (8.8.8.8 and 8.8.4.4) in the router's settings for better internet performance and reliability.
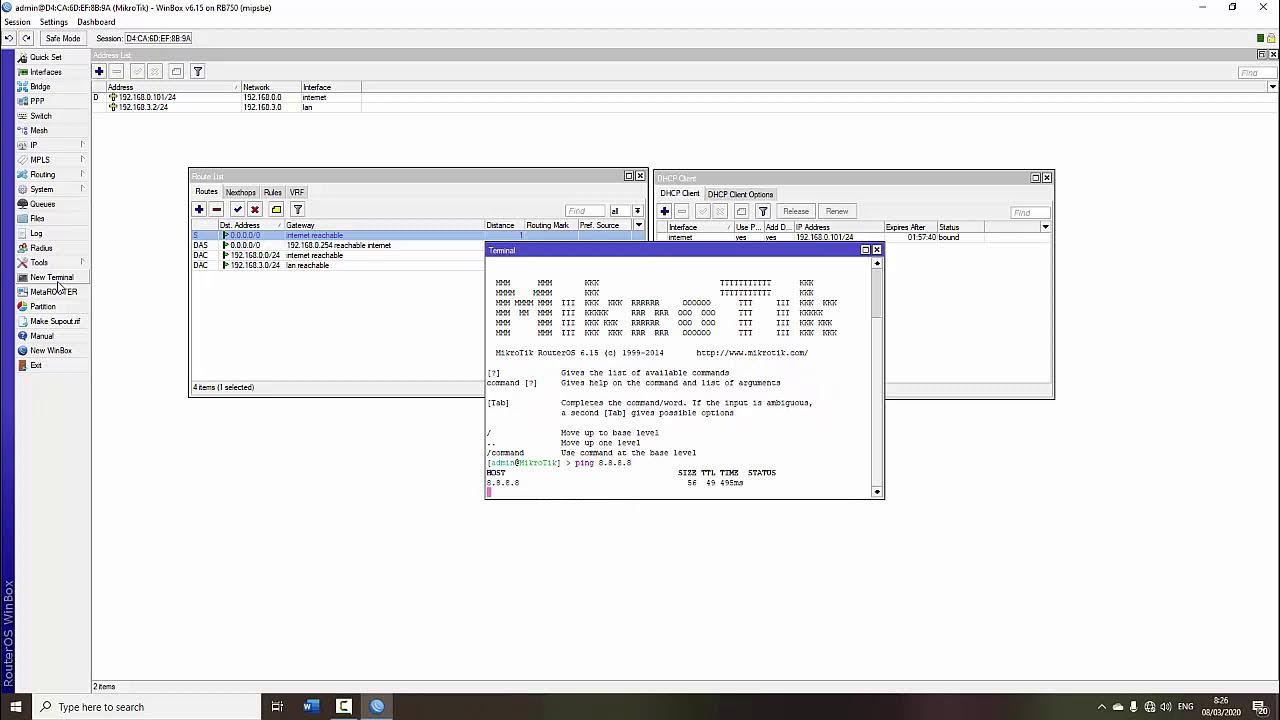
- 😀 Set up the DHCP Client on the router’s 'Internet' interface to automatically receive an IP address from your modem and establish internet connectivity.
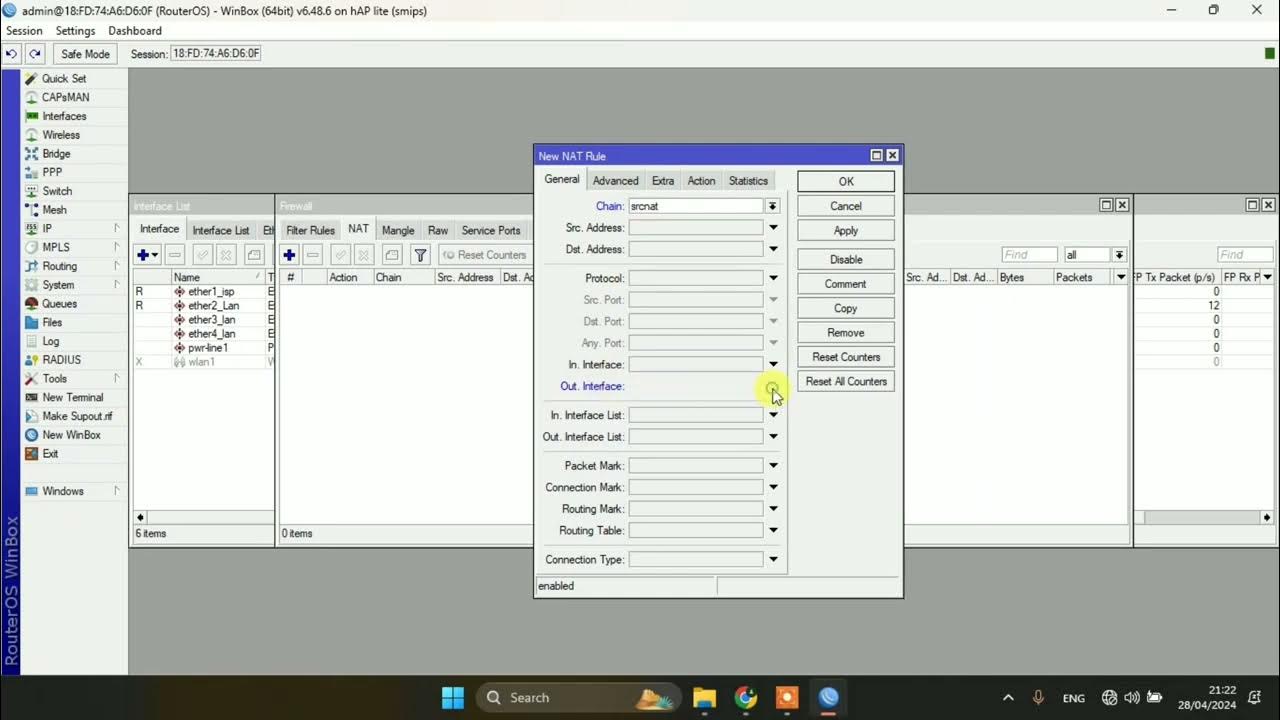
- 😀 Create NAT (Network Address Translation) rules in the router’s firewall settings to allow proper internet access for devices on the network.
- 😀 Assign static IP addresses to different Ethernet ports on the router (e.g., 10.10.10.1/24 for LAN ports 2-5) for network segmentation.
- 😀 Enable DHCP on each LAN interface (Ethernet 2–5) to ensure that connected devices automatically receive an IP address.
- 😀 Change the default login credentials for added security and create new user accounts with appropriate permissions (read/write).
- 😀 Test the network by connecting a laptop or device to the router’s LAN ports and verify internet access through various ports (Ethernet 2–5).
Q & A
What is the first step in setting up a MikroTik RB750r2 router?
-The first step is to download and install the WinBox application on your laptop, ensuring that your laptop is connected to the internet.
How do you connect the MikroTik router to the internet?
-You need to connect the internet cable from your modem to the MikroTik's Ethernet port labeled 'Internet' (usually Ethernet 1), while connecting your laptop to another Ethernet port for configuration.
What is the default login for the MikroTik router?
-The default login is 'admin' with an empty password. Once logged in, you should change the password for security purposes.
How do you rename the interfaces in MikroTik using WinBox?
-In WinBox, navigate to the 'Interfaces' section, identify the Ethernet ports, and right-click to rename them, such as 'Internet' for Ethernet 1 and 'LAN' for Ethernet 2.
What DNS settings are recommended in this tutorial?
-The tutorial recommends setting the DNS to Google's DNS: Primary DNS as 8.8.8.8 and Secondary DNS as 8.8.4.4.
How do you configure the DHCP client on MikroTik?
-To configure the DHCP client, go to 'IP > DHCP Client', click 'Add', and select the 'Internet' interface to automatically obtain an IP address from the modem.
What firewall rule is suggested in the script?
-The firewall rule should be set to 'srcnat' with the action 'masquerade' and the 'out-interface' set to 'Internet'. This allows the devices connected to the MikroTik router to access the internet.
What are the recommended IP address ranges for the Ethernet interfaces?
-The recommended IP address ranges are: Ethernet 2 (LAN) - 10.10.10.1/24, Ethernet 3 (Voucher) - 20.20.20.1/24, Ethernet 4 (Home) - 30.30.30.1/24, and Ethernet 5 (Hotspot) - 40.40.40.1/24.
How do you enable DHCP on the MikroTik router?
-To enable DHCP, go to 'IP > DHCP Server' and click 'DHCP Setup'. Select the interfaces for which you want to enable DHCP (Ethernet 2-5), excluding the 'Internet' interface.
Why is it important to change the default user password in MikroTik?
-It is important to change the default user password to enhance security, as the default settings are well-known and could leave the router vulnerable to unauthorized access.
How can you test if the MikroTik router is successfully connected to the internet?
-You can test the internet connection by opening a browser and accessing a website like YouTube. Additionally, use 'CMD' and the 'IPConfig' command on your laptop to verify that the correct IP addresses are assigned to each Ethernet interface.
Outlines

This section is available to paid users only. Please upgrade to access this part.
Upgrade NowMindmap

This section is available to paid users only. Please upgrade to access this part.
Upgrade NowKeywords

This section is available to paid users only. Please upgrade to access this part.
Upgrade NowHighlights

This section is available to paid users only. Please upgrade to access this part.
Upgrade NowTranscripts

This section is available to paid users only. Please upgrade to access this part.
Upgrade NowBrowse More Related Video

How to setup Mikrotik to access the Internet

TUTORIAL DASAR MIKROTIK (KONEKSI INTERNET)

Konfigurasi Dasar Router Mikrotik agar terhubung ke Jaringan Internet

Konfigurasi Mikrotik Dasar Part 1(Internet Gateway -Static Client)

SETTING DASAR JARINGAN DI MIKROTIK

Koneksi Jaringan Lan Ke Internet Melalui Mikrotik Rb941 2Nd
5.0 / 5 (0 votes)