Konfigurasi Mikrotik Dasar Part 1(Internet Gateway -Static Client)
Summary
TLDRIn this tutorial, the speaker walks through the process of configuring a MikroTik router to build a network with internet gateway functionality. The setup involves configuring IP addresses, DNS settings, and routing for both the MikroTik device and client PCs. The speaker details steps for resetting the device, assigning IPs to interfaces, enabling internet access for clients, and performing basic troubleshooting. The tutorial concludes with a successful internet connection for the client, providing a comprehensive guide for setting up a MikroTik router in a school or similar setting.
Takeaways
- 😀 Ensure to reset MikroTik before starting configuration to avoid issues with existing settings.
- 😀 The first step is configuring the IP addresses for the interfaces, such as eth1 and eth2.
- 😀 For the first interface (eth1), assign IP 192.168.3.2/24, and for eth2, assign IP 192.168.43.1/24.
- 😀 Use a static IP address for Client 1 (e.g., 192.168.43.80) for manual configuration.
- 😀 After resetting, check the default configuration and apply IP settings in the MikroTik’s web interface.
- 😀 Add DNS settings to ensure internet access, such as Google's public DNS (8.8.8.8).
- 😀 Add routing by configuring the gateway IP (e.g., 192.168.3.1) for proper internet routing.
- 😀 Use the NAT feature (Masquerade) to enable internet sharing to client devices from MikroTik.
- 😀 Ensure that client devices (e.g., Client 1) have the correct IP, subnet mask, and gateway settings.
- 😀 Test internet connectivity by pinging external IPs like 8.8.8.8 to verify the setup.
- 😀 After the configuration, Client 1 should be able to access the internet, and the setup is complete.
Q & A
What is the main purpose of the tutorial in the script?
-The main purpose of the tutorial is to guide the user through the process of configuring a MikroTik router to create an internet gateway for a network setup.
What is the IP address used for the ISP connection in the configuration?
-The IP address used for the ISP connection is 192.168.3.1/24.
What are the steps involved in resetting the MikroTik router to a clean configuration?
-To reset the MikroTik router, you need to access the system settings, choose the 'Billing System' menu, and then select the 'Reset Configuration' option. After confirming with 'Yes', the router will reset and beep once before restarting.
What are the IP addresses assigned to the router interfaces in the configuration?
-The IP addresses assigned to the router interfaces are 192.168.3.2/24 for eth1 and 192.168.43.180/80 for eth2.
How is DNS configured in the tutorial?
-In the tutorial, DNS is configured by pointing the MikroTik router to Google's public DNS servers for internet access, specifically 8.8.8.8.
What is the purpose of adding a route in the MikroTik router's settings?
-The route is added to direct traffic to the ISP gateway, ensuring that the router can access the internet through the IP 192.168.3.1.
How do you enable internet access for the client PC in the setup?
-Internet access is enabled for the client PC by configuring the NAT (Network Address Translation) rule in the MikroTik router's firewall settings, using 'Masquerade' as the action to allow internet traffic to be forwarded from the router to the client.
What is the significance of the IP addresses assigned to the client PC?
-The client PC is assigned a static IP address of 192.168.43.180/80, with the gateway set to the router's eth2 IP address, which ensures proper communication between the client and the router for internet access.
What troubleshooting step is mentioned when the client PC cannot access the internet?
-The troubleshooting step involves checking the configuration for NAT settings and ensuring that internet access is being properly routed to the client PC through the MikroTik router.
How does the tutorial ensure the configuration is working after setup?
-After completing the configuration, the tutorial checks the setup by testing the internet access on the client PC, including verifying the ability to open websites, such as YouTube, confirming that the internet connection is working correctly.
Outlines

This section is available to paid users only. Please upgrade to access this part.
Upgrade NowMindmap

This section is available to paid users only. Please upgrade to access this part.
Upgrade NowKeywords

This section is available to paid users only. Please upgrade to access this part.
Upgrade NowHighlights

This section is available to paid users only. Please upgrade to access this part.
Upgrade NowTranscripts

This section is available to paid users only. Please upgrade to access this part.
Upgrade NowBrowse More Related Video
How to setup Mikrotik to access the Internet
CARA SETTING MIKROTIK RB941 UNTUK PEMULA | KELAS MIKROTIK #6
Konfigurasi Dasar Router Mikrotik agar terhubung ke Jaringan Internet
TUTORIAL DASAR MIKROTIK (KONEKSI INTERNET)
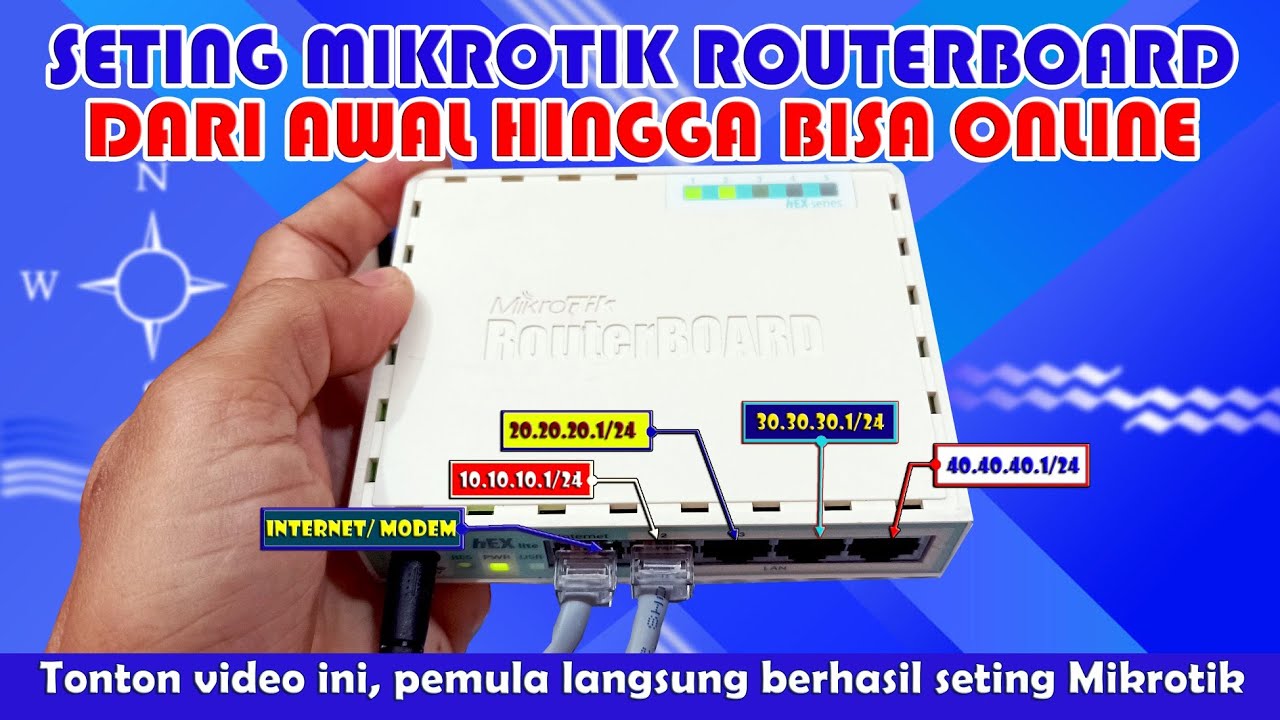
Cara Mudah Seting Mikrotik Dari Awal Sampai Bisa Online || How to setting mikrotik routerboard
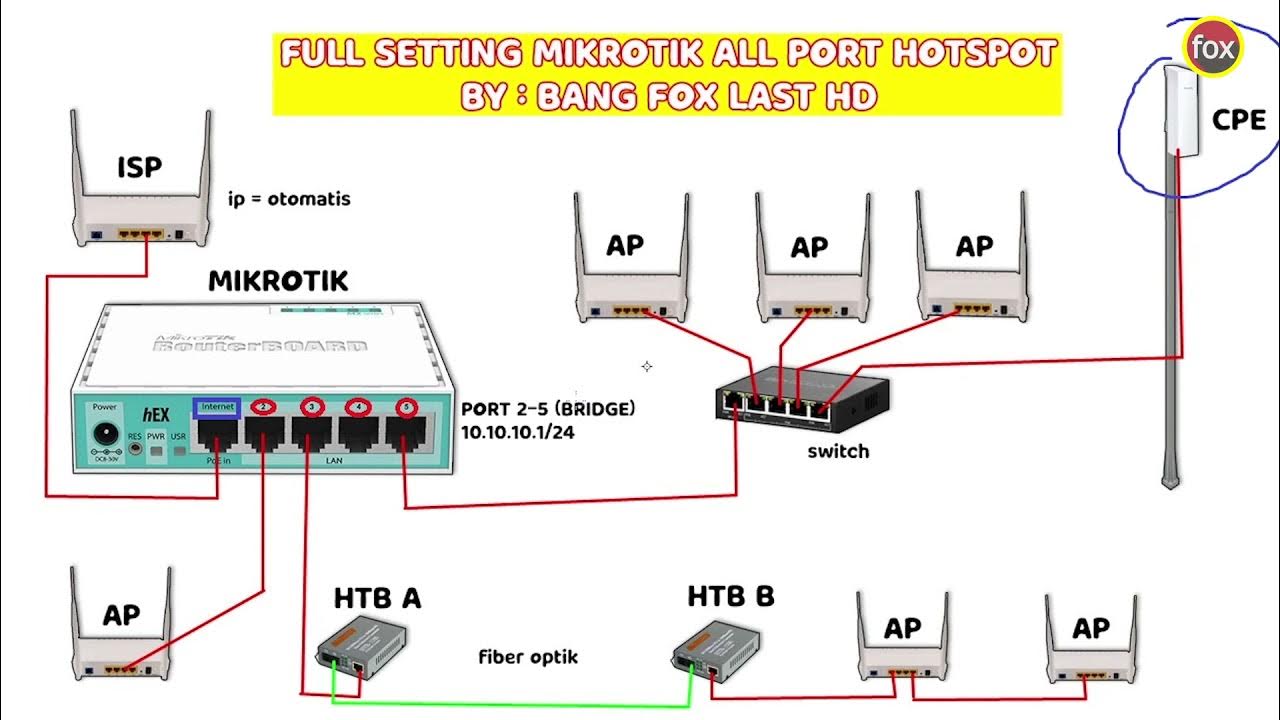
Full Setting Mikrotik Semua Port Bridge untuk Mode Hotspot Voucheran + Topologi Settingan Mikrotik
5.0 / 5 (0 votes)