Lesson 52: Controlling DC Motor using two relays | Arduino Step By Step Course
Summary
TLDRThis Arduino tutorial by Robojax teaches viewers how to control the direction of a DC motor using two independent relay modules. It explains the basic principles of polarity in motor rotation, demonstrating how changing the connections can reverse direction. The video details the relay wiring, connection to an Arduino, and provides code examples for motor control. With both a simple and advanced code explanation, viewers can easily implement low or high trigger types. The tutorial concludes with practical demonstrations, showcasing successful motor operations and encouraging user interaction through comments and subscriptions.
Takeaways
- 😀 The tutorial focuses on controlling the direction of rotation of a DC motor using two independent relay modules.
- 🔄 The direction of the motor can be changed by switching the polarity of the power supply.
- ⚡ Relays can safely handle the motor's power requirements and isolate the Arduino from the motor circuit.
- 🛠️ The relay module has three terminals: common, normally closed (NC), and normally open (NO).
- 🔌 The Arduino sends signals to the relays, enabling control over the motor's rotation.
- 📊 Calculating the power rating for relays is essential; for instance, a 15A relay for 125V or a 10A relay for 250V.
- 💡 The motor can only be controlled indirectly through relays, as it requires higher currents than the Arduino can provide.
- 🕹️ The setup includes defining relay pins in the Arduino code and using the digitalWrite function to control them.
- ⏲️ A practical example in the script shows the motor rotating counterclockwise for three seconds before stopping.
- 📈 The advanced code example allows for easy switching between high and low trigger settings for better control.
Q & A
What is the main objective of the video?
-The main objective of the video is to demonstrate how to change the direction of rotation of a DC motor using an Arduino and a dual relay module.
How does changing the polarity affect the rotation of a DC motor?
-Changing the polarity of the power supply to the DC motor reverses its direction of rotation. For example, connecting the positive terminal to one wire and the negative to the other will cause the motor to rotate in one direction, while switching them will reverse that direction.
What are the components mentioned for controlling the motor?
-The components mentioned include an Arduino board, a dual relay module, a DC motor, a power supply (battery), and connecting wires.
What is the function of the relay in this setup?
-The relay acts as a switch that allows the Arduino to control the power supplied to the motor. It can turn the motor on or off and change its direction by switching the connections.
What does NC and NO mean in the context of relays?
-NC stands for 'Normally Closed,' meaning the relay is closed (allows current to flow) when not activated. NO stands for 'Normally Open,' meaning the relay is open (does not allow current to flow) until it is activated.
How is the relay module powered?
-The relay module is powered by connecting its VCC pin to the 5V output of the Arduino and its ground pin to the ground of the Arduino.
What code changes are required to operate the motor?
-In the Arduino code, you define the pins for each relay, set them as outputs, and then use digitalWrite commands to control the relays, allowing you to change the motor's direction and stop it.
What safety feature is mentioned regarding the relay module?
-The relay module includes an optocoupler, which isolates the Arduino from the high power side of the circuit, enhancing safety by preventing high voltages from affecting the Arduino.
What does the term 'high trigger' and 'low trigger' refer to in the code?
-'High trigger' means that the relay is activated by sending a high signal (5V), while 'low trigger' means it is activated by sending a low signal (0V). The video explains how to configure the code based on which trigger type is used.
What is the significance of the serial monitor in the Arduino code?
-The serial monitor is used for debugging and provides feedback on the motor's status, such as whether it is rotating clockwise or counterclockwise, or if it has stopped.
Outlines

This section is available to paid users only. Please upgrade to access this part.
Upgrade NowMindmap

This section is available to paid users only. Please upgrade to access this part.
Upgrade NowKeywords

This section is available to paid users only. Please upgrade to access this part.
Upgrade NowHighlights

This section is available to paid users only. Please upgrade to access this part.
Upgrade NowTranscripts

This section is available to paid users only. Please upgrade to access this part.
Upgrade NowBrowse More Related Video
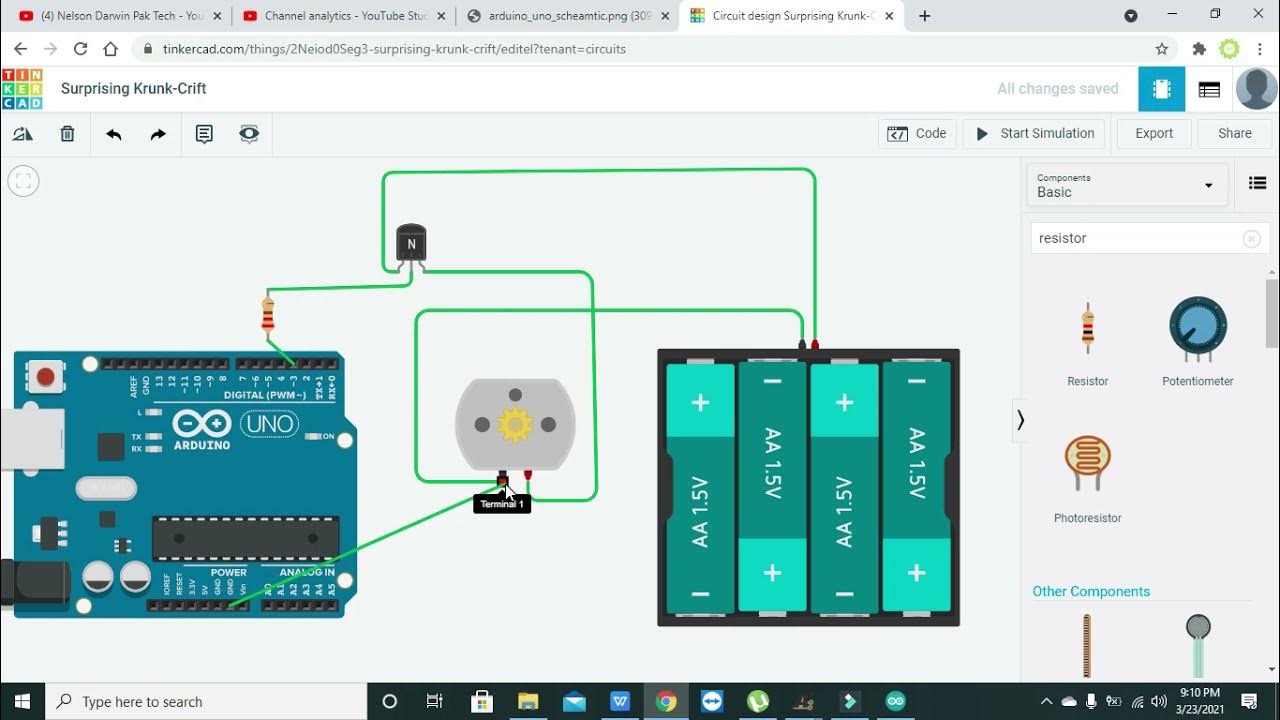
motor speed controller with arduino in tinkercad | motor speed controller with PWM in tinkercad

Obstacle Avoiding Robot Car Using An Arduino
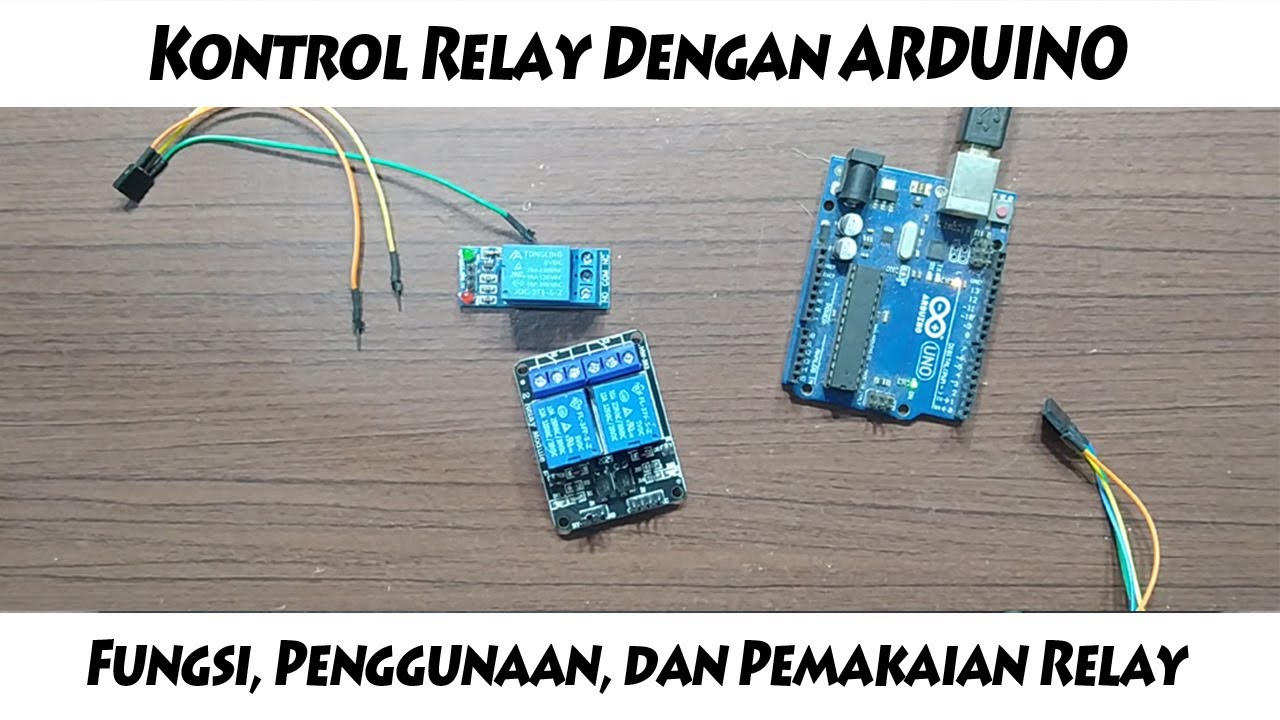
Cara penggunaan dan pengoperasian relay dengan ARDUINO UNO
Arduino - Aula 23 - Experimento 9 - Motor com potenciômetro

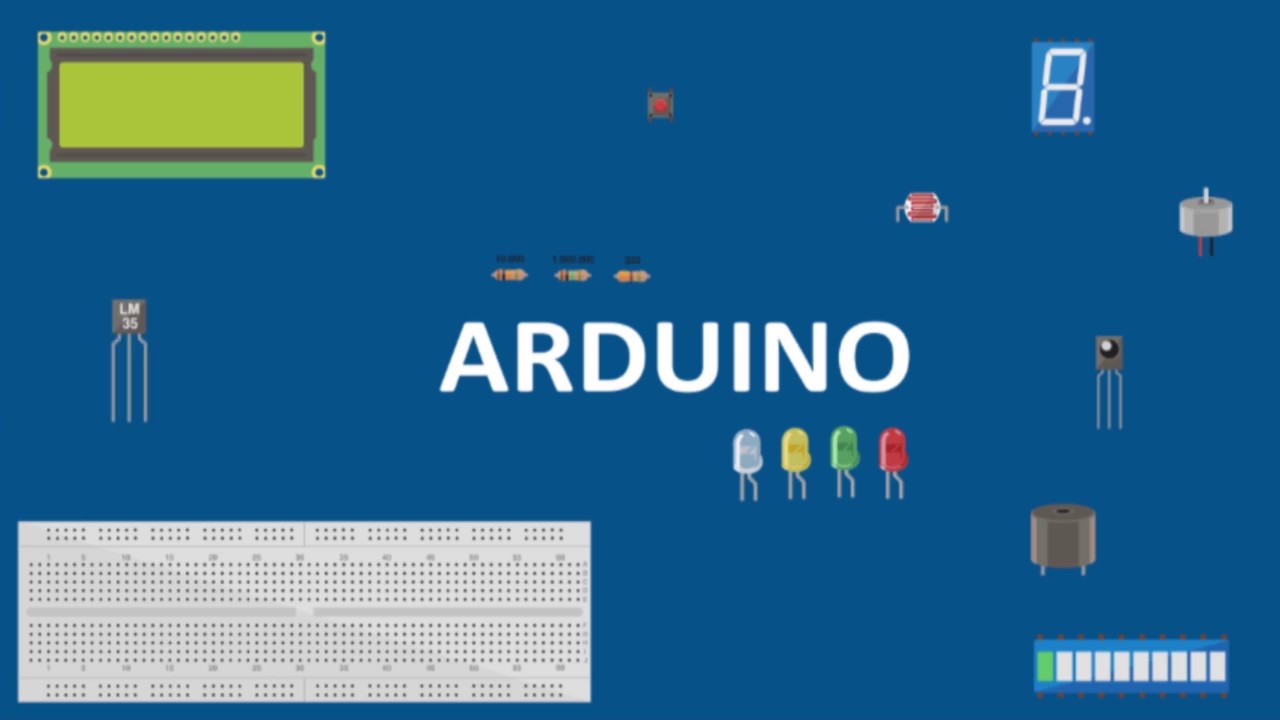
COMO AUTOMATIZAR TUDO COM ARDUINO - O guia definitivo
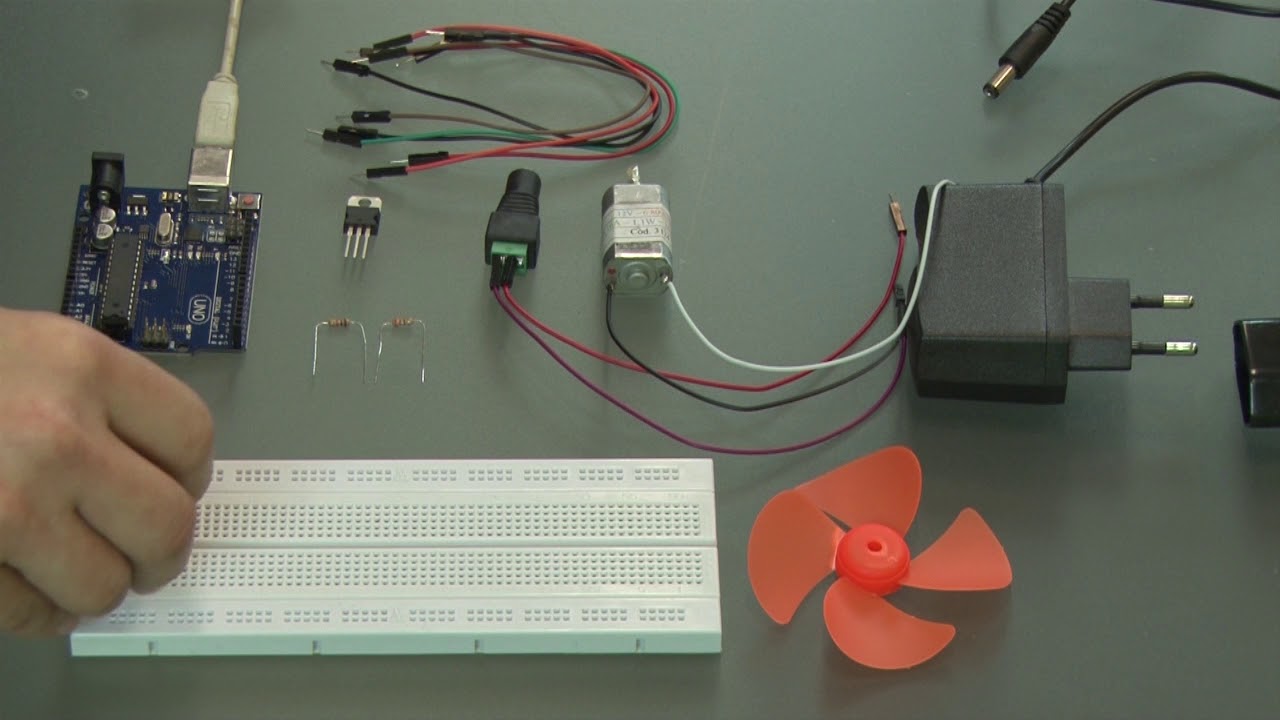
Arduino - Aula 22 - Experimento 9 - Motor elétrico
5.0 / 5 (0 votes)