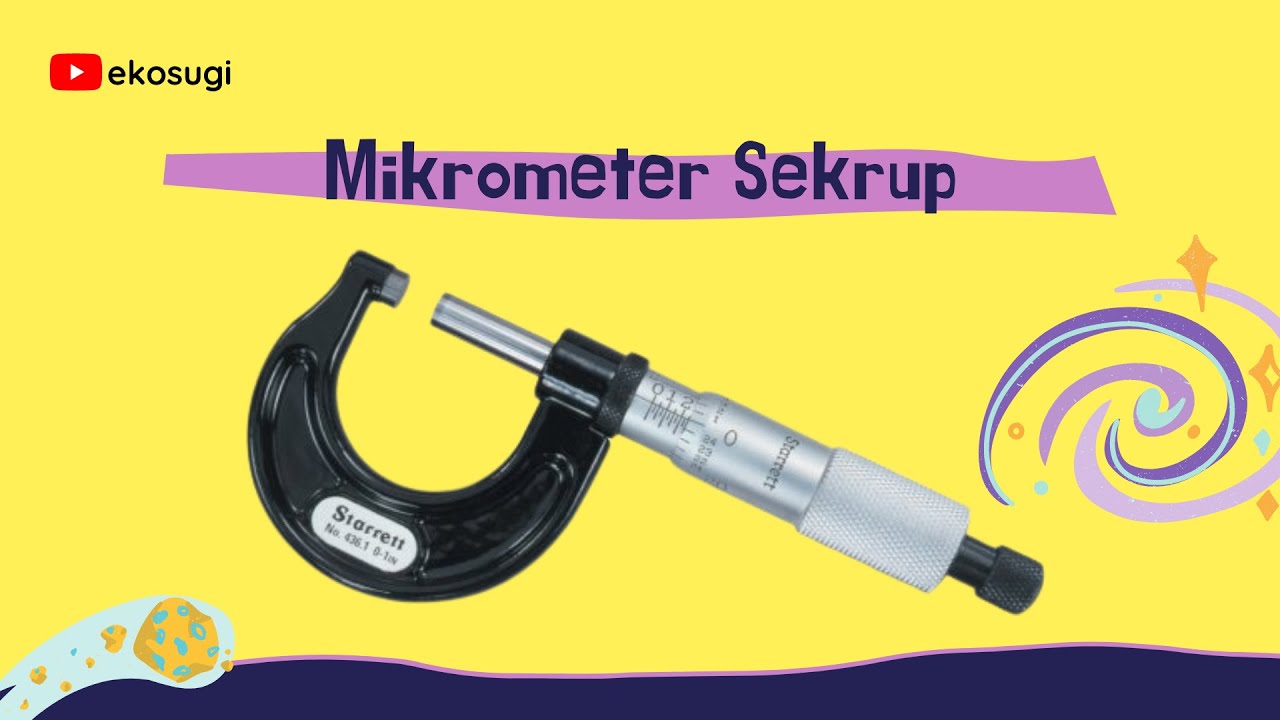
Cara Menggunakan Mikrometer Sekrup
Summary
TLDRThis video explains the use of a micrometer screw gauge, a precision tool for measuring the thickness of objects up to 25 mm. It highlights the micrometer's accuracy of 0.01 mm and provides step-by-step instructions for its operation. The video covers parts of the tool, such as the frame, spindle, ratchet, and lock, and describes the calibration process to align the main and vernier scales. It also details how to take measurements by interpreting both the main scale and vernier scale to obtain an accurate reading.
Takeaways
- 📏 Micrometer screw gauge is a measurement tool used to measure the thickness of an object.
- 📏 It has a limited measuring range, with a maximum measurement of 25 mm.
- 🎯 One of the key differences of the micrometer is its accuracy, which can reach up to 0.01 mm.
- 🛠️ Parts of the micrometer include the frame, main scale, vernier scale, anvil, spindle, thimble, and the locking mechanism.
- 🔧 Before using the micrometer, calibration must be done to align the main scale with the vernier scale.
- 🔄 Calibration involves rotating the ratchet until the spindle touches the anvil and ensuring the scales align.
- 📐 After calibration, the object to be measured is placed between the spindle and anvil, and the spindle is adjusted using the ratchet.
- 🔒 Once the spindle touches the object, the ratchet makes a sound, and the micrometer can be locked to maintain the position.
- 👁️ The main scale provides the coarse measurement, where the last line passed by the thimble is read.
- 🔢 The vernier scale provides the decimal value, and the final measurement is the sum of the main and vernier scale readings.
Q & A
What is a micrometer screw gauge used for?
-A micrometer screw gauge is used to measure the thickness of an object, but it has limitations on the thickness it can measure, with a maximum range of 25 mm.
What sets a micrometer apart from other measuring tools?
-A micrometer is distinguished by its precision, which can measure up to 0.01 mm, making it more accurate than many other tools.
What are the main parts of a micrometer screw gauge?
-The main parts include the frame, the main scale, the vernier scale (nonius), the anvil (fixed shaft), the spindle (moving shaft), the ratchet, and the lock.
What is the purpose of calibrating the micrometer before use?
-Calibrating ensures that the main scale is synchronized with the vernier scale for accurate measurements. This is done by aligning the zero mark of both scales.
How do you perform calibration on a micrometer?
-To calibrate, turn the ratchet until the spindle touches the anvil, and ensure the horizontal line on the main scale aligns with the zero line on the vernier scale. Adjust with a special key if necessary.
How do you measure an object using the micrometer?
-Place the object on the anvil and turn the ratchet until the spindle clamps the object. Once the spindle touches the object and the ratchet clicks, lock the micrometer to keep the spindle in place.
How do you read the coarse measurement on a micrometer?
-To get the coarse measurement, check the last visible line on the main scale before the thimble. The top and bottom lines represent 1 mm each, and the bottom line can show half values, like 0.5 mm.
How do you determine the decimal measurement using the vernier scale?
-Look for the line on the vernier scale that aligns perfectly with the horizontal line on the main scale. Each line on the vernier scale is worth 0.01 mm.
How do you calculate the final measurement?
-Add the coarse measurement from the main scale and the decimal value from the vernier scale to get the final measurement. For example, a coarse reading of 11.5 mm plus a vernier reading of 0.46 mm results in 11.96 mm.
What should you do if the measurement lines on the scales are not aligned during calibration?
-If the lines are not aligned, use the special calibration key provided with the micrometer to adjust the main scale until it matches the zero on the vernier scale.
Outlines

This section is available to paid users only. Please upgrade to access this part.
Upgrade NowMindmap

This section is available to paid users only. Please upgrade to access this part.
Upgrade NowKeywords

This section is available to paid users only. Please upgrade to access this part.
Upgrade NowHighlights

This section is available to paid users only. Please upgrade to access this part.
Upgrade NowTranscripts

This section is available to paid users only. Please upgrade to access this part.
Upgrade NowBrowse More Related Video
Bagian Mikrometer Sekrup dan Fungsinya

Pengukuran Mikrometer Sekrup IPA Kelas 7 SMPMTs - EDURAYA MENGAJAR IPA 7

Screw Gauge Experiment Introduction Edunovus Online Smart Practicals

Pengukuran | Jangka Sorong | IPA Kelas 7 SMP/MTs | EDURAYA MENGAJAR

Cara Menggunakan + Menghitung Jangka Sorong
Mengukur Keausan Blok silinder sepeda Motor
5.0 / 5 (0 votes)