Perspective for Beginners
Summary
TLDREste vídeo enseña cómo dibujar en perspectiva de una manera sencilla utilizando el concepto de 'caja'. Se explica el uso de ejes XYZ en el espacio 3D y cómo se relacionan con la perspectiva. Se detalla cómo dibujar una escena en perspectiva de un punto, incluyendo cómo establecer la línea del horizonte, el punto de desvanecimiento y cómo dibujar y proyectar cajas en diferentes posiciones y ángulos. Además, se ofrece un ejercicio de calentamiento para practicar dibujar cajas en perspectiva de un punto y se menciona la limitación de esta técnica, que es que las caras frontales de las cajas siempre deben enfrentar al espectador.
Takeaways
- 📦 El aprendizaje de la perspectiva comienza con cajas simples y pasos manejables.
- 🧭 Los ejes XYZ se utilizan para describir la rotación y movimiento de objetos en el espacio 3D.
- 🌅 La línea del horizonte es clave para establecer el entorno en una composición de perspectiva.
- 📍 El punto de fuga es el lugar donde las líneas de un eje convergen en la distancia.
- 🔄 En perspectiva de un punto, los objetos deben extruirse hacia el punto de fuga para ganar profundidad.
- ⬇️ Si una caja está debajo de la línea del horizonte, se ve desde arriba; si está arriba, se ve desde abajo.
- 🔲 Los objetos en perspectiva de un punto tienen siempre su plano frontal paralelo al espectador.
- 🧱 Si la caja está a la derecha, izquierda o directamente debajo del punto de fuga, solo se ven dos planos.
- 🔄 La perspectiva de un punto es útil pero limitada, ya que no permite rotar los objetos sin crear más puntos de fuga.
- 📐 El ejercicio de dibujar cajas en perspectiva de un punto ayuda a practicar la proporción y proyección de líneas.
Q & A
¿Cuál es el primer concepto clave que se debe entender al dibujar en perspectiva?
-El primer concepto clave es el uso de los ejes XYZ en el espacio 3D, donde el eje X representa el ancho, el eje Y la altura y el eje Z la profundidad.
¿Qué es la línea del horizonte en una escena en perspectiva?
-La línea del horizonte es la línea donde el plano del suelo se encuentra con el cielo. Es fundamental para establecer el entorno y puede colocarse en cualquier parte de la página.
¿Qué es el punto de fuga en una escena de perspectiva de un punto?
-El punto de fuga es un punto imaginario donde convergen todas las líneas paralelas de un objeto en una dirección, en este caso a lo largo de uno de los ejes de la caja.
¿Qué sucede cuando una caja está por debajo de la línea del horizonte?
-Cuando una caja está por debajo de la línea del horizonte, estamos viéndola desde arriba, por lo que veremos su plano superior.
¿Cómo se capta la profundidad de una caja en perspectiva de un punto?
-Para captar la profundidad, se extruyen las líneas de los bordes de la caja hacia el punto de fuga y se cierra el plano posterior de la caja con una línea horizontal.
¿Qué indica cuando se dibuja una caja pasando a través de la línea del horizonte?
-Indica que la caja no está ni por encima ni por debajo de la línea del horizonte, por lo que solo veremos su plano lateral.
¿Cómo cambia la perspectiva si se dibuja una caja fuera del centro del punto de fuga?
-Cuando una caja está fuera del centro del punto de fuga, comenzamos a ver más de un plano, como el lateral y el superior o inferior, dependiendo de la posición de la caja.
¿Qué limitación tiene la perspectiva de un punto?
-La principal limitación de la perspectiva de un punto es que el plano frontal de la caja siempre debe mirar directamente al espectador. Esto puede hacer que las escenas con objetos o personajes más complejos se vean poco naturales.
¿Por qué es útil practicar la proyección de líneas hacia el punto de fuga?
-Es útil porque al aprender a proyectar correctamente las líneas, puedes crear cajas que se extienden hacia el espacio, lo que mejora tu capacidad para dibujar objetos tridimensionales de manera precisa.
¿Qué ejercicios recomienda el instructor para mejorar el dominio de la perspectiva?
-El instructor recomienda practicar dibujar cajas en diferentes posiciones usando la perspectiva de un punto, como moverlas hacia arriba, abajo, a la izquierda y derecha, y proyectarlas hacia el fondo.
Outlines

This section is available to paid users only. Please upgrade to access this part.
Upgrade NowMindmap

This section is available to paid users only. Please upgrade to access this part.
Upgrade NowKeywords

This section is available to paid users only. Please upgrade to access this part.
Upgrade NowHighlights

This section is available to paid users only. Please upgrade to access this part.
Upgrade NowTranscripts

This section is available to paid users only. Please upgrade to access this part.
Upgrade NowBrowse More Related Video
AutoCAD 2D 08 Ventanas y Puertas
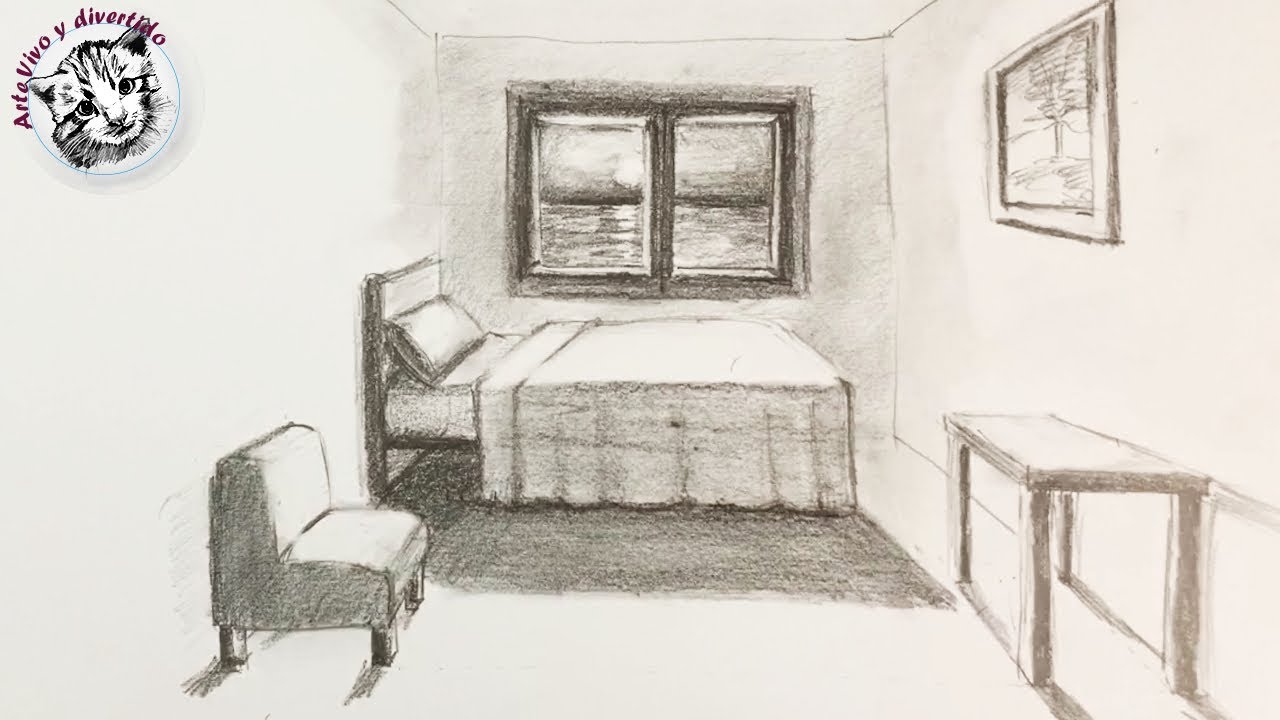
How to Draw a Room in Perspective of a Very Easy Point and Step by Step
Hacer TABLAS en WORD ✏️ Cómo Insertar y Editar una Tabla o Cuadros 💼

Dibuja lo que tu quieras usando una Cuadricula

CAJA SORPRESA con MARIPOSAS VOLADORAS🦋 actualizado!😱+ Moldes | Tu Diva Creativa
¿CÓMO HACER UNA CÁMARA ? - La primera fotografía de Colombia
5.0 / 5 (0 votes)
