Cara crimping kabel LAN / Press Konektor RJ45 Anti gagal mudah dan rapih untuk pemula 100% bisa
Summary
TLDRIn this video, the presenter reviews an RJ45 crimping tool and demonstrates how to use it for crimping Cat 5E and Cat 6 cables. The process is explained step-by-step, focusing on achieving 'fail-proof' connections. The video covers tool features, including stripping, cutting, and aligning cables, and provides tips for successful crimping. A LAN tester is used to ensure proper cable connections. The presenter emphasizes the importance of using quality tools and hints at future tutorials, including crimping without specialized tools. The video is aimed at beginners interested in network cabling.
Takeaways
- 🔧 The video reviews a crimping tool (tang press) for RJ45 connectors, used mainly for crimping cables.
- 🛠️ The tool is designed for use with Cat 6 cables, but can also be used with Cat 5, though it might be a bit loose.
- 💡 The RJ45 connector is 'anti-fail' due to its easy application process, and the video provides a demonstration.
- ✂️ The crimping tool includes features like a cable cutter and stripper, as well as slots for 4-pin, 6-pin, and 8-pin connectors.
- 📏 The presenter emphasizes the importance of correctly stripping and preparing cables before crimping to avoid mistakes.
- ⚙️ The video demonstrates step-by-step instructions on how to use the crimping tool to press the RJ45 connector properly.
- 🧰 The crimping tool has anti-slip features and is recommended for its good build quality, especially for its price range under 50,000 IDR.
- 🔄 A LAN tester is used in the video to check if the crimped cable is functioning correctly, ensuring connectivity for all 8 wires.
- 🔗 The presenter suggests avoiding cheaper crimping tools (below 28,000 IDR) as they tend to wear out faster.
- 📦 The video will include links in the description for purchasing the crimping tool and RJ45 connectors, and future videos will cover crimping without a dedicated tool.
Q & A
What is the purpose of the video?
-The purpose of the video is to review a crimping tool for RJ45 connectors and demonstrate the process of crimping an RJ45 connector, highlighting a method that minimizes errors.
What type of crimping tool is being reviewed?
-The video reviews a three-in-one modular crimping tool designed for RJ45 connectors, which is used in creating network cables.
Why is the RJ45 connector described as 'anti-fail'?
-The RJ45 connector is described as 'anti-fail' because the process of installing it is made easier and less prone to mistakes, ensuring a successful crimping.
What type of cables is the presenter using in the demonstration?
-The presenter is using both Cat 5E and Cat 6 cables in the demonstration. The Cat 6 cable is thicker than the Cat 5E cable.
How does the presenter suggest preparing the cables before crimping?
-The presenter suggests using the crimping tool to straighten the cables before arranging them and cutting the excess cable with a cutter for a cleaner setup.
What additional tool does the presenter recommend using during the crimping process?
-The presenter recommends using an RJ45 tester or LAN tester to check if the crimping has been successful and if the cable is working properly.
What are the differences between Cat 5E and Cat 6 cables according to the video?
-Cat 6 cables are thicker than Cat 5E cables and have a sturdier build. The video also notes that Cat 5E cables sometimes contain a string inside, while Cat 6 cables are more robust.
What does the presenter emphasize about cutting the cable during the crimping process?
-The presenter emphasizes cutting the cable from the top side, not the bottom, to avoid damaging the internal components of the cable.
How does the presenter check if the crimping process has been successful?
-The presenter checks the success of the crimping by using an RJ45 tester, ensuring that all eight LED lights indicate a proper connection.
What advice does the presenter give regarding the quality of crimping tools?
-The presenter advises not to purchase crimping tools that cost less than 28,000 Indonesian Rupiahs, as they are prone to wear out quickly. Instead, he recommends spending slightly more for a reliable, durable tool.
Outlines

This section is available to paid users only. Please upgrade to access this part.
Upgrade NowMindmap

This section is available to paid users only. Please upgrade to access this part.
Upgrade NowKeywords

This section is available to paid users only. Please upgrade to access this part.
Upgrade NowHighlights

This section is available to paid users only. Please upgrade to access this part.
Upgrade NowTranscripts

This section is available to paid users only. Please upgrade to access this part.
Upgrade NowBrowse More Related Video
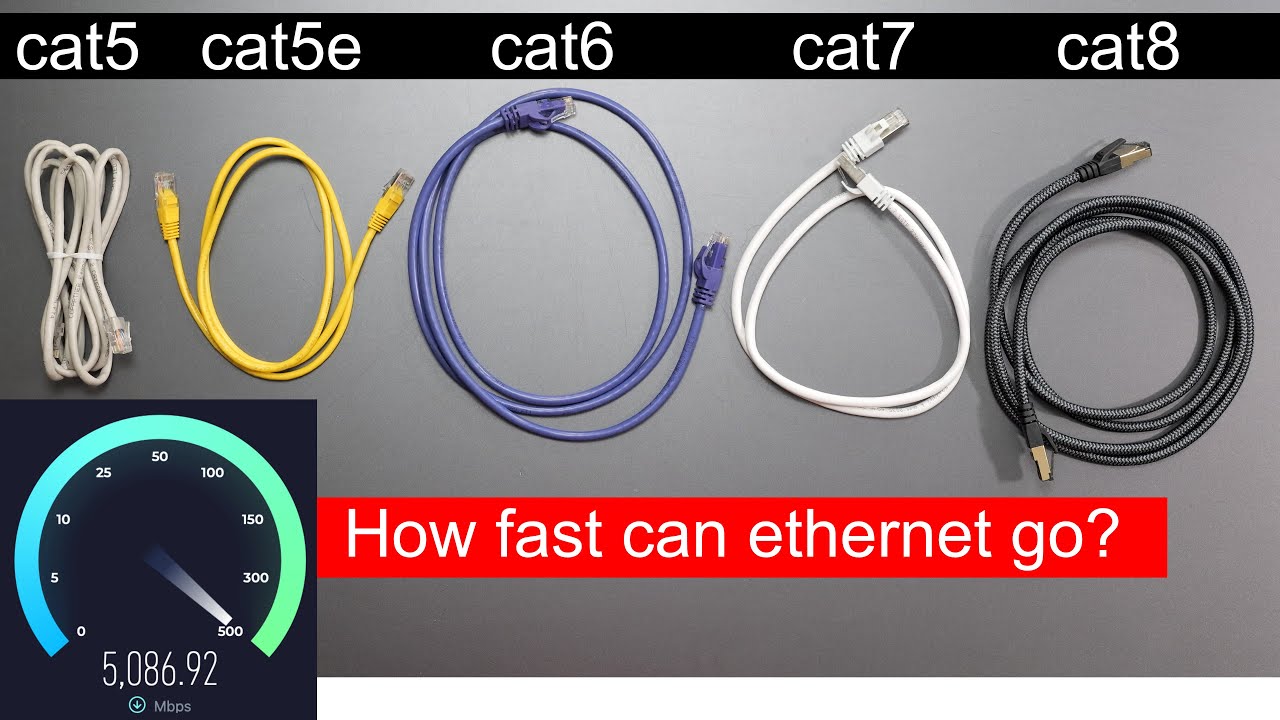
I Tested EVERY Ethernet Cable... You WON'T Believe the Results!

How to Wire Up Ethernet Plugs the EASY WAY! (Cat5e / Cat6 RJ45 Pass Through Connectors)

Cara Crimping Kabel LAN/UTP RJ45 Cat 6 ‼️ (Straight)

CÓMO CRIMPAR UN CONECTOR RJ45 | CONSTRUCCIÓN CABLE ETHERNET

Instalasi Jaringan Kabel - Sistem Informatika, Jaringan, dan Aplikasi
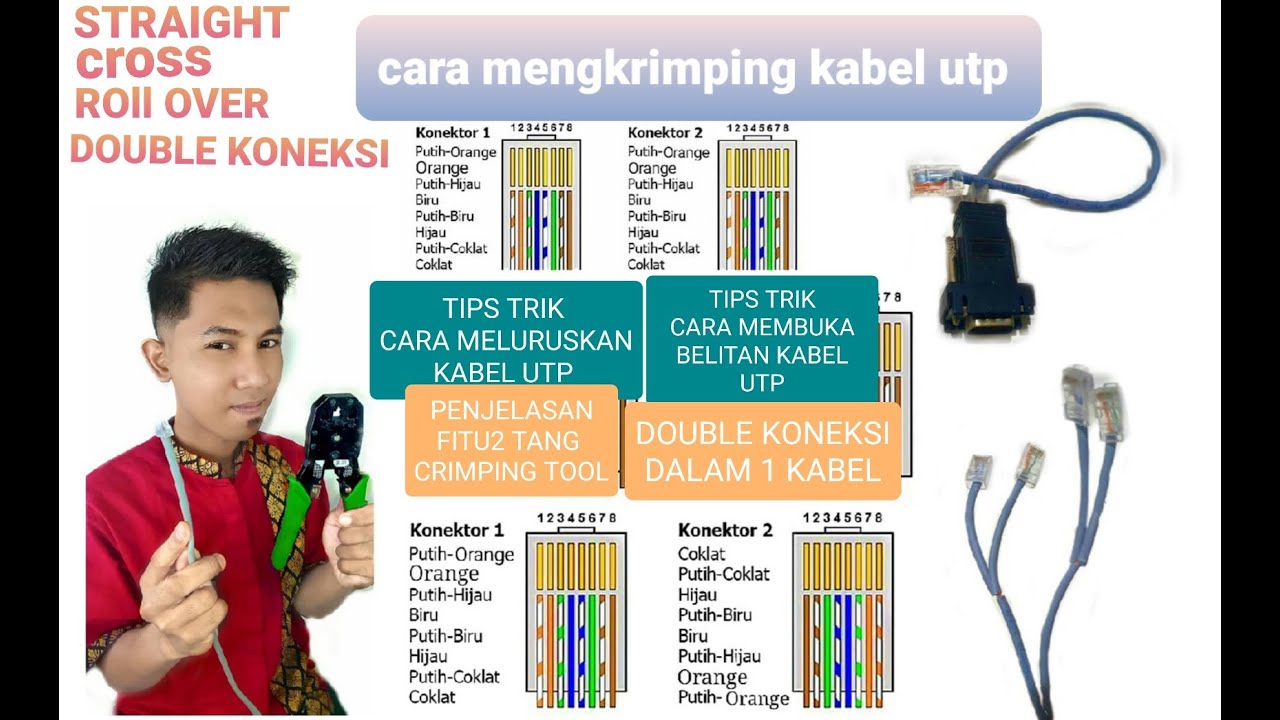
Cara mengkrimping kabel UTP ( kabel Lan ) | straight , cross , rollover dan DOUBLE KONEKSI
5.0 / 5 (0 votes)