Part Modeling - Create Revolve Features
Summary
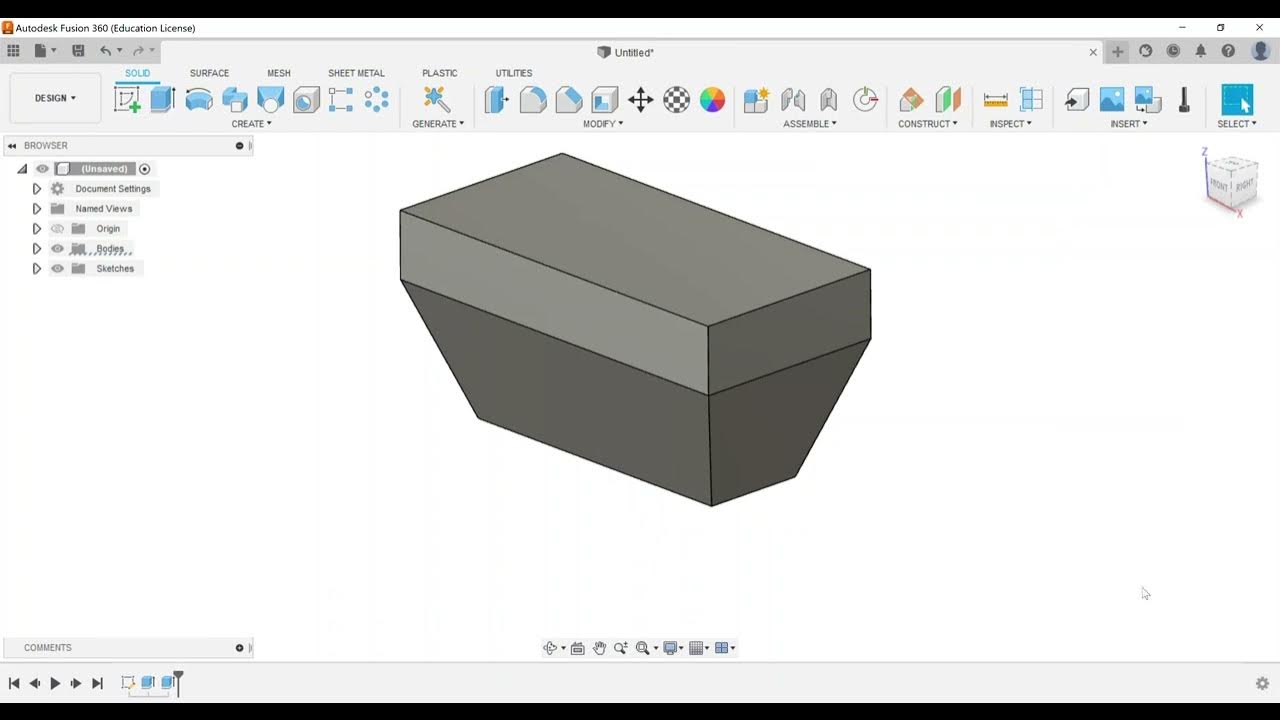
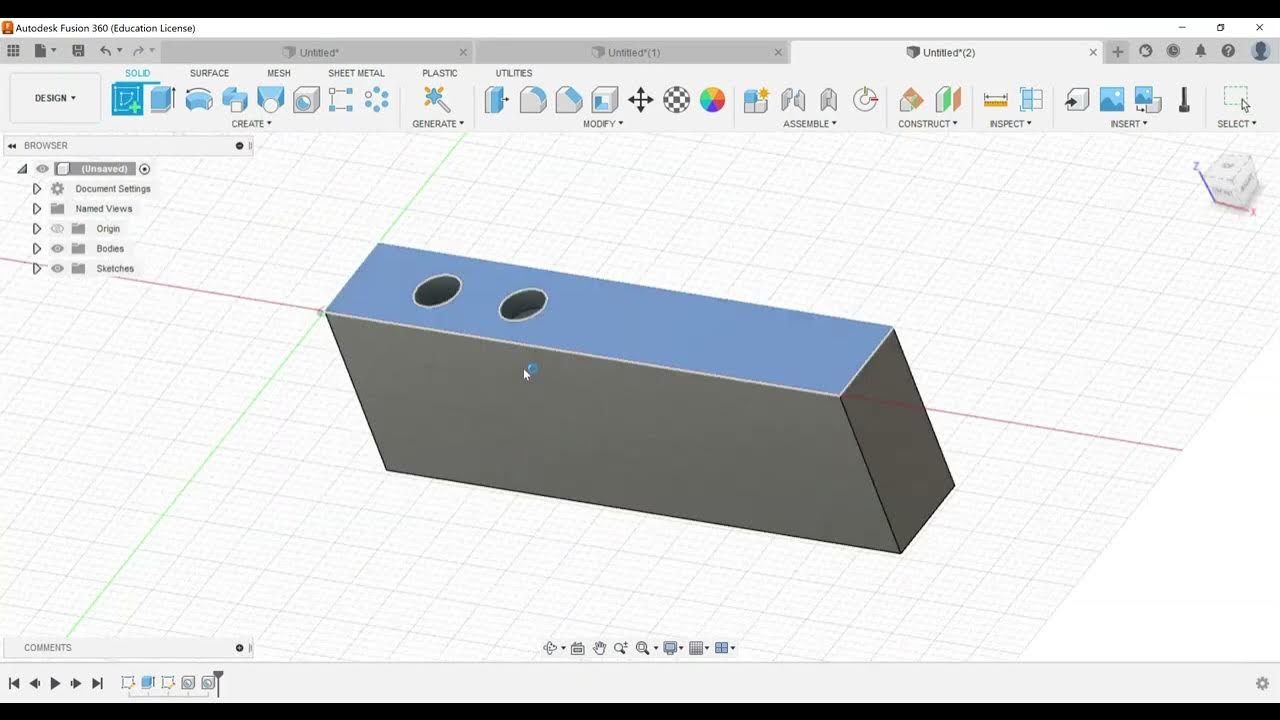
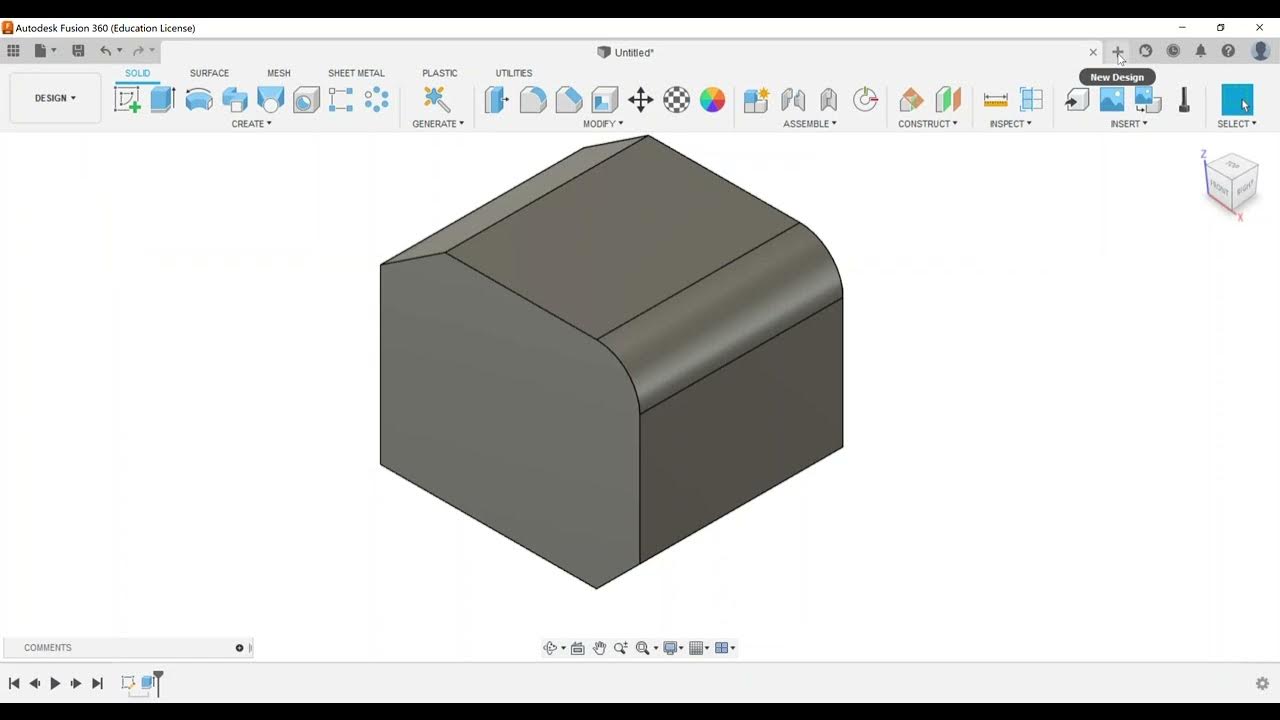
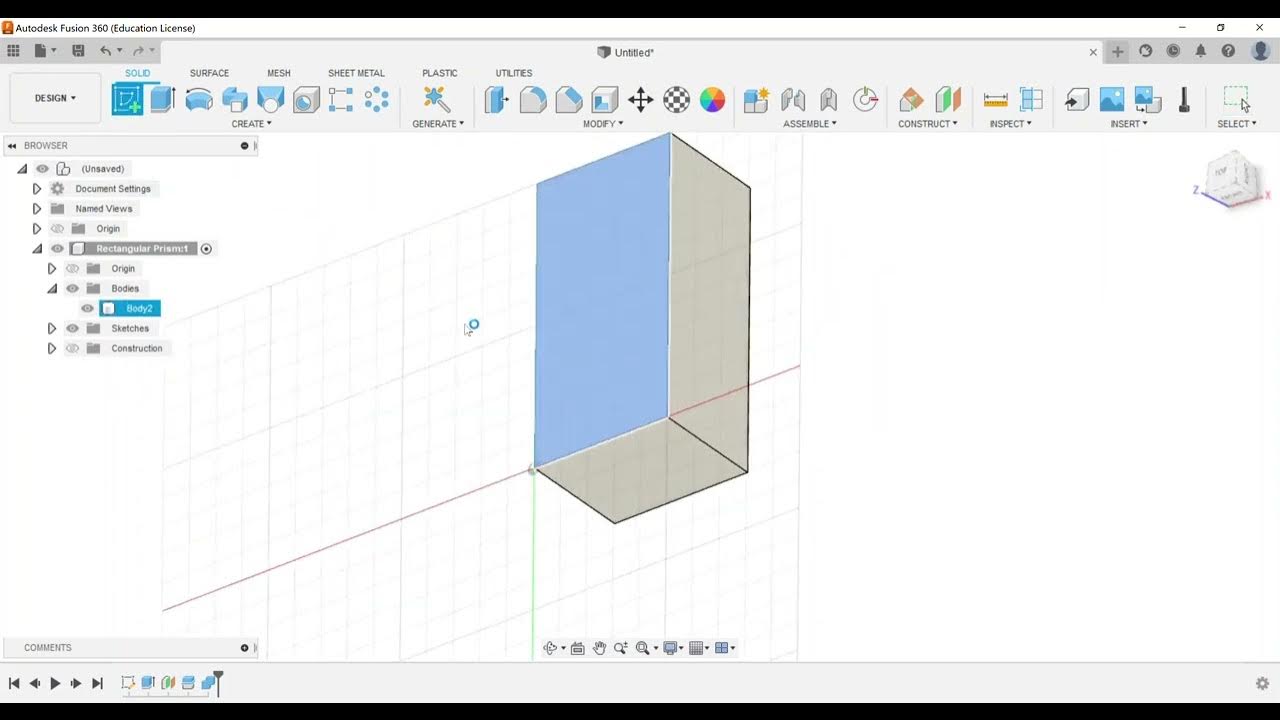
TLDRThis tutorial focuses on creating revolve features in Autodesk Fusion 360 for part modeling. It covers setting up a centerline, sketching a profile, and choosing the revolve axis. The instructor demonstrates full and partial revolutions, two-sided and symmetric options, and how to create a groove by revolving a small sketch. Additionally, it touches on using different revolution axes for varied shapes and the potential to utilize construction geometry for complex part design.
Takeaways
- 🎯 Start by creating a sketch in Fusion 360 for part modeling.
- 🔄 Understand the importance of setting up a centerline or axis for revolve features.
- 📏 Add dimensions to your sketch for accurate modeling.
- 🔧 Choose the profile and axis carefully to create the desired revolved part.
- 🔄 Revolve features can create full or partial (e.g., 270 degrees) revolutions.
- 🔄 Explore different directions for two-sided revolutions.
- 🔄 Symmetric option allows for equal revolution on both sides of the profile.
- ✂️ Use revolve features to create cut, intersect, or new component operations.
- 🔩 Project edges to create grooves or other features within the part.
- 🔄 Selecting different revolution axes can result in different part shapes.
- 🔄 Leave space from the origin in your sketch to create parts with a central hole.
Q & A
What is the main topic of the video script?
-The main topic of the video script is creating revolve features in Autodesk Fusion 360 for part modeling.
What is the first step when creating a revolve feature?
-The first step is to create a sketch based off the front work plane.
Why is setting up a center line or axis important for a revolve feature?
-Setting up a center line or axis is important because it defines the axis around which the sketch will revolve.
What does the script suggest doing after creating the sketch?
-After creating the sketch, the script suggests choosing the revolve feature and then selecting the profile and the axis for the revolve.
How can you control the angle of revolution in Fusion 360?
-You can control the angle of revolution by using the grip or by typing in a number to specify the degrees, such as 270 degrees or 180 degrees.
What is a two-sided revolution and how is it different from a symmetric revolution?
-A two-sided revolution involves creating a shape by revolving the sketch around an axis on both sides, whereas a symmetric revolution creates a shape by revolving the sketch around an axis from the profile to a specified angle and then mirrors it to create a symmetrical part.
What options are available under the 'Operation' menu when creating a revolve feature?
-The options available under the 'Operation' menu are 'Cut', 'Intersect', and 'New Component'.
What does the script suggest doing if you want to create a groove in the part?
-To create a groove, the script suggests creating another sketch on the edge of the part, projecting the edges of the geometry, and then using the revolve feature to cut the groove.
How can you ensure that the sketch for the groove stays aligned with the edge of the part?
-To ensure alignment, you can use horizontal and vertical constraints and choose points to position the sketch correctly against the edge.
What happens if you choose a different revolution axis after hitting cancel?
-Choosing a different revolution axis after hitting cancel allows you to create an entirely different shape based on the new axis selection.
What is the purpose of leaving room from the origin when creating a sketch for a revolve feature?
-Leaving room from the origin when creating a sketch allows for the creation of a part with a hole in the center, which can be utilized for various design purposes.
Outlines

This section is available to paid users only. Please upgrade to access this part.
Upgrade NowMindmap

This section is available to paid users only. Please upgrade to access this part.
Upgrade NowKeywords

This section is available to paid users only. Please upgrade to access this part.
Upgrade NowHighlights

This section is available to paid users only. Please upgrade to access this part.
Upgrade NowTranscripts

This section is available to paid users only. Please upgrade to access this part.
Upgrade Now5.0 / 5 (0 votes)


