Metal Lathe Basics Tutorial | How To Use A Metal Lathe
Summary
TLDRIn this instructional video, Amber and the team demonstrate basic machining operations on an old Logan 200 lathe from the 1940s. They cover essential topics like bit sharpening, adjusting lathe speeds and back gears, and the importance of angles for effective chip dispersal and heat management. The tutorial also touches on using a three-jaw chuck, automatic feed mechanisms, and the tailstock for support and drilling. Safety tips, like keeping long hair and sleeves away from moving parts, are emphasized to ensure a safe machining experience.
Takeaways
- 🛠️ The video features a tutorial on basic machining operations using an old Logan 200 lathe from the 1940s.
- ⚙️ The lathe has three different speeds controlled by pulleys and spindles, and a back gear system for slower speeds.
- 🔩 Bit sharpening is emphasized as an important aspect of lathe operation, with discussions on back rake, side rake, and nose radius.
- 🔨 The tutorial covers the importance of chip dispersal and heat management in the context of bit design and operation.
- 🛡️ Safety tips are provided, such as keeping long hair tied back and long sleeves away from the spinning lathe.
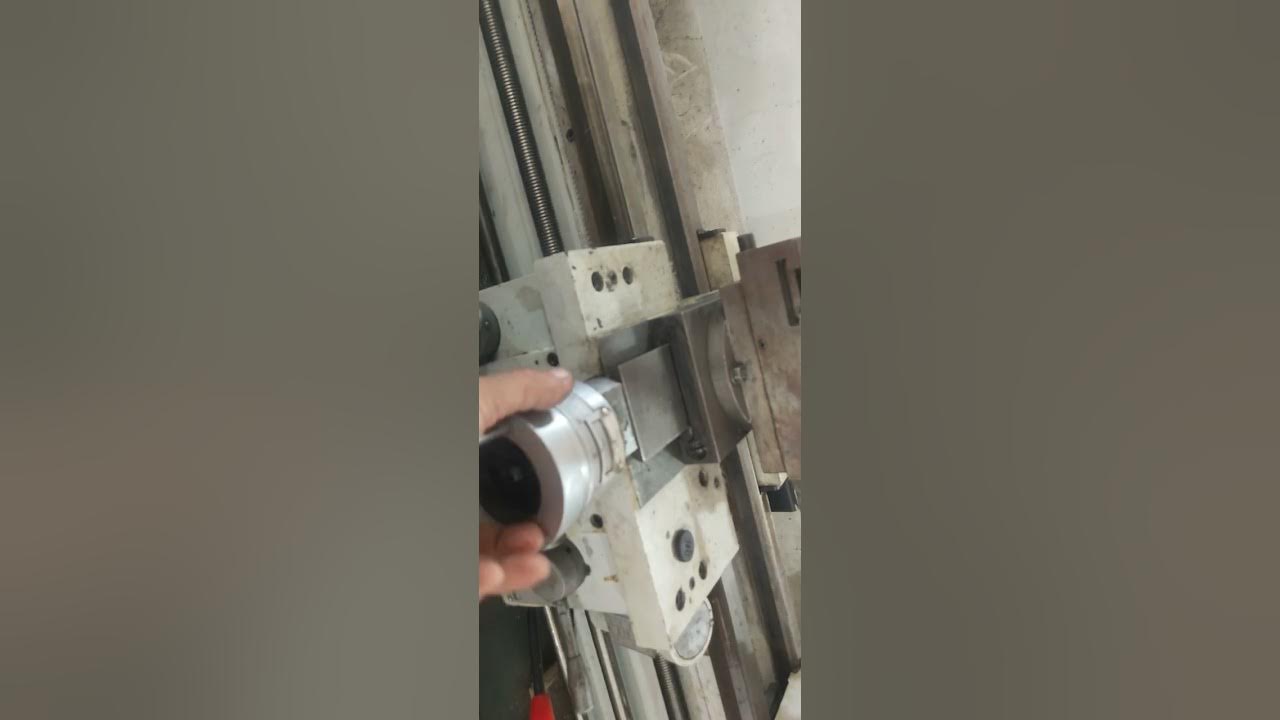
- 🔩 The video explains how to set up the bit in a three-jaw chuck, ensuring it's centered and secure for operation.
- 🔧 The use of automatic feed for consistent cutting and facing is demonstrated, along with how to engage and disengage the feature.
- 🔩 The role of the tailstock is discussed, including using a live center for support on long workpieces and for drilling operations.
- 💡 The importance of lubrication in reducing heat and preventing dulling of tools, especially when drilling or tapping, is highlighted.
- ❓ The video concludes with an invitation for viewers to ask questions or request further details on specific topics for future videos.
Q & A
What is the main topic of the video?
-The main topic of the video is basic machining operations, specifically focusing on bit sharpening for a small lathe.
What type of lathe is being demonstrated in the video?
-The video demonstrates an old Logan 200 lathe from the 1940s, which is a small lathe that might be found at tool sales or estate sales.
What are the three different speeds on the lathe?
-The lathe has three different speeds which are changed by adjusting the pulleys, spindles, and belt.
What is a back gear and how does it affect the lathe's speed?
-A back gear is a mechanism that, when engaged, comes into contact and slows down the lathe's speed, providing an additional slower speed option.
Why is bit sharpening important in machining?
-Bit sharpening is important because it affects the cutting performance, chip dispersal, heat management, and the longevity of the bit itself.
What is the significance of the back rake and side rake angles on a bit?
-The back rake angle affects high force cutting, while the side rake angle influences chip dispersal and heat management. Proper angles are crucial for efficient and safe machining.
Why is the nose radius important when grinding a bit?
-The nose radius helps prevent the bit from cracking, chipping, or wearing out too quickly by providing a smooth transition for the cutting edge.
What is the purpose of the clearance angle when grinding a bit?
-The clearance angle ensures that the bit does not chatter or bind when making cuts, allowing for smoother and more accurate machining.
How does the video instructor recommend sharpening bits, especially for high-speed steel?
-The instructor recommends sharpening bits by hand, noting that even if the grinding stone isn't perfectly squared off, it's not critical as long as the cutting edge is correctly angled.
What is the purpose of the automatic feed on a lathe?
-The automatic feed on a lathe is used to move the cutting tool into or away from the workpiece at a consistent rate, which is useful for tasks like threading or when a consistent cut is needed.
How can the tail stock be utilized in lathe operations?
-The tail stock can be used to support long workpieces, drill through the center of a workpiece, or for knurling operations, providing stability and precision.
Outlines

This section is available to paid users only. Please upgrade to access this part.
Upgrade NowMindmap

This section is available to paid users only. Please upgrade to access this part.
Upgrade NowKeywords

This section is available to paid users only. Please upgrade to access this part.
Upgrade NowHighlights

This section is available to paid users only. Please upgrade to access this part.
Upgrade NowTranscripts

This section is available to paid users only. Please upgrade to access this part.
Upgrade NowBrowse More Related Video
Latihan Soal Teknik Mesin/Pemesinan #mesin bubut
MESIN BUBUT - DEFINISI, CARA KERJA, JENIS-JENIS DAN BAGIAN-BAGIAN MESIN BUBUT
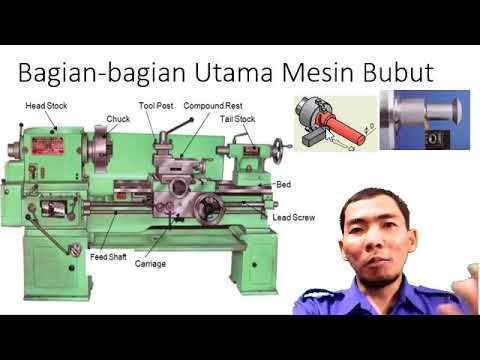
Bagian - bagian utama Mesin Bubut

Design for Manufacturing Course 8 Part 1: CNC - DragonInnovation.com
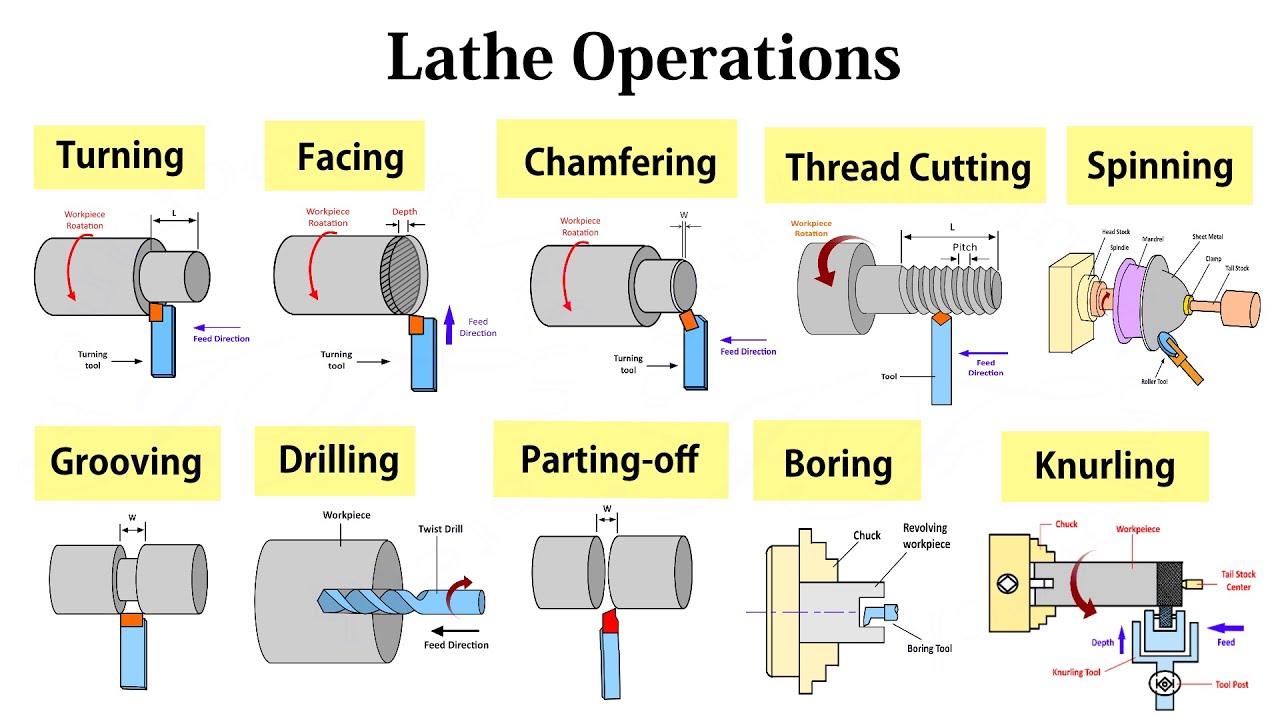
All Lathe Machine Operations: Turning, Facing, Taper Turning, Boring, Knurling, Tapping, Forming
bagian bagian mesin bubut
5.0 / 5 (0 votes)