How to Access CCNA Physical Racks: Step-by-Step Guide for Beginners! | #networkershome
Summary
TLDRIn this instructional video, Susin from Networkers Home's technical team demonstrates how to access the CCNA rack physically. The video explains the physical topology of the network, detailing the connection of four routers and four switches. It highlights the use of a terminal server to manage individual console access to each device. Susin guides viewers through connecting a console cable to a PC, using PuTTY software to access the terminal server, and navigating between different devices using specific commands. The video is designed to help students understand hands-on lab practices on physical racks.
Takeaways
- 👩💻 The video is a tutorial by Susin from Networkers Home's technical team, focused on demonstrating how to access a CCNA rack.
- 🔍 The tutorial covers both CCNA and CCNP pod numbers, such as 124, 123, and 156, indicating different lab setups.
- 🏢 The physical topology of the lab is explained, which includes four routers and four switches interconnected within the rack.
- 🔌 Console ports on the devices are used to access the Command Line Interface (CLI), and these are connected to a terminal server for centralized access.
- 📡 The terminal server, a Cisco 2500 series, is crucial for managing individual access to all devices in the rack.
- 💻 The process of connecting a console cable from the terminal server to a PC is outlined, using Device Manager to identify the communication port.
- 🖥️ The use of software like PuTTY or SecureCRT is mentioned for connecting to the terminal server via the identified communication port.
- 🔄 A specific key sequence (Ctrl+Alt+6) is used to switch between the terminal server and connected devices.
- 📝 The 'hosts' command is introduced to list all devices connected to the terminal server, aiding in device selection.
- 🔄 Troubleshooting steps are provided for 'connection refused' errors, suggesting clearing the line and retrying with the last two digits of the device identifier.
- 🔍 The video concludes with a demonstration of how to access multiple devices, emphasizing the hands-on practical experience students can gain.
Q & A
What is the main topic of the video?
-The main topic of the video is demonstrating how to take physical rack access for CCNA training, including understanding the physical topology and connecting to devices using a terminal server.
Who is the presenter in the video?
-The presenter in the video is Susin from the technical team at Networkers Home.
What does the acronym 'CCNA' stand for?
-CCNA stands for Cisco Certified Network Associate, a certification program offered by Cisco for networking professionals.
What is the purpose of a terminal server in the context of the video?
-The purpose of a terminal server in this context is to provide centralized access to all the devices connected in the rack, allowing users to connect to the console of each device through a single point.
How many routers and switches are mentioned in the video?
-The video mentions four routers (Router 1, Router 2, Router 3, Router 4) and four switches (Switch 1, Switch 2, Switch 3, Switch 4).
What is the function of the console port on the devices?
-The console port on the devices provides CLI (Command Line Interface) access, allowing users to configure and manage the devices.
How can users access the terminal server from their PC?
-Users can access the terminal server from their PC by connecting a USB serial cable from the terminal server to the PC and using software like PuTTY or any other terminal emulator to establish a connection.
What command is used to list the devices connected to the terminal server?
-The command used to list the devices connected to the terminal server is 'hosts'.
What is the procedure to jump into a specific device's console from the terminal server?
-To jump into a specific device's console from the terminal server, the user needs to press 'Control + Alt + 6', release all keys, and then press 'X' to return to the terminal server. Then, they can type the device's identifier (e.g., 'S1' for Switch 1) and press 'Enter'.
What should be done if the connection to a device is refused?
-If the connection to a device is refused, the user should clear the line by typing 'clear line' followed by the last two digits of the port number (e.g., '05' or '06') and try connecting again.
How can users switch between different devices' consoles once connected to the terminal server?
-Users can switch between different devices' consoles by returning to the terminal server using 'Control + Alt + 6' followed by 'X', and then typing the identifier of the desired device and pressing 'Enter'.
Outlines

This section is available to paid users only. Please upgrade to access this part.
Upgrade NowMindmap

This section is available to paid users only. Please upgrade to access this part.
Upgrade NowKeywords

This section is available to paid users only. Please upgrade to access this part.
Upgrade NowHighlights

This section is available to paid users only. Please upgrade to access this part.
Upgrade NowTranscripts

This section is available to paid users only. Please upgrade to access this part.
Upgrade NowBrowse More Related Video
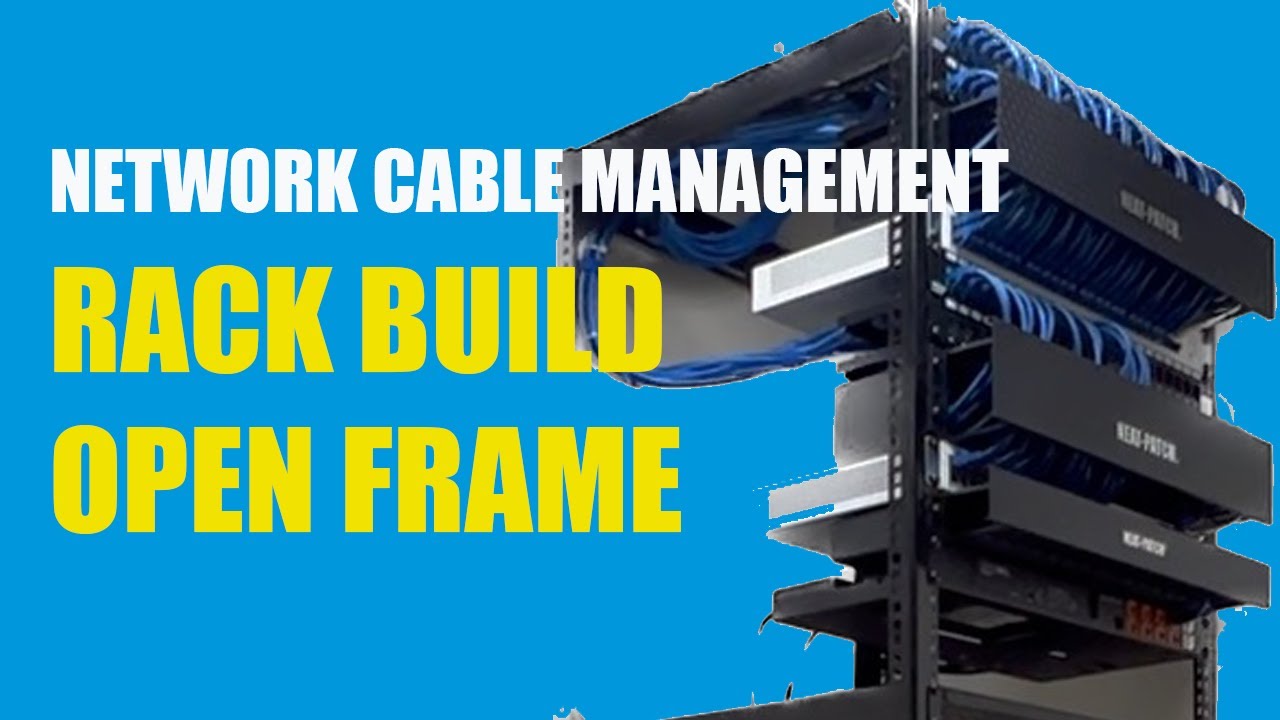
Learning Network Cable Management - A Small Business Open Frame Rack Build

The Rack Focus: How to Guide Viewers Eyes with a Shot List (Casino Royale) #rackfocus

What is a ROUTER? // FREE CCNA // EP 2

Alat sederhana tapi sangat berguna.PLN JANGAN SAMPAI TAU !!

Ultimate Solution for Zero Latency Monitoring Without DSP (Works with any Interface & any Daw)
Tipps zur Bemaßung
5.0 / 5 (0 votes)