Auto Annotation for generating segmentation dataset using YOLOv8 & SAM
Summary
TLDRIn this tutorial, Arohi demonstrates how to utilize the auto-annotation feature of the ultralytics package, which implements Meta AI's Segment Anything Model (SAM), for efficient image segmentation. The video explains the process of segmenting images and videos using SAM, and how to generate pixel-level annotations with the help of a pre-trained object detection model. It covers the technical requirements, steps to install ultralytics, and a detailed walkthrough of the auto-annotation function, showcasing its potential to save time and effort in creating accurate segmentation datasets.
Takeaways
- π The video is a tutorial on how to perform auto-annotation for image segmentation using the ultralytics package.
- π It highlights that image segmentation annotation is more time-consuming than object detection due to the need for pixel-level annotation.
- π Meta AI released a segmentation model called 'segment anything model' in April 2023, trained on a massive dataset with over 1 billion masks on 11 million images.
- π§ Ultralytics integrated the 'segment anything model' into their package and introduced an auto-annotation feature to automate image segmentation tasks.
- π» The tutorial uses Python 3.9, PyTorch 2.0.1, CUDA 11.7, and is demonstrated on an RTX 3090 GPU with ultralytics version 8.0.106.
- πΌοΈ The video demonstrates how to use the 'segment anything model' to segment images and videos, and even from a webcam.
- πΉ It shows how to view the output image or video with segmentation masks directly on the screen.
- π The auto-annotation feature uses a pre-trained object detection model to generate bounding boxes, which are then used by the segmentation model to create masks.
- π The process results in the creation of annotation files in a 'labels' folder, which are crucial for training segmentation models.
- π οΈ The video emphasizes the efficiency and accuracy gains from using auto-annotation, especially beneficial for large datasets where manual annotation is labor-intensive.
Q & A
What is the main focus of the video by Arohi?
-The main focus of the video is to demonstrate how to perform auto-annotation on a dataset for image segmentation using the ultralytics package and the SAM model.
Why is image segmentation annotation considered more time-consuming than object detection annotation?
-Image segmentation annotation is more time-consuming because it requires pixel-level annotation where each pixel of an image is assigned a class label, whereas object detection annotation involves providing bounding boxes for objects of interest.
What is the significance of the 'segment anything' model released by Meta AI?
-The 'segment anything' model is significant because it is an instant segmentation model trained on a large dataset with over 1 billion masks on 11 million images, making it the largest dataset for image segmentation to date.
How does the auto-annotation feature in ultralytics work?
-The auto-annotation feature in ultralytics uses a pre-trained object detection model to generate bounding boxes and class labels, which are then used by the 'segment anything' model to create segmentation masks for the areas of interest.
What are the system requirements mentioned in the video for running the ultralytics package?
-The system requirements mentioned are Python version 3.9, torch version 2.0.1, Cuda 11.7, and an RTX 3090 GPU.
How can one view the segmentation results on the screen using ultralytics?
-To view the segmentation results on the screen, one can set the 'show' parameter to true when using the ultralytics model to perform segmentation.
Can the 'segment anything' model be applied to videos or live streams?
-Yes, the 'segment anything' model can be applied to videos or live streams by providing the video path or setting the source to zero for a webcam, and the model will perform segmentation on each frame.
What is the purpose of the object detection model in the auto-annotation process?
-The purpose of the object detection model in the auto-annotation process is to provide bounding boxes and class labels for the objects of interest, which are then used by the 'segment anything' model to generate segmentation masks.
How does the auto-annotate function within the ultralytics package create annotation files?
-The auto-annotate function in the ultralytics package creates annotation files by performing detection using a pre-trained detection model, fetching bounding boxes and class IDs, and then using the 'segment anything' model to generate segmentation masks, which are written to text files in a labels folder.
What is the advantage of using the auto-annotation feature for large datasets?
-The advantage of using the auto-annotation feature for large datasets is that it saves a significant amount of time and effort compared to manual annotation, while also potentially improving accuracy due to the use of pre-trained models.
Outlines
πΌοΈ Introduction to Auto Annotation for Image Segmentation
Arohi introduces a tutorial on auto-annotation for image segmentation using the ultralytics package. She explains the difference between image segmentation and object detection annotation, emphasizing the pixel-level detail required for segmentation. Arohi highlights Meta AI's 'segment anything' model, trained on a vast dataset, and its recent integration into the ultralytics package, which now features an auto-annotation tool. This tool automates the creation of segmentation masks using a pre-trained object detection model to generate bounding boxes for the segmentation model to work on. The tutorial is aimed at those familiar with Python and deep learning environments, as Arohi lists her own software and hardware versions used for the demonstration.
πΉ Demonstrating Segmentation on Images and Videos
Arohi demonstrates how to use the 'segment anything' model in ultralytics for image segmentation. She shows the process of importing the model, applying it to an image, and viewing the results. The video also covers how to display the segmented image on the screen. Arohi extends the demonstration to video files, explaining how to apply segmentation to each frame of a video in real-time. She also mentions the capability to use the model with a webcam. The paragraph concludes with a transition to the next part of the tutorial, which focuses on generating annotations for images using the auto-annotate feature of the ultralytics package.
π Generating Annotations with Auto Annotate
Arohi begins the auto-annotate task by accessing the ultralytics repository and navigating to the 'annotator' function within it. She outlines the process of using the auto-annotate function to create segmentation masks for images. The tutorial explains the necessity of a pre-trained detection model to provide bounding boxes for the segmentation model. Arohi details the steps involved in the auto-annotate function, including performing detection, fetching bounding boxes and class IDs, and using the segmentation model to create masks. The function writes the annotations to text files within a 'labels' folder. The video concludes with a summary of how the auto-annotation feature can save time and improve accuracy for large datasets, and Arohi thanks the viewers for watching.
Mindmap
Keywords
π‘Auto annotation
π‘Image segmentation
π‘Object detection
π‘Segment Anything Model (SAM)
π‘Pre-trained model
π‘Bounding boxes
π‘Ultraalytics
π‘Class label
π‘Pixel-level annotation
π‘Dataset
Highlights
Introduction to the process of auto-annotation for image segmentation datasets.
Comparison of the time consumption between image segmentation and object detection annotation.
Release of Meta AI's segment anything model in April 2023.
Description of the segment anything model's training on a dataset with over 1 billion masks on 11 million images.
Ultralytics' implementation of the segment anything model and the introduction of the auto-annotation feature.
Explanation of how auto-annotation can automate the creation of image segmentation datasets.
Requirement of an object detection pre-trained model for auto-annotation.
Details of the technical environment used for the demonstration, including Python, Torch, Cuda, and ultralytics versions.
Instructions on how to install ultralytics and prepare the environment for auto-annotation.
Demonstration of using the segment anything model for image segmentation with ultralytics.
How to view the output image with segmentation mask on the screen.
Process of applying segmentation to a video using the segment anything model.
Using the segment anything model with a webcam for real-time segmentation.
Tutorial on generating annotations for images using the auto-annotate function from ultralytics.
Explanation of the necessity of a detection model for providing bounding boxes to the segment anything model.
Description of the process of creating annotation files using the auto-annotate function.
How the auto-annotate function works by combining detection and segmentation models.
Efficiency and accuracy benefits of using auto-annotation for large datasets.
Conclusion and appreciation for watching the tutorial on auto-annotation with ultralytics.
Transcripts
hello everyone this is arohi and welcome
to my channel so guys in my today's
video I'll show you how to perform Auto
annotation on a data set for image
segmentation
so annotating our image segmentation
data set is more time consuming as
compared to The annotation of object
detection because image segmentation
annotation requires pixel level
annotation where we provide class label
to each pixel of an image on the other
hand an object detection annotation we
provide bounding boxes for the objects
the objects we are interested in okay
and guys in last month only April 2023
meta AI release their segment anything
model which is an instant segmentation
model and this model was trained on a
very big data set that has moved over 1
billion mask on 11 million images okay
and this data set is the largest data
set for Ms segmentation till now okay so
recently
uh ultrolytics company they implemented
that Sam model in their ultralytics
package and then they they have created
a feature with the name of Auto
annotation that auto annotation feature
will you know using that feature you can
perform image segmentation you can
prepare your image segmentation data
sets
um automatically without uh without
doing the manual labeling without doing
the manual annotation so today I'll show
you how to use the ultralytics auto
annotation feature so that you can
prepare your own image segmentation data
set and the only thing is you need uh
object detection pre-trained model using
that object detection pre-train model
you can create your annotations
annotation files for segmentation tasks
so let's see how to perform that okay so
here
so guys the python version I'm using is
3.9 and the torch version is 2.0.1 and
the Cuda is 11.7 and I'm working on RTX
3090 GPU and the ultralytics version I'm
using is
8.0.106 okay so these are my versions
you if you are trying ultralatics for
first time so you just need to perform
pip install ultrolytics and your
environment will be ready to execute
this code okay once you install the
ultralytics after that you only need to
import this so guys first I'm showing
you how to see how to use the segment
anything model okay with ultralytics you
want to suppose you have an image and
you want to put mask on that image so
how to perform that using ultralytics
which implemented that Sam model in it
okay so you just need to import from
this we are importing the Sam model and
there are two kind of models of Sam one
is Sam underscore L which is a large
model and underscore b means base model
okay
so first I am using the base model we
are just calling the Sam like this and
provide the model so this is a trained
model okay so you will directly now we
are providing the image to it on which
we want to perform the segmentation so
model dot product just provide the path
of the image so my image is in images
folder okay let me show you the full
device so this is the images folder
inside it I have an image with the name
of one dot jpg this is my image on this
image I want to perform the segmentation
okay so let's run the code
when you will run it
so your result will store like this okay
inside you will get a runs folder inside
that you will get a segment folder and
this is my folder where the segmentation
masks are there okay so let's open it
and see
so runs segment predict 4 and this is
the image okay with the segmentation
mask okay so this is how you can use Sam
for segmentation Mass segmenting your
image and this is how you will see the
results okay now
suppose
you want to right now see guys our
results got stored in predict folder uh
sorry runs folder okay but what if you
want to see the output image on the
screen right now so then you just need
to put this show equals to true and then
run this command then what will happen
is you will get the image with the
segmented with the mask segmented image
you will see it on the screen okay so
let's let's execute it so when you'll
execute it
so you can see here
so this is the image okay this is how it
works
now let's suppose till now we have tried
our image but let's see if you want to
try it on a video then what you need to
provide just over here earlier we
provide the image path now provide your
video path so my video is this videos
folder let's open a videos folder first
inside this video this is the video on
which I'm testing Okay so
no
let's run our code
okay so if you'll write show equals to
true then the video will open right the
process will going on segmentation will
get performed but side by side you will
see a video with the segmentations okay
so let's execute it
so the processor started
now you can see here
the video is opening so it is working on
each frame of a video one by one so it
will take some time but this is how it
works okay
so if you want to stop the process in
between you can do that otherwise see
you can see for all the frames so we
have 199 frames so all the frames it is
um you know working on all the frames of
the video one by one okay so after that
if you want to work on a web camera so
what you need to do just provide Source
equals to zero and it will work on a web
camera also okay so this is how you do
if you do want to see the result on the
screen then you can remove this show
True from here okay now the next thing
is now you know how to use Sam model to
view videos to
um to on images and on web camera now
let's generate the annotations for the
images okay so Auto annotation task the
task which I told you in the beginning
we are going to do that's what we are
starting now okay so from ultralytics
YOLO data and annotate
there they have a function Auto annotate
okay so let's open the ultralytics repo
so this is the ultralytics trapper okay
inside this ultralytics
YOLO and then data inside the data they
have annotator when you open this
annotator there they have a function
with the name of Auto annotate you can
see this function okay so this this
function is responsible for putting the
masks on the images okay okay so now
let's see over here so we are calling
that auto annotate function
after that so data equals to images so
here you need to provide the path of the
folder where your images are okay so I
have
these images for these two images I want
to create uh annotation files okay so
how YOLO works for each image you will
get a one annotation file okay so we
have two images in our data set so you
will get corresponding to annotation
file one file will have The annotation
it all of this and other file will have
The annotation detail of this okay
so let's come here
then you will provide the detection
model so guys this Auto annotation
feature how this feature works so the
detection model the pre-trained
detection model okay you this is a
mandatory step you need a detection
model okay so with the help of the
detection model you will get the
bounding boxes on the objects you are
interested in those bounding boxes will
go to the segment anything model then
segment anything model will put a mask
on the area where the bounding boxes are
so that's why you need a bounding boxes
because why we need this step because
segment anything model can only put mask
and there are no corresponding labels
for them okay so when meta AI they they
trained the Sam model there were no
labels attached to the
masks okay so that's why we need a
object detection model object detection
model will put up bounding boxes on the
objects okay and it will give you a
class label then that will be that
bounding box will be the input to the
segment anything model that segment
anything model will then put a
segmentation then we'll put a mask on
the on the area the bounding boxes okay
so that's why so this is the detection
model and this is the Sam model and this
is the folder in which our data set is
and I want to have The annotation files
for that so when you'll execute it when
you will execute it it will create a
labels folder and inside that labels
folder you will see The annotation files
okay so now in my case I have two images
now let's see the labels folder here is
a label for folder open it so you can
see the two annotation files the first
file will have
the first file will have The annotation
okay segmentation annotation and what is
there this first two why this is 2 over
here this is the class ID so in Coco
data set for car the class ID is 2 so
that's why we have a class ID and this
is the segmentation these are the
different the points okay the annotated
annotation points okay so in the same
way for Class 2 also you can see we have
The annotation file so guys you can know
from here the hard C
uh using this feature you can save lot
of your time if you have large data sets
and segmentation The annotation for
segmentation task is very time consuming
right and you have to do it very
carefully but you with the help of the
detection model and the segmentation
model you can do it in very less time
and efforts will be less and obviously
you will get a better accuracy okay so
now the thing is let's see that auto
annotate function
so this is the auto annotate function
okay so what is happening in this order
no trade function so these are the
things detection model is here
segmentation model is here then
this is how you perform uh detection
right in Yolo V8 How We call we are
calling our detection model okay here
then we are providing that data to it
and the results are getting stored in
this then we are using a for Loop
because what we want is we want to
if you are working on a video or on a
stream then for each frame you have to
get the bounding boxes and the class
labels so we are using Loop in that and
inside that Loop over here you can see
here we are using the segment anything
model okay so in this Auto annotate
function what is happening first we are
performing detection detections are
stored in date underscore results and
then we are fetching the boxes and the
class IDs and then inside that using
this line
set image set image is a function of the
segment anything model so whenever you
want to give image to a segment anything
model so we use this set image okay so
that's what we are doing over here and
we are providing the image to it and
this here we are running the Sam model
and here we are updating the results and
this few these few lines are responsible
to write the annotations in the text
file in the labels folder okay so guys
this is how you can use the auto
annotation feature of the ultralytics
which is using Sam model Sam model is
developed by meta AI so I hope this
video is helpful thank you for watching
Browse More Related Video
AI-Assisted Writing of Technical Documentation
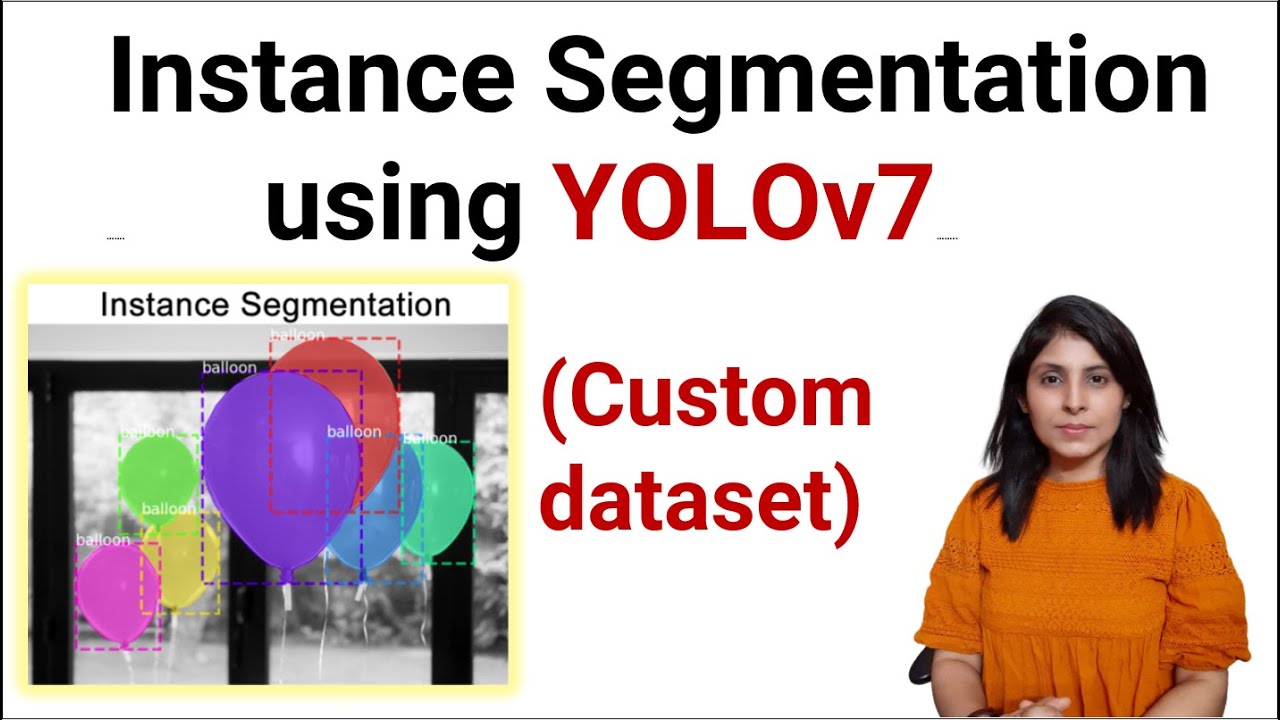
YOLOv7 | Instance Segmentation on Custom Dataset
FLUX Ai | How To Create Ultra Realistic Images & Videos | Flux Ai Tutorial
26 - Denoising and edge detection using opencv in Python
Building an Object Detection App with Tensorflow.JS and React.JS in 15 Minutes | COCO SSD
YOLOv8: How to Train for Object Detection on a Custom Dataset
5.0 / 5 (0 votes)