Orthographic Projection_An Introduction_Engineering Drawing_Engineering Graphics_English
Summary
TLDRThis educational video script offers an in-depth exploration of orthographic projection in engineering, focusing on the principles and techniques used to create accurate technical drawings. The tutorial explains the concept of projection, the importance of principle planes, and the quadrant system. It distinguishes between first-angle and third-angle projection methods, detailing the rotation protocols and the reasons why projections in the second and fourth quadrants are not recommended to avoid confusion in viewing. The script is designed to enhance understanding of engineering drawing fundamentals.
Takeaways
- 🔍 The script discusses the concept and theory behind preparing engineering drawings, specifically focusing on orthographic projection.
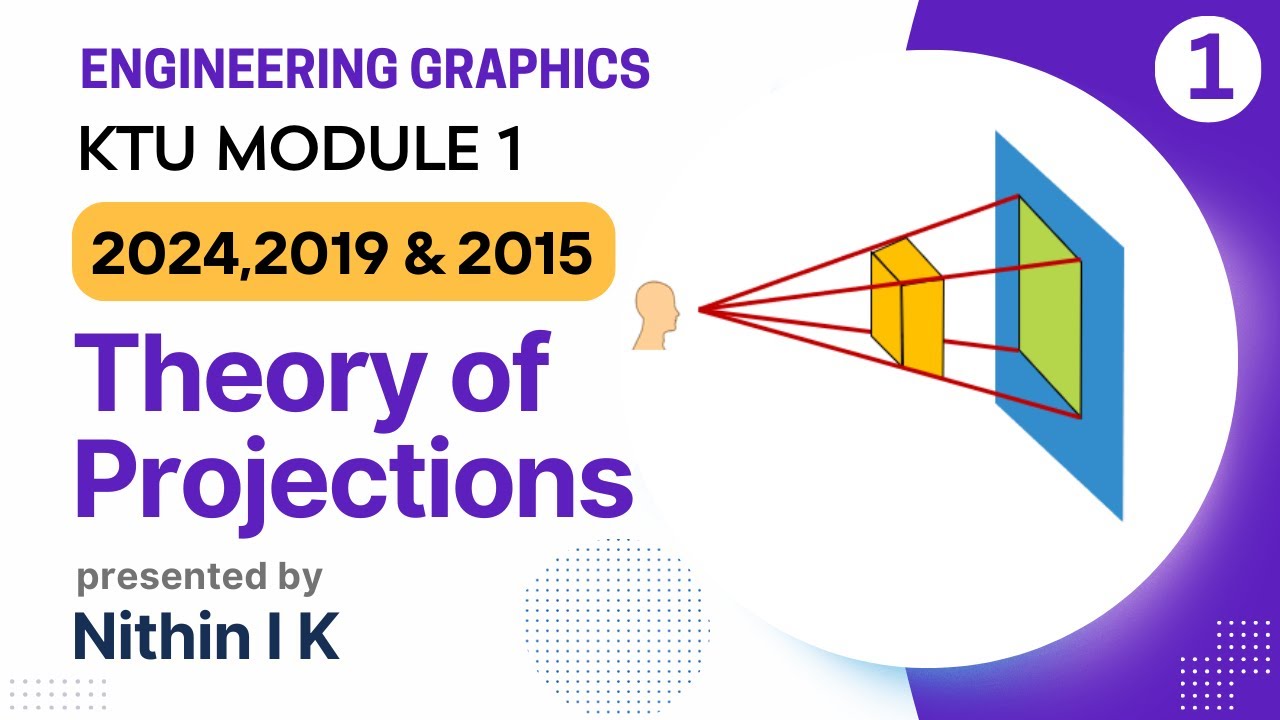
- 📏 Orthographic projection involves creating a two-dimensional representation of a three-dimensional object by projecting it onto a plane.
- 💡 The process of projection is explained through the use of a light source, an object, and a screen, where the object's image is formed on the screen.
- 📐 The script introduces the principles of orthographic projection, including the use of parallel projectors or rays of sight that are perpendicular to the projection plane.
- 📈 The importance of quadrants and principle planes in three-dimensional coordinate systems is highlighted for plotting and understanding the orientation of objects.
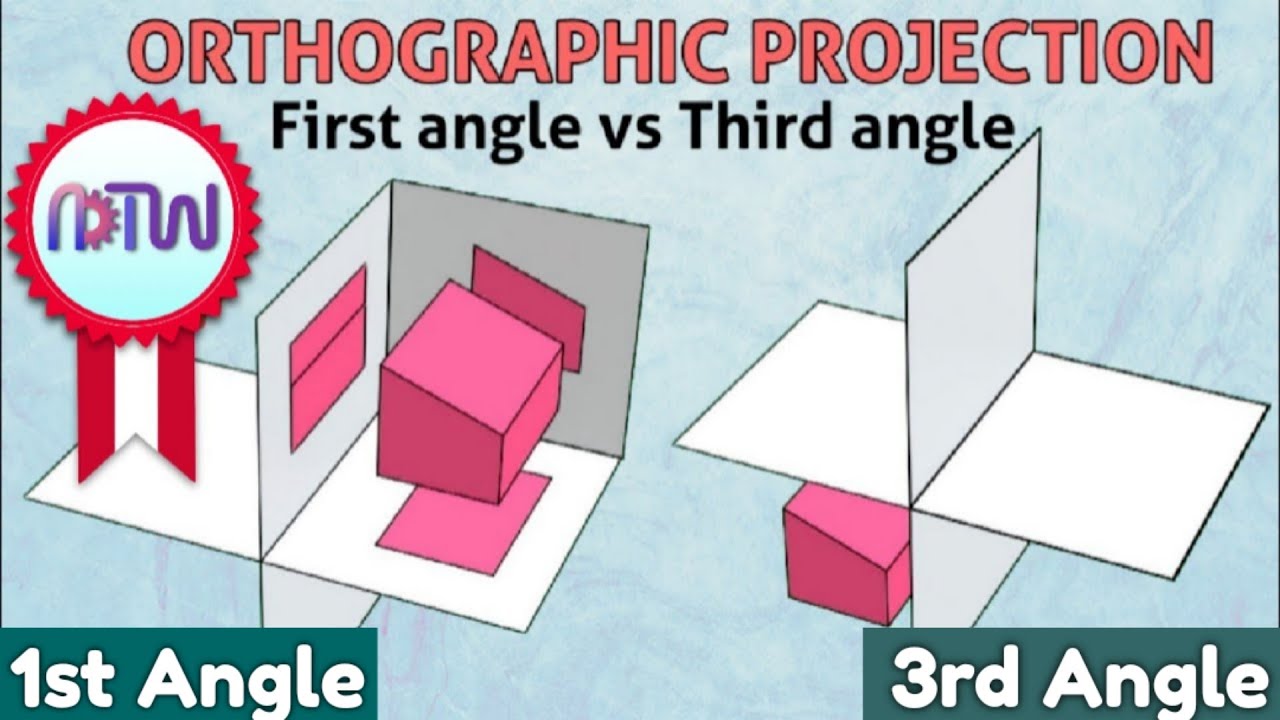
- 🔳 The difference between first-angle and third-angle projection systems is explained, with the former placing the object in front of the projection plane and the latter behind it.
- 🚫 The script advises against making drawings assuming the object to be in the second and fourth quadrants due to potential confusion and overlap of views.
- ✅ The necessity of satisfying two conditions for orthographic projection is emphasized: projectors must be parallel and meet the projection plane at a 90-degree angle.
- 🔄 The rotation protocol for converting 3D representations into 2D drawings is described, including the 90-degree rotation of planes to achieve coplanarity for easier visualization.
- 🏗️ The script concludes by summarizing the key differences between first-angle and third-angle projection systems and their respective symbols used in engineering drawings.
Q & A
What is the primary focus of the video script?
-The primary focus of the video script is to explain the process of preparing engineering drawings, specifically discussing orthographic projection, its principles, and the differences between first-angle and third-angle projection systems.
What are the two meanings of projection as discussed in the script?
-The two meanings of projection discussed are: 1) Projection as an image, and 2) Projection as the process or activity of obtaining an image.
What is orthographic projection and how does it relate to parallel projection?
-Orthographic projection is a type of projection where the projectors or rays of sight are absolutely parallel to each other. It falls under the category of parallel projection.
Why is it important for the rays of sight to be parallel in orthographic projection?
-In orthographic projection, the rays of sight being parallel ensures that the true shape and size of the object are accurately represented in the projection.
What are the quadrants in a quadrant system and how do they relate to object positioning?
-The quadrant system consists of four quadrants: first, second, third, and fourth, divided by two perpendicular axes (x and y). The positioning of an object in these quadrants determines the views obtained from different angles.
Why is it not advisable to make drawings assuming the object is in the second or fourth quadrants?
-Drawings should not assume the object is in the second or fourth quadrants because the views obtained from these positions would overlap, leading to confusion and difficulty in distinguishing between the front and top views.
What is the rotation protocol for the horizontal and profile planes in first-angle projection?
-In first-angle projection, the horizontal plane is rotated 90 degrees clockwise, and the profile plane is rotated 90 degrees counterclockwise.
How does the third-angle projection system differ from the first-angle projection system?
-In the third-angle projection system, the object is assumed to be behind the vertical plane, and the planes of projection are made transparent to visualize the object. This is different from the first-angle projection system, where the object is assumed to be in front of the vertical plane and the planes are not transparent.
What symbol is used to denote the use of first-angle projection in a drawing?
-A specific symbol, which is not described in detail in the script, is used to denote the use of first-angle projection in a drawing, typically placed in the bottom right portion of the drawing sheet.
Why are first and third angle projection systems popular in certain regions?
-First and third angle projection systems are popular in certain regions, such as India and most European countries, because they provide a clear and unambiguous way to represent three-dimensional objects in two-dimensional drawings, avoiding confusion that can arise from overlapping views in second and fourth quadrant projections.
Outlines

This section is available to paid users only. Please upgrade to access this part.
Upgrade NowMindmap

This section is available to paid users only. Please upgrade to access this part.
Upgrade NowKeywords

This section is available to paid users only. Please upgrade to access this part.
Upgrade NowHighlights

This section is available to paid users only. Please upgrade to access this part.
Upgrade NowTranscripts

This section is available to paid users only. Please upgrade to access this part.
Upgrade NowBrowse More Related Video

First angles vs Third angle method | Orthographic projections animation

Orthographic Projection from isometric view in Engineering drawing

Theory of Projection | Module 1 | KTU Engineering Graphics

Lecture 1: Introduction to Engineering Graphics

Understanding Engineering Drawings

ENGINEERING DRAWING DOUBTS SESSION 1 | ENGINEERING GRAPHICS COMMENTS REPLY 1
5.0 / 5 (0 votes)