Creating a Low Poly Mushroom and Applying Different Shading in Blender
Summary
TLDRThis tutorial guides viewers through creating a low poly mushroom in a 3D modeling software. Starting with a cylinder as the base, the instructor details steps like editing vertices, scaling, and using inset and extrude functions to shape the mushroom's cap and stem. Techniques such as loop cuts, moving, and rotating edges are employed to add detail and randomness. The lesson concludes with applying textures and colors to the mushroom, resulting in a simple yet visually appealing design.
Takeaways
- 📌 The tutorial is about creating a low poly mushroom model in a 3D software.
- 🔄 It starts by deleting the default object and adding a cylinder as the base of the mushroom with eight vertices.
- 🔧 The top face of the cylinder is scaled to form the mushroom cap, while the bottom is made larger to represent the base.
- 🔩 The 'Inset' tool is used to create an indentation on the bottom of the mushroom for more detail.
- 👁️ The 'X-ray mode' (Alt+J) is utilized to better visualize the model during editing.
- 🔄 The 'Extrude' function is applied to create the stem of the mushroom, scaling and extruding it appropriately.
- ✂️ 'Loop cuts' are added to both the cap and the stem to create more detailed sections and a realistic shape.
- 🌟 The tutorial emphasizes the importance of selecting and manipulating edges to shape the stem and add randomness to the design.
- 🎨 The final step involves coloring the mushroom, with different slots for the cap and the stem, using shades of red and tan.
- 🖌️ The 'Shading' mode is used to apply the colors to the respective parts of the mushroom model.
- 👋 The tutorial concludes with a thank you note and an invitation to the next tutorial.
Q & A
What is the default object that needs to be deleted at the beginning of the tutorial?
-The default object that needs to be deleted is not specified in the transcript, but it is implied that it is the initial object loaded in the 3D modeling software.
What is the base shape used for creating the mushroom in this tutorial?
-The base shape used for creating the mushroom is a cylinder.
How many vertices does the cylinder have after changing the default number?
-The cylinder has eight vertices after changing the default number.
What mode is used to select the face of the polygon?
-Edit mode is used to select the face of the polygon.
What key combination is used to delete the default object at the start of the tutorial?
-The key combination used to delete the default object is the 'X' key.
What command is used to resize the top face of the mushroom object?
-The 'Scale' command is used to resize the top face of the mushroom object.
What is the purpose of using the 'Inset' command in the tutorial?
-The 'Inset' command is used to create an indentation on the bottom of the mushroom object, which helps in shaping the base.
What does the 'Alt J' key combination do in the context of the tutorial?
-The 'Alt J' key combination is used to activate the xray mode, which allows the user to see through the selected object.
What is the purpose of the 'Extrude' command used in the tutorial?
-The 'Extrude' command is used to create additional geometry by extruding the selected faces outward, which helps in shaping the mushroom's cap.
How many cuts are added to the stem using the 'Loop cut' command?
-Six cuts are added to the stem using the 'Loop cut' command.
What is the purpose of rotating the edges on the top view of the mushroom cap?
-Rotating the edges on the top view of the mushroom cap adds randomness to the design, making it appear more natural and organic.
How are colors applied to different parts of the mushroom in the tutorial?
-Colors are applied by adding new slots and assigning them to different parts of the mushroom, such as the cap and the stem, using the shading mode.
What is the final step in the tutorial after applying colors to the mushroom?
-The final step is to select all the design and apply triangles to the faces using the 'Control T' command, which simplifies the mesh to triangles.
Outlines

This section is available to paid users only. Please upgrade to access this part.
Upgrade NowMindmap

This section is available to paid users only. Please upgrade to access this part.
Upgrade NowKeywords

This section is available to paid users only. Please upgrade to access this part.
Upgrade NowHighlights

This section is available to paid users only. Please upgrade to access this part.
Upgrade NowTranscripts

This section is available to paid users only. Please upgrade to access this part.
Upgrade NowBrowse More Related Video
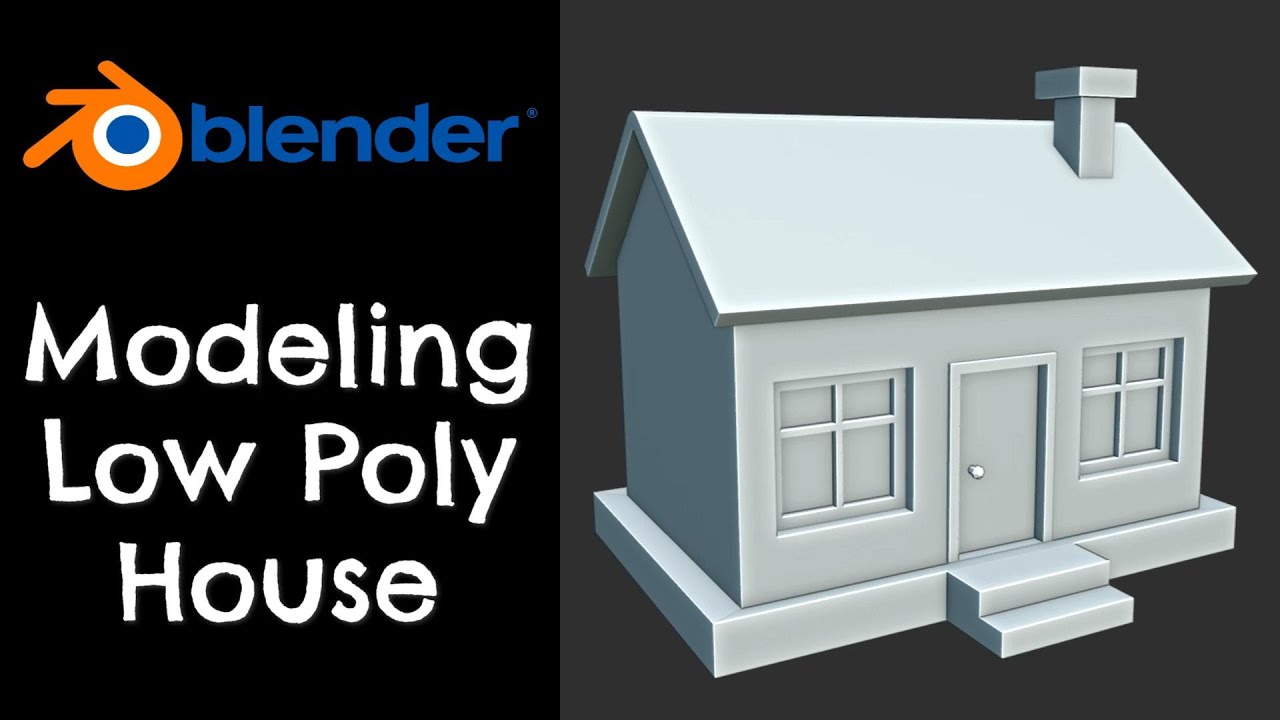
Modeling a low poly house | Blender 3.4 Tutorial
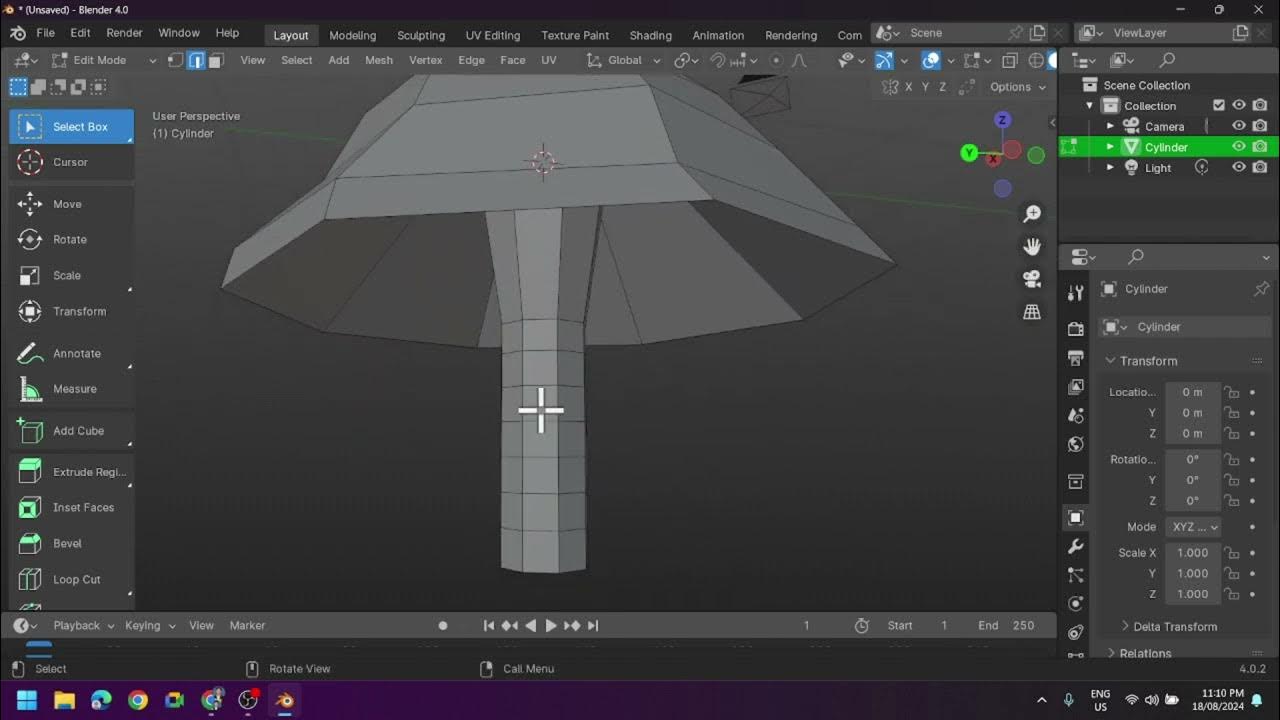
Creating a Low Poly Mushroom and Applying Different Shading in Blender

Modeling Your First 3D Object: Creating a Low Poly Tree
Make Banners and Flags in Blender - Lazy Tutorials
Day 2 Dialux evo Training - Facade & Landscape 5
TUTORIAL MODELING KUCING LOWPOLY DI BLENDER | TUTORIAL PEMULA BLENDER 3D
5.0 / 5 (0 votes)