Tutorial Membuat Celengan Pintar IoT Smart Celeng Menggunakan ESP32
Summary
TLDRThis tutorial demonstrates how to build a smart piggy bank using an ESP32 microcontroller, sensors, and an OLED LCD display. The guide covers the assembly process, including the installation of key components like the TCS3200 color sensor, switch, and power source. It also provides step-by-step instructions on wiring, coding, and troubleshooting, particularly for money detection using RGB values. Additionally, users learn how to integrate the project with Telegram to track the detected amounts. While useful for learning, the tutorial cautions about the limitations of using color sensors for real-world applications.
Takeaways
- 😀 The tutorial demonstrates how to build a smart piggy bank using a variety of pre-assembled components like ESP32, sensor, LCD, and a power source.
- 😀 The kit includes various parts such as the ESP32 MCU, sensor, OLED LCD, switch, and a power bank with a pre-installed socket.
- 😀 Assembly involves minimal soldering; most components can be plugged in using the provided cables and connectors.
- 😀 The smart piggy bank design uses an optical sensor (TCS3200) to detect money and an OLED LCD to display information.
- 😀 The assembly process includes steps like attaching the sensor and its reflector, installing the LCD, and securing the ESP32 module and battery in the housing.
- 😀 No soldering is required for the assembly of the smart piggy bank, as all components are designed to be easily connected without specialized tools.
- 😀 The program for the smart piggy bank is uploaded using Arduino IDE, with necessary libraries installed (e.g., WiFi.h, Telegram, JSON).
- 😀 A Telegram bot is used to communicate with the smart piggy bank, allowing for real-time balance updates and control.
- 😀 The script emphasizes the importance of setting up the correct Wi-Fi and Telegram credentials in the program, including the bot token and chat ID.
- 😀 The sensor detects different denominations of currency by reading their RGB values, but its accuracy is limited for real-world use, with the recommendation to use a more advanced bill acceptor for real applications.
Q & A
What is the purpose of the Smart Piggy Bank tutorial?
-The purpose of the tutorial is to guide viewers through the process of building a smart piggy bank using various components, including a sensor, ESP32 MCU, and an OLED display. It includes assembly instructions, circuit details, and a software setup guide.
What components are included in the smart piggy bank kit?
-The kit includes a PCB with pre-soldered ESP32, a modified TCS 3200 color sensor, an OLED LCD, a power bank with an 18650 battery socket, bolts, and a power switch with a socket. The kit also provides a box, screws, and a sensor reflector.
Is soldering required for assembling the smart piggy bank?
-No, soldering is not required for assembling the smart piggy bank. The components are designed to be plugged in, making the assembly process safer and easier.
How is the sensor installed on the smart piggy bank?
-The sensor is installed by positioning it on a designated spot on the bottom sheet of the box. It is secured using bolts, and a light-absorbing reflector is placed in front of it to improve sensor accuracy.
How is the power source for the smart piggy bank managed?
-The power source is an 18650 battery, which is inserted into a socket in the kit. The battery is affixed using double-sided tape to keep it securely in place within the box.
What are the steps to upload the program to the ESP32?
-To upload the program, the user connects the ESP32 to a laptop via USB, ensuring that the port is selected correctly in Arduino IDE. The program is uploaded after ensuring the correct libraries and drivers are installed.
What libraries need to be installed in Arduino IDE for the smart piggy bank?
-The necessary libraries include 'WiFi.h,' 'UniversalTelegramBot,' 'ArduinoJson,' and other libraries related to Wi-Fi and Telegram integration. These can be installed through the Arduino IDE's Library Manager.
How does the Telegram bot work in the smart piggy bank project?
-The Telegram bot is used to notify users when money is inserted into the smart piggy bank. The bot token is generated using the BotFather in Telegram, and the bot communicates with the ESP32 to send updates to the user.
What is the importance of setting the correct Wi-Fi credentials in the smart piggy bank?
-Setting the correct Wi-Fi credentials allows the ESP32 to connect to the internet. Once connected, the smart piggy bank can send data to the Telegram bot, which is essential for tracking the money inserted into the bank.
Why is the color sensor used in the smart piggy bank?
-The color sensor is used to detect the different denominations of money inserted into the piggy bank based on their color. Each denomination has a unique RGB value, which is read by the sensor and sent to the Telegram bot.
Outlines

Этот раздел доступен только подписчикам платных тарифов. Пожалуйста, перейдите на платный тариф для доступа.
Перейти на платный тарифMindmap

Этот раздел доступен только подписчикам платных тарифов. Пожалуйста, перейдите на платный тариф для доступа.
Перейти на платный тарифKeywords

Этот раздел доступен только подписчикам платных тарифов. Пожалуйста, перейдите на платный тариф для доступа.
Перейти на платный тарифHighlights

Этот раздел доступен только подписчикам платных тарифов. Пожалуйста, перейдите на платный тариф для доступа.
Перейти на платный тарифTranscripts

Этот раздел доступен только подписчикам платных тарифов. Пожалуйста, перейдите на платный тариф для доступа.
Перейти на платный тарифПосмотреть больше похожих видео

PART 1 - MERAKIT SMART DOOR LOCK - MC KIT RFID - DEVKIT VI VERSION, KOMPONEN
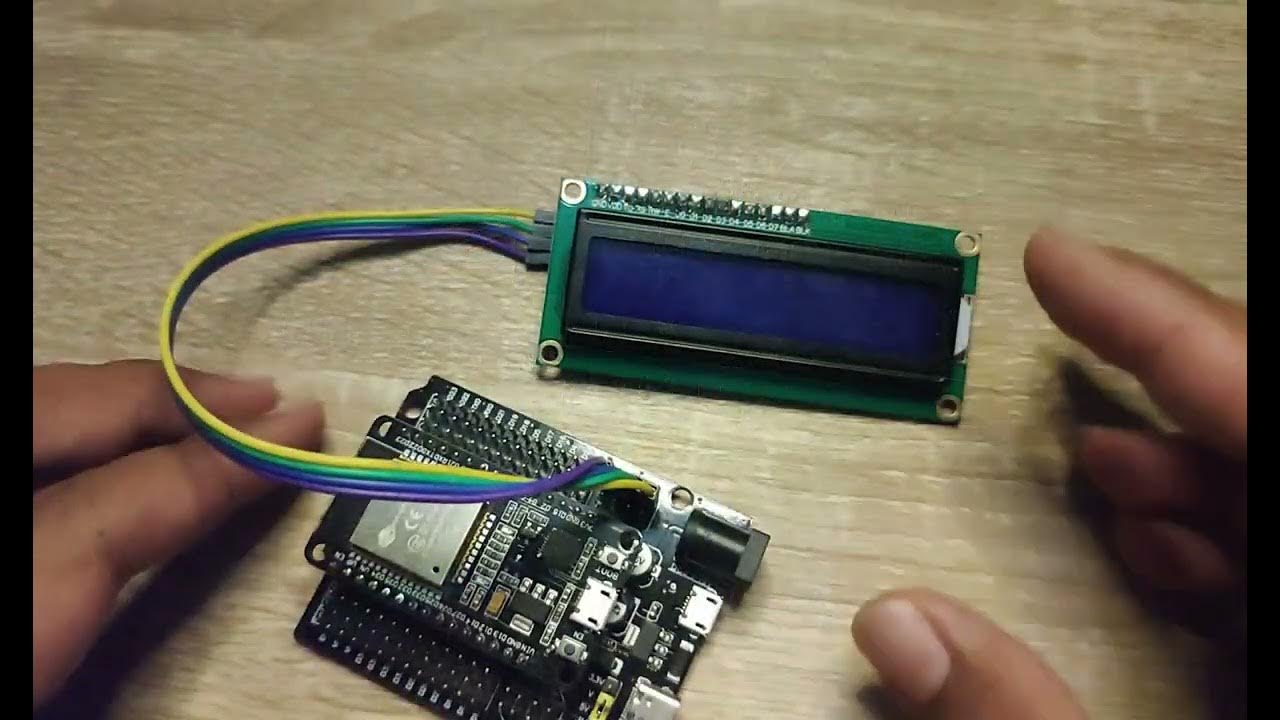
pengenalan, instalasi dan program dasar tampilan lcd 16x2 I2C dengan Arduino IDE
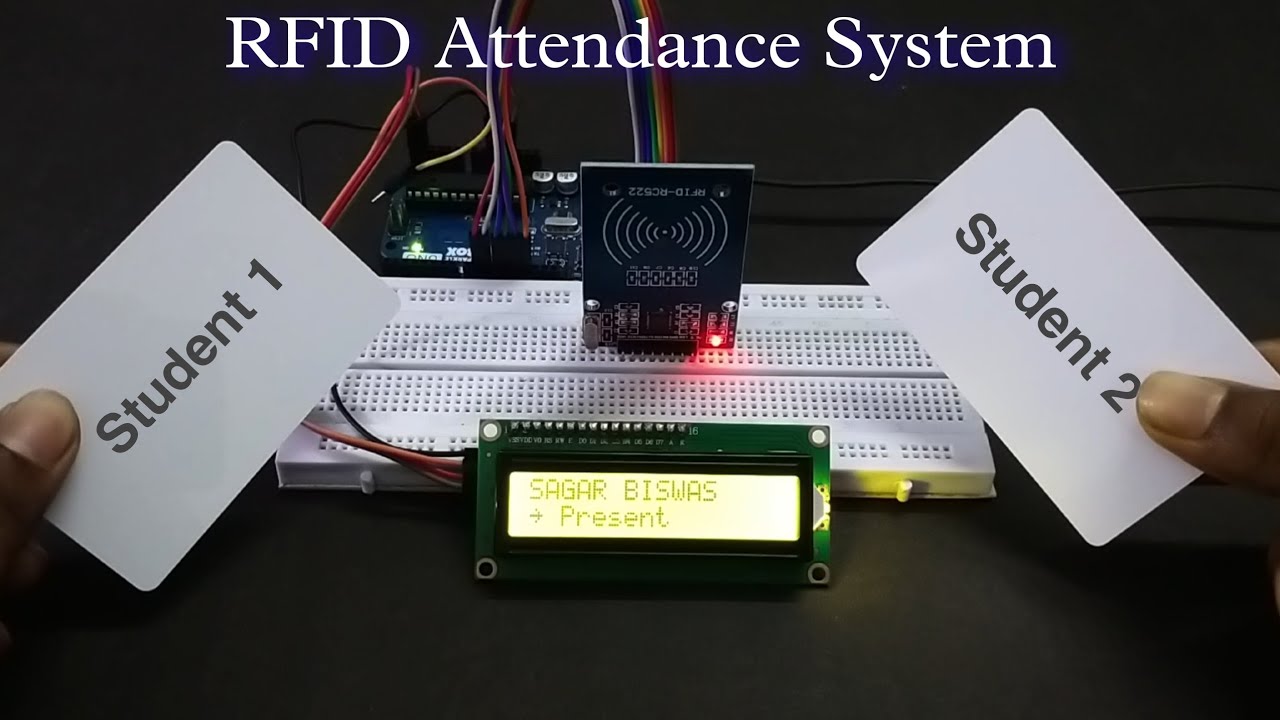
Arduino RFID Attendance System || Step by Step Guide
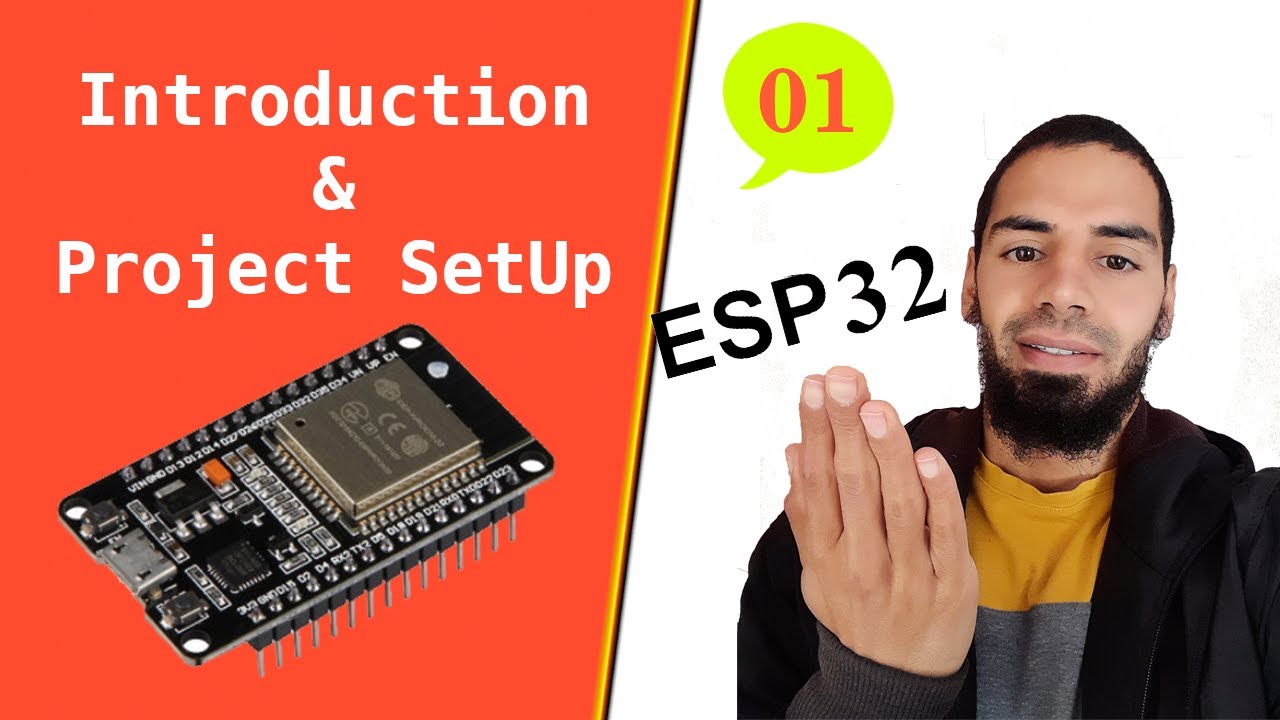
Introduction to ESP32 Board - Getting Started ( Step by Step)

IoT Based Plant Watering System Indoor project using ESP32 Blynk | IoT Projects 2023

ESP32 Servo Motor Web Server with Arduino IDE
5.0 / 5 (0 votes)
