Introduction to ESP32 Board - Getting Started ( Step by Step)
Summary
TLDRThis YouTube tutorial introduces the ESP32 microcontroller, specifically the NodeMCU ESP32S, highlighting its built-in Wi-Fi, Bluetooth, and touch sensors. It guides viewers through setting up the Arduino IDE for ESP32 programming, installing necessary drivers, and demonstrates a basic 'blink' sketch to control an LED. The video promises future lessons on utilizing the microcontroller's Wi-Fi capabilities for remote control projects.
Takeaways
- 😀 The video introduces a new course about the ESP32 microcontroller, specifically the NodeMCU ESP32S.
- 🔍 The ESP32 has built-in Wi-Fi and Bluetooth, unlike Arduino, which requires an additional module for Bluetooth.
- 📡 The microcontroller also features touch sensors and is faster than Arduino, with a clock frequency of up to 240 MHz.
- 🔌 It has more than 30 GPIO pins for controlling devices or reading sensor values.
- 💻 The video demonstrates how to program the ESP32 using the Arduino IDE, starting from scratch.
- 🔗 The audience is directed to esp32.net for a comprehensive list of features and specifications.
- 🛠️ The Arduino IDE needs to be modified to work with the ESP32, including adding a specific URL for the Boards Manager.
- 🔄 The video guides through the process of installing the necessary drivers for the ESP32 to communicate with the computer via USB.
- 💡 A simple 'blink' sketch is used to test the ESP32 board by turning an onboard blue LED on and off.
- 🔧 The video explains how to set the ESP32 board's GPIO pin as an output to control the LED.
- 🔄 The 'loop' function in the sketch is responsible for continuously turning the LED on and off, demonstrating the board's basic functionality.
Q & A
What is the main topic of the video?
-The main topic of the video is the introduction and programming of the ESP32 microcontroller, specifically the NodeMCU ESP32S version.
What are some built-in features of the ESP32 microcontroller mentioned in the video?
-The built-in features of the ESP32 microcontroller mentioned in the video include Wi-Fi, Bluetooth, and touch sensors.
Why is the ESP32 microcontroller recommended over Arduino in the video?
-The ESP32 microcontroller is recommended over Arduino because it comes with built-in Wi-Fi and Bluetooth, which are not available on Arduino without additional modules, and it has a faster clock frequency of up to 240 megahertz.
How can one access the features and specifications of the ESP32 microcontroller?
-One can access the features and specifications of the ESP32 microcontroller by visiting the website esp32.net.
What software is used to program the ESP32 microcontroller in the video?
-The software used to program the ESP32 microcontroller in the video is the Arduino IDE.
Which version of Arduino IDE is recommended for downloading in the video?
-The video recommends downloading the latest version of the Arduino IDE, which at the time of the video was version 2.0.0.
What is the purpose of the Boards Manager in the Arduino IDE?
-The purpose of the Boards Manager in the Arduino IDE is to manage and install packages that allow the IDE to program different types of microcontrollers, such as the ESP32.
What is the 'blink sketch' demonstrated in the video?
-The 'blink sketch' demonstrated in the video is a simple program that turns an LED on and off, which is used to verify that the ESP32 microcontroller is working correctly.
How does the video guide the user to fix a missing driver issue for the ESP32?
-The video guides the user to download and install the missing CP2102 driver from a provided link to fix the issue of the computer not recognizing the ESP32's USB port.
What is the purpose of the 'setup' and 'loop' functions in the Arduino programming language?
-The 'setup' function in Arduino is used to initialize variables and set up the initial state of the microcontroller, while the 'loop' function is used to contain the main program that runs repeatedly.
How does the video demonstrate turning on and off the built-in LED on the ESP32 board?
-The video demonstrates turning on and off the built-in LED by programming the ESP32 to use the 'digitalWrite' command to send high and low voltages to the GPIO pin number two, which controls the LED.
What is the next project mentioned in the video?
-The next project mentioned in the video is to use the Wi-Fi feature of the ESP32 to turn an LED on and off remotely.
Outlines

This section is available to paid users only. Please upgrade to access this part.
Upgrade NowMindmap

This section is available to paid users only. Please upgrade to access this part.
Upgrade NowKeywords

This section is available to paid users only. Please upgrade to access this part.
Upgrade NowHighlights

This section is available to paid users only. Please upgrade to access this part.
Upgrade NowTranscripts

This section is available to paid users only. Please upgrade to access this part.
Upgrade NowBrowse More Related Video

M5Stack Cardputer: ESP32-S3 Pocket Computer
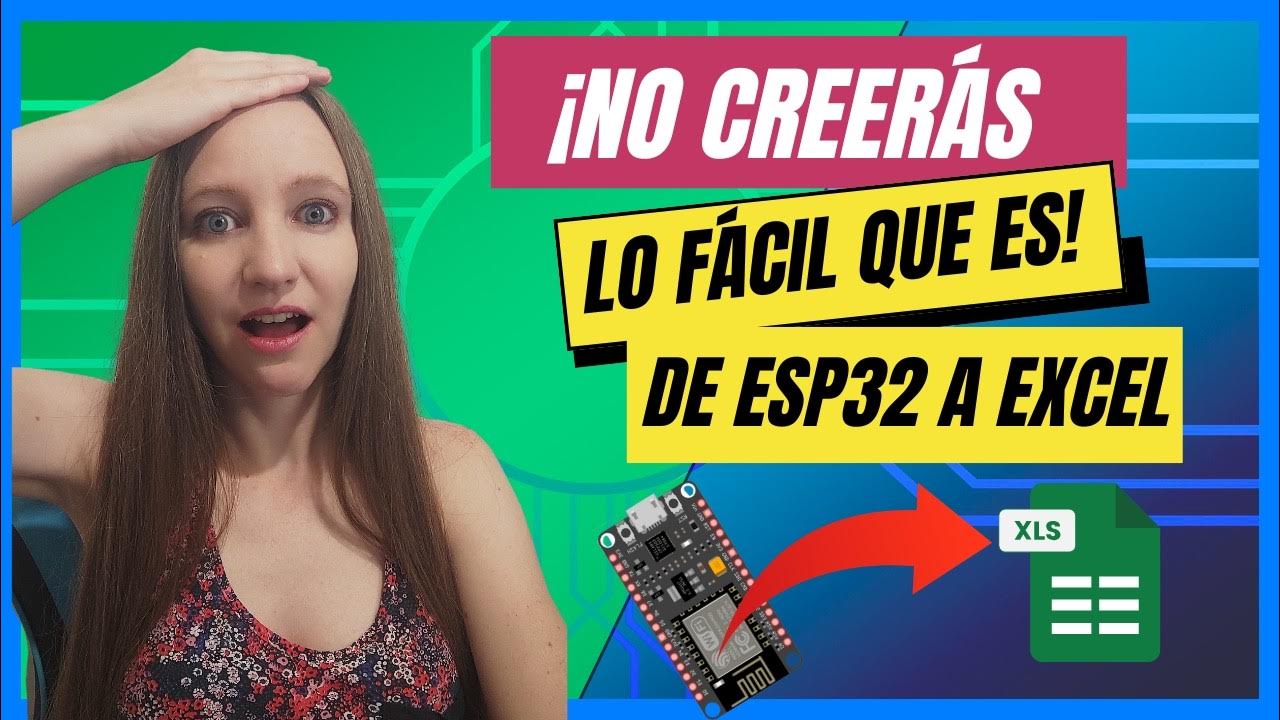
✅ Cómo conectar tu ESP32 a EXCEL en Google Drive y monitorear SENSORES en tiempo real

Günstige Smart Waage: Xiaomi Scale 2 einfach in Home Assistant einbinden
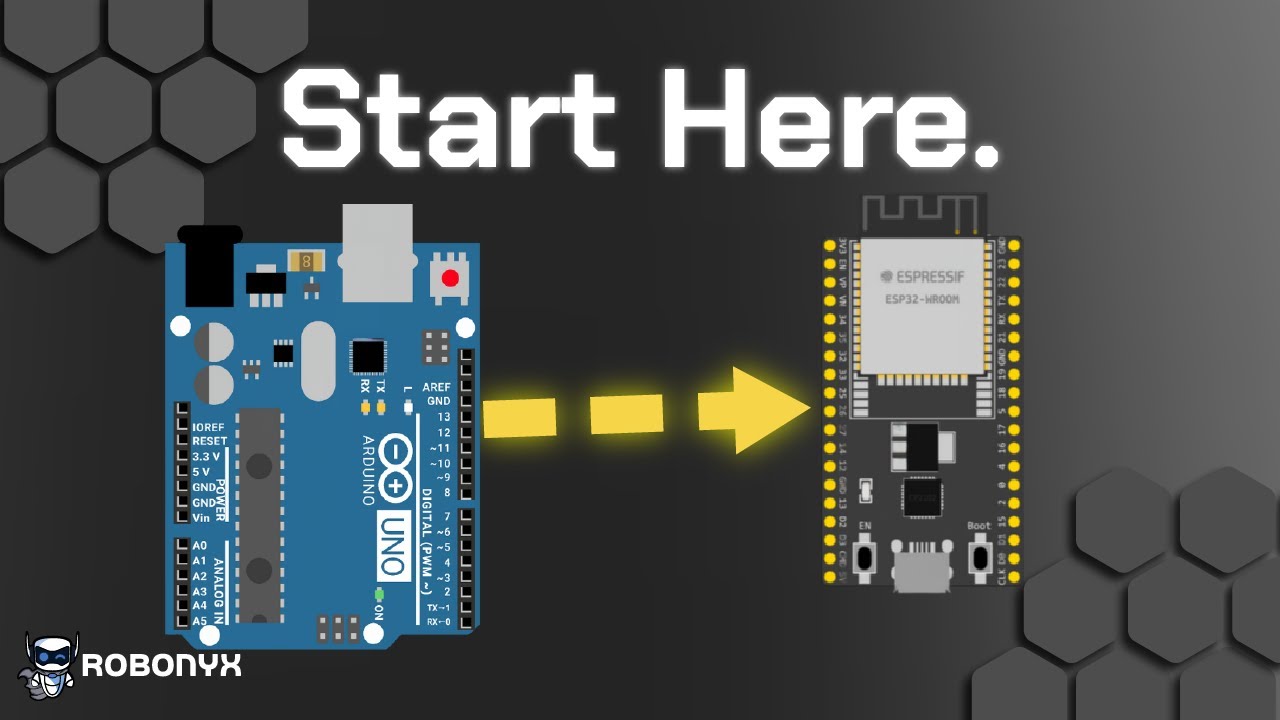
Arduino To ESP32: How to Get Started!

Connecting ESP32 to the Outside World with IFTTT
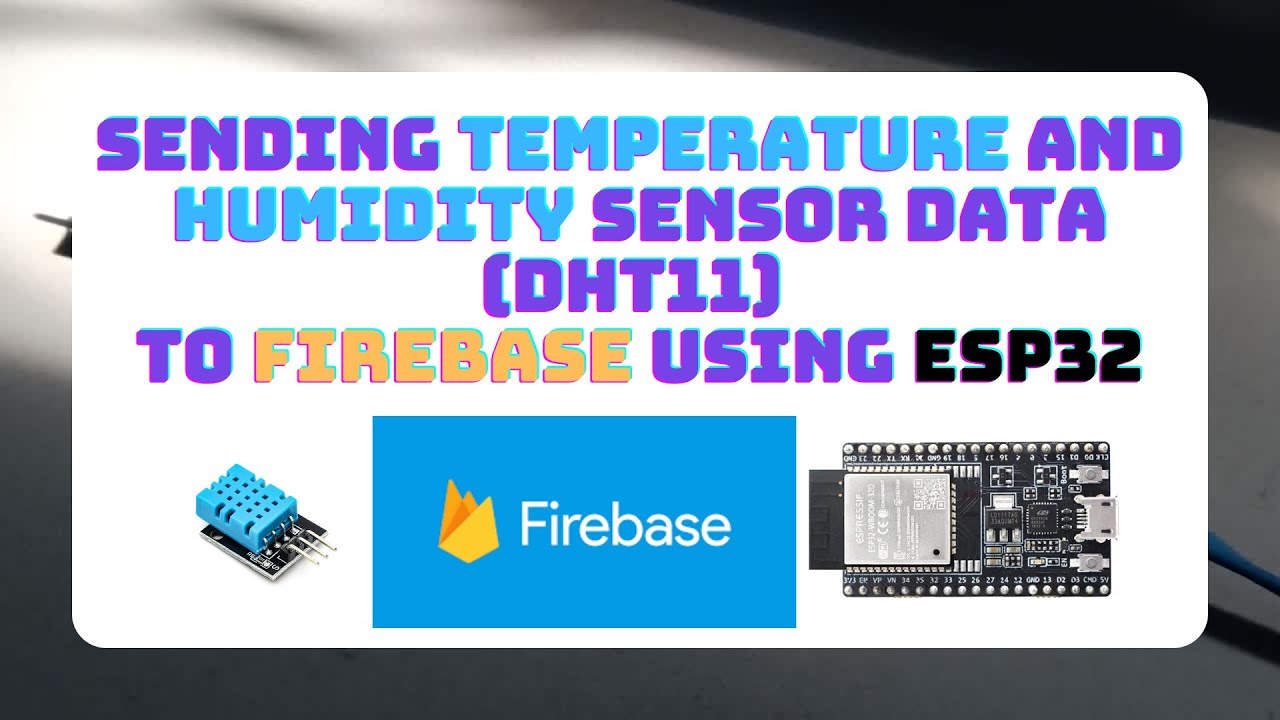
Sending Temperature and Humidity Sensor Data (DHT11) to Firebase using ESP32
5.0 / 5 (0 votes)