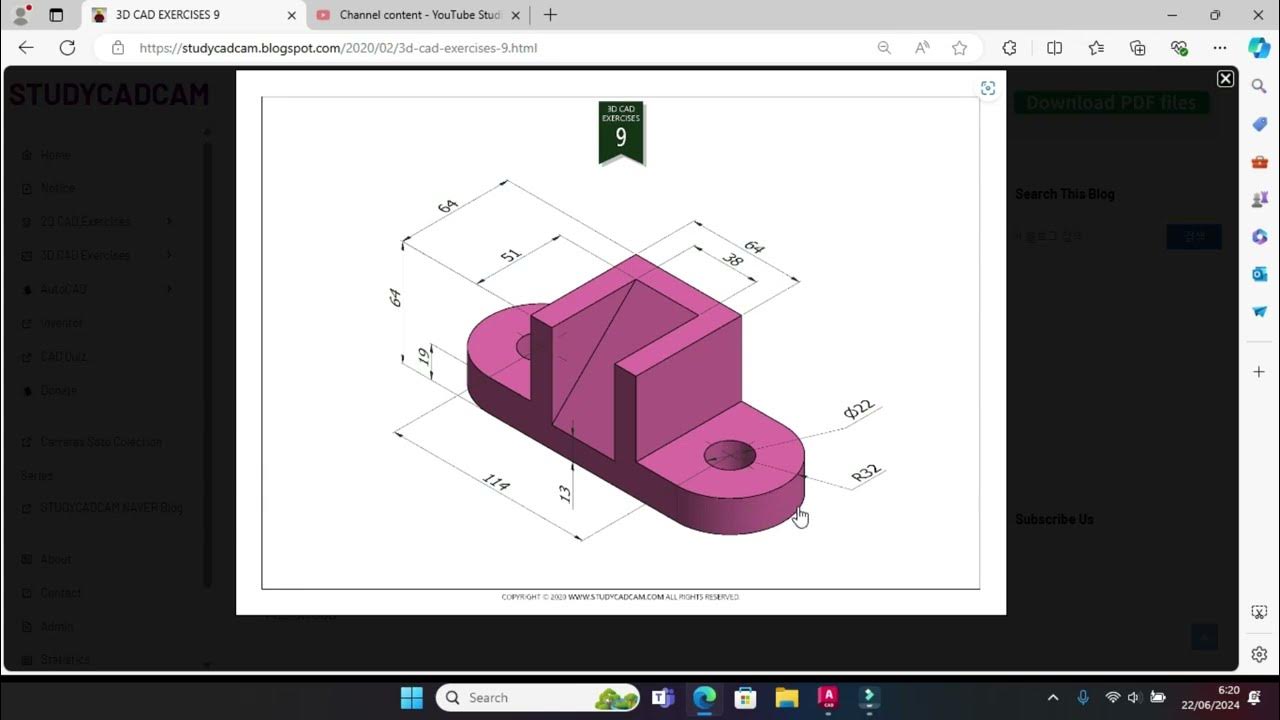
cara membuat pulley 3dimensi di Autocad
Summary
TLDRIn this AutoCAD 2023 tutorial for beginners, users are guided through the process of creating a 3D pulley. The tutorial covers essential techniques such as creating a guide line, calculating dimensions, defining the outer and inner diameters, and adjusting radii for precision. Key steps include working with objects and regions to transition to 3D, applying colors, and using cylinders for the pulley. The video concludes with an emphasis on the importance of understanding radius and mechanical calculations in pulley design, ensuring a comprehensive foundation for new AutoCAD users.
Takeaways
- 😀 The tutorial is aimed at beginners learning AutoCAD 2023, specifically focused on creating a 3D pulley.
- 😀 The first step involves creating a guideline and understanding the key dimensions of the pulley, including the outer diameter of 47, divided by 2 for 23.5.
- 😀 The width of the pulley is defined by a 50-point measurement, with additional calculations for other elements such as the thickness.
- 😀 A radius of 40 is used for parts of the pulley, divided by 2 for easier manipulation in AutoCAD.
- 😀 The tutorial stresses the importance of using specific angles (20 degrees) for certain parts of the pulley during the design process.
- 😀 To properly define the inner diameter, the user is instructed to copy certain dimensions and adjust them with a distance of 10.
- 😀 The importance of using the 'Region' tool in AutoCAD is highlighted, as it is necessary for transforming the object into 3D.
- 😀 After defining the shape, the object is then given a color and is turned into a 3D object using AutoCAD’s 3D tools.
- 😀 The tutorial encourages users to experiment with the shapes and dimensions in AutoCAD for better practice and understanding.
- 😀 The final result involves creating a pulley with defined thickness, diameter, and radius, with attention to angles and measurements for accurate design.
- 😀 The tutorial concludes by noting that while mistakes are part of the learning process, consistent practice is essential for mastering AutoCAD.
Q & A
What is the first step in creating a pulley in AutoCAD 2023?
-The first step is to create a guide line to set up the basic framework for the pulley design.
How do you calculate the outer diameter of the pulley?
-To calculate the outer diameter, divide the given diameter (47) by 2, which results in 23.5.
What does the speaker do after determining the diameter?
-After determining the diameter, the speaker defines other key dimensions such as the width, the thickness of the pulley, and the radius.
How is the radius of the pulley determined?
-The radius is calculated by dividing the given radius (40) by 2, resulting in a radius of 20.
What is the purpose of trimming in the process?
-Trimming is used to clean up the drawing and remove any unnecessary lines or segments to make the design neat.
Why is it necessary to 'region' the object in AutoCAD?
-It is necessary to region the object in AutoCAD because it ensures that the object is converted into a 3D form. Without this, the object won't be able to change to a 3D model.
What happens after the object is 'regioned' in AutoCAD?
-Once the object is regioned, it can be modified and colored. Then, it can be converted into a 3D model by applying specific 3D tools.
How does the speaker apply color to the 3D model?
-The speaker selects a color to make the object visually distinguishable after changing it into a 3D model.
What tool is used to convert the 2D object into 3D?
-The speaker uses the 'Extrude' tool in AutoCAD to extend the 2D object into a 3D form.
What is the role of the cylinder in this tutorial?
-The cylinder is used as a reference to ensure that the 3D pulley is aligned properly in the design and to check for any discrepancies in the model.
Outlines

Этот раздел доступен только подписчикам платных тарифов. Пожалуйста, перейдите на платный тариф для доступа.
Перейти на платный тарифMindmap

Этот раздел доступен только подписчикам платных тарифов. Пожалуйста, перейдите на платный тариф для доступа.
Перейти на платный тарифKeywords

Этот раздел доступен только подписчикам платных тарифов. Пожалуйста, перейдите на платный тариф для доступа.
Перейти на платный тарифHighlights

Этот раздел доступен только подписчикам платных тарифов. Пожалуйста, перейдите на платный тариф для доступа.
Перейти на платный тарифTranscripts

Этот раздел доступен только подписчикам платных тарифов. Пожалуйста, перейдите на платный тариф для доступа.
Перейти на платный тарифПосмотреть больше похожих видео
5.0 / 5 (0 votes)


