Cara Merubah Printer Biasa USB Menjadi Printer Wifi Tanpa Kabel (Epson L3110 ZTE F609 Indihome)
Summary
TLDRThis tutorial guides users on how to set up a USB printer to work over Wi-Fi, eliminating the need for a USB connection between the printer and laptop. Using a modem with a USB print server (like the ZTE F609), the video covers the steps to connect the printer to the modem, configure the modem settings, and add the printer to a laptop through the Wi-Fi network. It also emphasizes the importance of having the correct printer driver installed. This step-by-step guide ensures a smooth, wireless printing experience at home.
Takeaways
- 😀 To begin the tutorial, the first step is to subscribe to the channel for updates.
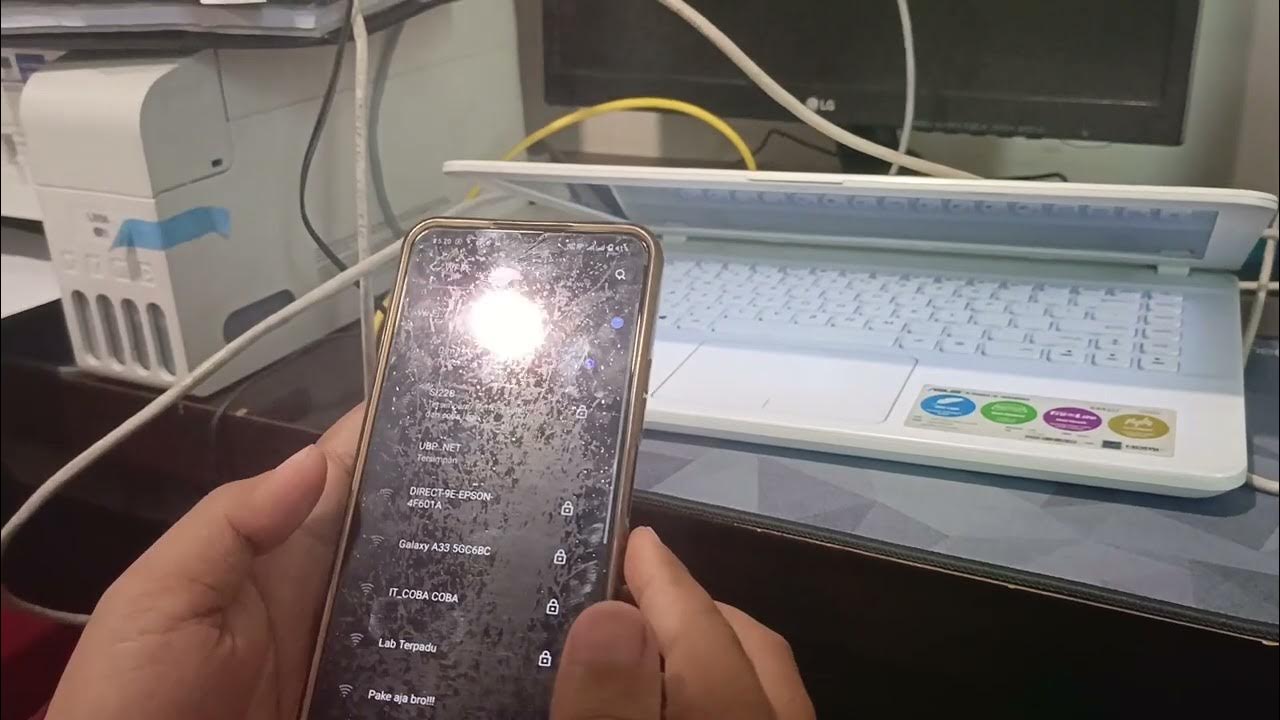
- 😀 The tutorial covers how to use a USB printer as a WiFi printer, so you don't need to connect it directly to a laptop via USB.
- 😀 A modem that supports a USB print server is necessary for the tutorial, and the ZTE F609 modem is used in this example.
- 😀 The printer being used in the tutorial is an Epson L3110, and its drivers should already be installed on the laptop before starting.
- 😀 First, turn on the printer and connect it to the modem using a USB cable.
- 😀 Access the modem settings via the browser at 192.168.1.1 to enable the USB print server feature.
- 😀 To enable the printer for WiFi usage, navigate to the 'Application' section, select 'USB Print Server,' and enable it.
- 😀 After configuring the modem, you need to add the printer to the laptop. This can be done via 'Printers and Scanners' settings on the laptop.
- 😀 The process involves setting up a TCP/IP connection to the printer, using the modem's IP address (192.168.1.1).
- 😀 Once the printer is recognized, select the appropriate printer driver (Epson L3110) and complete the installation.
- 😀 After installation, you can test the printer by sending a print job to it. Once successful, the printer is ready for WiFi printing.
- 😀 The tutorial ends with a reminder to share, like, and comment for any further questions or feedback.
Q & A
What is the purpose of this tutorial?
-The tutorial teaches how to set up a USB printer to work as a Wi-Fi printer, eliminating the need for a physical USB connection by using a Wi-Fi network.
What equipment is required for this setup?
-You need a modem that supports USB print server functionality, such as the ZTE F609, and a printer like the Epson L3110 with its driver installed on your laptop.
What is the role of the ZTE F609 modem in this process?
-The ZTE F609 modem serves as the USB print server, allowing the printer to be connected to the network wirelessly by using its USB port.
How do you connect the printer to the modem?
-The printer is connected to the modem via a USB cable, and the printer should be powered on before proceeding with the configuration.
What is the first step in configuring the printer through the modem?
-The first step is to access the modem's settings by typing its IP address (usually 192.168.1.1) in a web browser.
What should you do after accessing the modem’s web interface?
-Once you log in to the modem's interface, navigate to 'Applications', select 'USB Server', enable the USB print server option, and click 'Submit'.
How do you add the printer to your laptop after the modem is configured?
-You go to 'Printers and Scanners' in the laptop's settings, select 'Setup printer or scanner', and choose 'Add printer using TCP/IP address or hostname'. Then, enter the modem's IP address and proceed with the setup.
What should you do if the printer is not found on the network?
-If the printer is not found, select the 'Custom' option, and then proceed with adding the printer manually by choosing the printer driver that matches your model (e.g., Epson L3110).
Is it necessary to install the printer driver on the laptop before setting up the printer?
-Yes, it is essential to install the printer driver on the laptop before following the setup process to ensure proper communication between the laptop and the printer.
How do you finish the printer installation?
-After selecting the printer driver and completing the setup, you can give the printer a custom name and finalize the installation by clicking 'Finish'.
Outlines

Этот раздел доступен только подписчикам платных тарифов. Пожалуйста, перейдите на платный тариф для доступа.
Перейти на платный тарифMindmap

Этот раздел доступен только подписчикам платных тарифов. Пожалуйста, перейдите на платный тариф для доступа.
Перейти на платный тарифKeywords

Этот раздел доступен только подписчикам платных тарифов. Пожалуйста, перейдите на платный тариф для доступа.
Перейти на платный тарифHighlights

Этот раздел доступен только подписчикам платных тарифов. Пожалуйста, перейдите на платный тариф для доступа.
Перейти на платный тарифTranscripts

Этот раздел доступен только подписчикам платных тарифов. Пожалуйста, перейдите на платный тариф для доступа.
Перейти на платный тарифПосмотреть больше похожих видео
5.0 / 5 (0 votes)


