Learn 3 Useful PowerPoint Text Animation Tricks - Easily
Summary
TLDRIn this tutorial from presentationprocess.com, Ramgopal teaches three PowerPoint text animation tricks to enhance audience engagement. The techniques include basic text animations, dimming previous points to focus attention, presenting points in reverse order, and making text disappear to maintain focus. These methods help control the presentation pace and keep the audience's attention on the current point. The video concludes with an offer for a free 'Mini training' for business presenters to learn more animation tricks.
Takeaways
- 🎯 The video teaches three PowerPoint text animation tricks to engage the audience.
- 📝 Basic text animation is introduced first, where text appears point by point upon clicks.
- 👀 An advanced trick involves dimming out previous points as new ones appear, focusing attention.
- 🔄 A reverse order presentation technique is demonstrated, starting with the last point and working backward.
- 🌟 The final trick shows how to make previous text vanish as new points are presented.
- 🛠️ The tutorial guides through adding entrance animations and customizing them in the Animations tab.
- 🎨 'Effect options' are used to alter animations, including changing text color after animation.
- 📉 The 'in reverse order' option is found under the Text Animation tab to reverse the point presentation.
- ✅ 'Hide on next mouse click' is an option to make text disappear, ensuring focus on current content.
- 📚 A free 'Mini training program' is offered for further learning on simple animation tricks.
Q & A
What are the three PowerPoint text animation tricks discussed in the video?
-The three PowerPoint text animation tricks discussed are: 1) Basic text animation with sequential point appearance on clicks, 2) Dimming out previous points as new ones appear, and 3) Presenting points in reverse order with previous points vanishing.
How does the basic text animation help in controlling the pace of a presentation?
-The basic text animation allows the presenter to reveal text points one at a time with each click, which helps in controlling the pace and ensures the audience's attention is focused on the current point being discussed.
What is the purpose of dimming out previous points when presenting a new one?
-Dimming out previous points when presenting a new one is a technique to focus the audience's attention on the current point being explained without distraction from the previous text.
Can you explain the reverse order technique mentioned in the video?
-The reverse order technique involves presenting the points of a slide in reverse, starting with the last point and ending with the first, which can be used to build suspense or highlight the most important point first.
How does making previous points vanish help in focusing the audience's attention?
-Making previous points vanish ensures that the audience's focus is entirely on the current point being presented, as there is no lingering text from previous points to distract them.
What is the first step in creating text animation in PowerPoint according to the video?
-The first step in creating text animation in PowerPoint is to go to the Animations tab, open the Animation pane, and select an entrance animation for the text.
What is the 'Effect options' feature used for in the context of text animation?
-The 'Effect options' feature is used to customize animations, such as changing the direction of a wipe animation or setting the text color after the animation to dim it out.
How can one sign up for the 'Mini training program' mentioned at the end of the video?
-One can sign up for the 'Mini training program' by clicking on the link provided either in the video description or within the video itself.
Who is the target audience for the 'Mini training program' offered in the video?
-The target audience for the 'Mini training program' includes business owners, business executives, trainers, and consultants who are business presenters.
What is the benefit of using entrance animations as described in the video?
-Using entrance animations can make the presentation more engaging by adding visual interest and helping to guide the audience through the content in a controlled manner.
Outlines

Этот раздел доступен только подписчикам платных тарифов. Пожалуйста, перейдите на платный тариф для доступа.
Перейти на платный тарифMindmap

Этот раздел доступен только подписчикам платных тарифов. Пожалуйста, перейдите на платный тариф для доступа.
Перейти на платный тарифKeywords

Этот раздел доступен только подписчикам платных тарифов. Пожалуйста, перейдите на платный тариф для доступа.
Перейти на платный тарифHighlights

Этот раздел доступен только подписчикам платных тарифов. Пожалуйста, перейдите на платный тариф для доступа.
Перейти на платный тарифTranscripts

Этот раздел доступен только подписчикам платных тарифов. Пожалуйста, перейдите на платный тариф для доступа.
Перейти на платный тарифПосмотреть больше похожих видео

Oracle Database Tutorial 56:Data Pump impdp table and Duplicate (Remap_table ) table

view data codeigniter v3
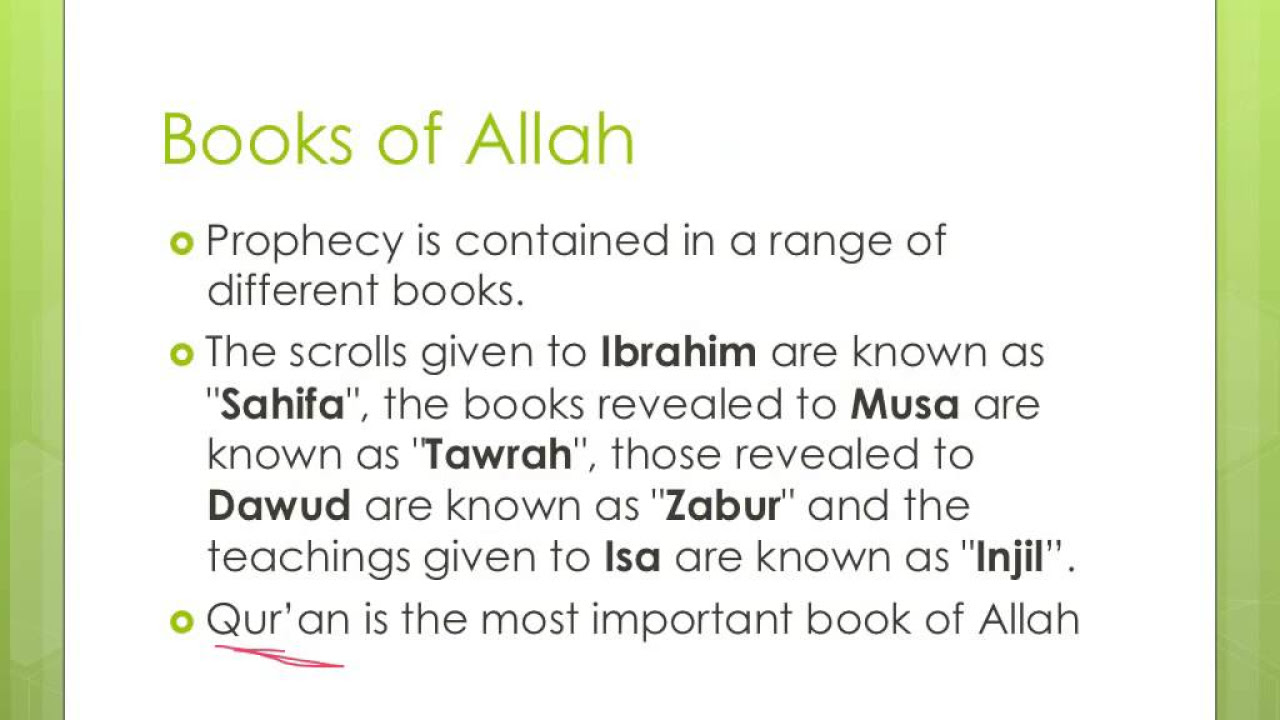
SOR: Islam Principal Beliefs
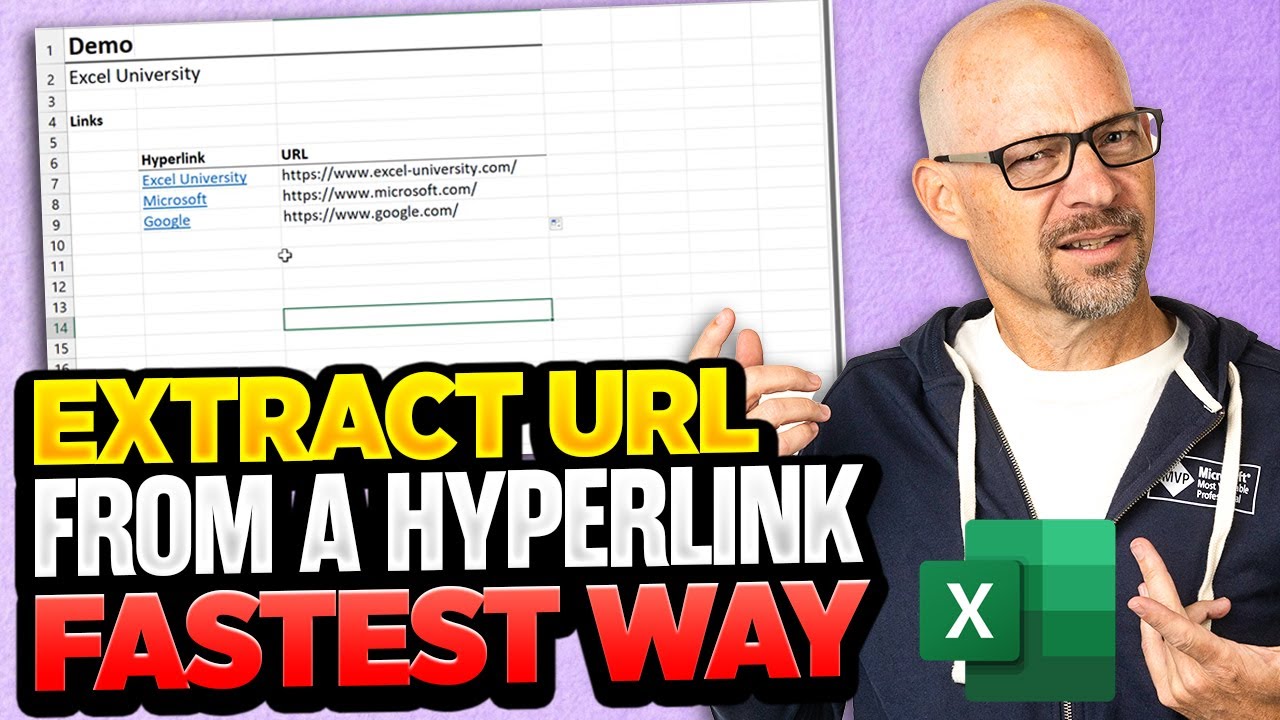
How To Extract URL From A Hyperlink In Excel - The Fastest Way Possible!

It's almost 2025... YOU STILL DON'T KNOW HOW TO DO YOUR MAKEUP? Beginner Makeup Tutorial by 小喃77
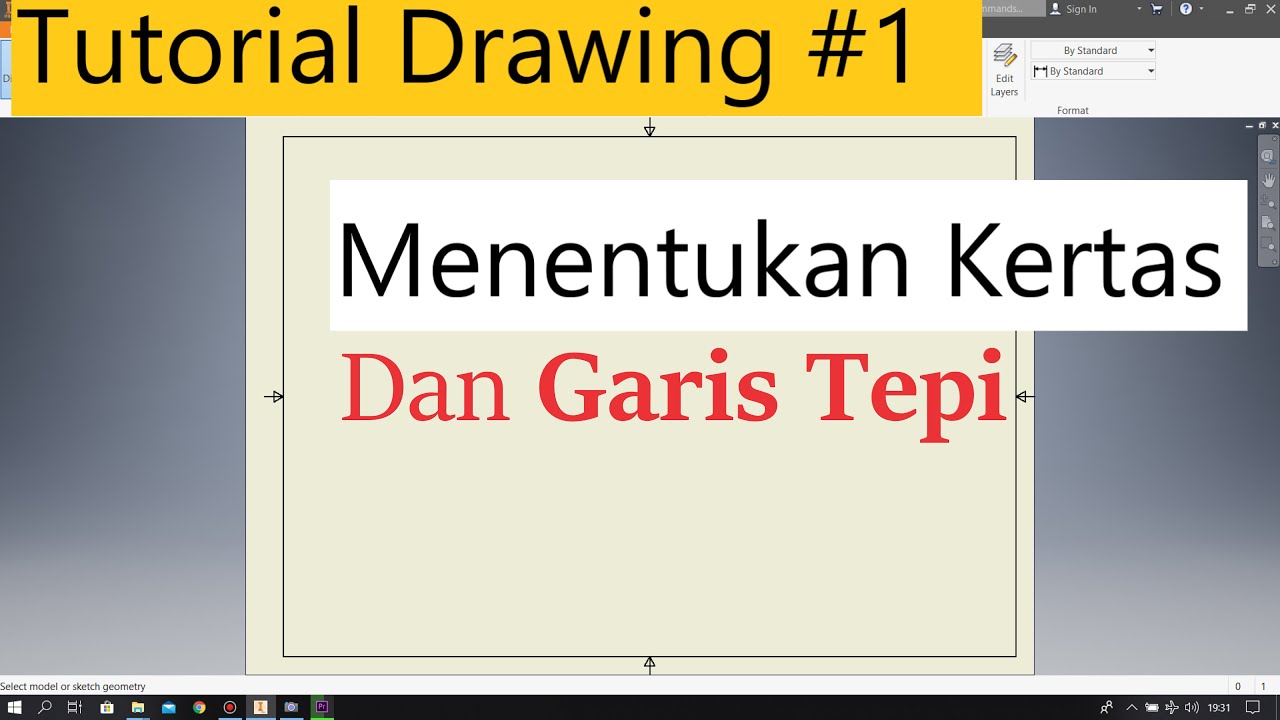
Tutorial Drawing #1 Mengubah Ukuran Kertas dan Garis Tepi Di Autodesk Inventor Indonesia
All 39 GIMP Tools Explained
5.0 / 5 (0 votes)
