Once Human - 10 HUGE MISTAKES to AVOID! (Once Human Tips & Tricks)
Summary
TLDRThis video script offers essential tips for new players in 'Once Human,' focusing on avoiding common mistakes and optimizing gameplay. It advises against using AP ammo until Level 50, unlocking weapon and armor blueprints through events and the wish machine, and strategically placing bases for resource efficiency. The script also highlights the importance of eating beneficial food, mining, and using deviants for resource farming. It emphasizes the role of stats in character performance and the necessity of managing energy, sanity, and load for optimal gameplay. Lastly, it stresses the importance of thoughtful base design to prevent future rebuilding headaches.
Takeaways
- 🚫 Avoid using AP (Armor-Piercing) ammo early in the game as it's unnecessary and wastes valuable Stardust Source materials.
- 🔍 To unlock weapon and armor blueprints, focus on completing monoliths, collecting mystical crates, and using the wish machine and blueprint shop.
- 🏠 Strategically place your base near teleportation points or main camps to save energy for more important uses, rather than frequent teleporting.
- 🍽 Prioritize cooking high-quality food for specific benefits like stamina boosts and increased mining speed to aid in early game progression.
- ⛏ Upgrade your mining tools to Bronze and then Steel as soon as possible to speed up resource gathering and efficiency.
- 🐾 Collect Deviants like Digby Boy and Logging Beaver to autofarm resources while you're offline or away from the game.
- 🔋 Ensure your Deviants are in an optimized environment with the required mood boosters to increase their efficiency in farming and gathering.
- 🏹 Utilize the crossbow for its infinite ammo advantage and build a melee weapon to conserve ammo and materials early in the game.
- 🐂 Focus on farming raw hide and gas as these resources are crucial for crafting armor and for vehicle travel, respectively.
- 📊 Keep an eye on your character's stats like energy, sanity, and load to avoid negative effects on health, speed, and stamina.
- 🏗 Plan your base design from the start to avoid the need for a complete rebuild later in the game, which can be time-consuming and frustrating.
Q & A
What mistake should players avoid making regarding ammo in the early stages of the game?
-Players should avoid using AP ammo early on and instead use regular ammo like copper shotgun bullets, as AP ammo does not significantly impact damage until after Level 50 and wastes valuable Stardust Source materials.
Why is it not efficient to craft AP ammo before Level 50?
-Crafting AP ammo consumes Stardust Source, a resource that becomes scarce as the game progresses, especially when upgrading weapons and crafting new items. The damage benefit from AP ammo is minimal before Level 50, making it an inefficient use of resources.
How can players unlock weapon and armor blueprints in the game?
-Players can unlock blueprints through completing monoliths, finding mystical crates in rift anchor areas, using the wish machine as seasons progress, and purchasing them directly from the blueprint shop using starcom.
What is the significance of the wish machine in obtaining blueprints?
-The wish machine allows players to spend starcom to potentially unlock random blueprints or directly purchase specific blueprints from the blueprint shop, offering a way to strategically acquire desired weapons and armor.
Why is the location of the player's base important in terms of energy consumption for teleportation?
-A base located far from teleportation hubs, main cities, or the player's home will incur higher energy costs for teleportation. Being close to these points helps conserve energy, which is crucial for crafting and other in-game activities.
How does the player benefit from eating good food early in the game?
-Consuming good food provides specific benefits such as increased stamina or mining speed, which are advantageous for early game progression and exploration.
What is the advantage of using a crossbow over firearms in the early stages of the game?
-The crossbow offers infinite ammo, meaning players do not need to farm for ammunition, saving time and resources that are scarce in the early game.
Why should players focus on obtaining rawhide early in the game?
-Rawhide is required for crafting armor, and focusing on obtaining it early ensures that players have the necessary materials for armor upgrades without having to farm for it later.
What is the importance of managing the character's energy, hydration, and sanity levels?
-Maintaining these levels is crucial as they affect the character's performance, including HP, melee damage, sprint speed, stamina cost, and maximum health. Neglecting them can lead to reduced efficiency and survivability.
What is the significance of having an efficient base design, especially from Level 20 onwards?
-An efficient base design is important for organization, defensive purposes, and to accommodate the increasing amount of items and decorations. A poorly planned base may require significant rebuilding, wasting valuable time and resources.
How can players benefit from using a bed in the game?
-Sleeping in a bed provides the benefit of restoring sanity, which in turn allows health to regenerate to its maximum capacity, supporting overall survival and gameplay progression.
Outlines

このセクションは有料ユーザー限定です。 アクセスするには、アップグレードをお願いします。
今すぐアップグレードMindmap

このセクションは有料ユーザー限定です。 アクセスするには、アップグレードをお願いします。
今すぐアップグレードKeywords

このセクションは有料ユーザー限定です。 アクセスするには、アップグレードをお願いします。
今すぐアップグレードHighlights

このセクションは有料ユーザー限定です。 アクセスするには、アップグレードをお願いします。
今すぐアップグレードTranscripts

このセクションは有料ユーザー限定です。 アクセスするには、アップグレードをお願いします。
今すぐアップグレード関連動画をさらに表示

Top 10 Mistakes Holding You Back in Hogwarts Legacy

2023 BEGINNERS GUIDE | HOW TO START IMPROVING AT osu!mania
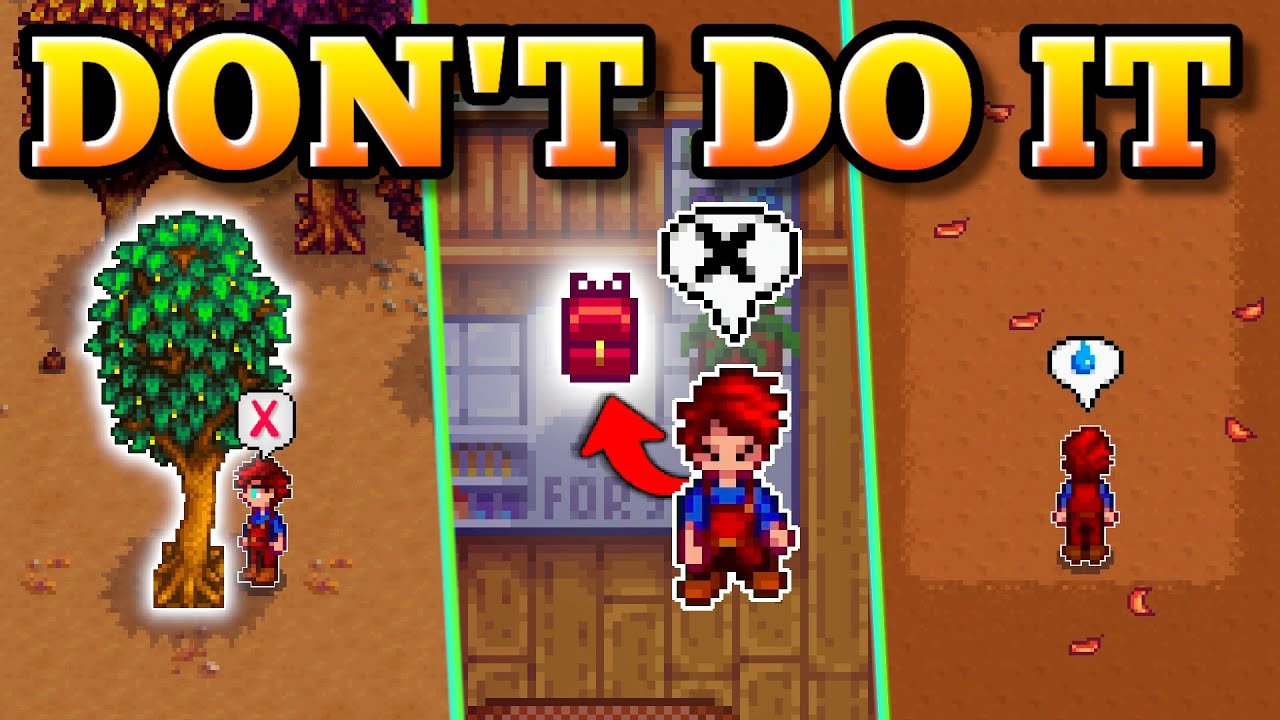
Wish I Knew These Earlier In Stardew Valley...

Black Ops 6: How to Do MUCH BETTER In 14 Simple Tips...

These 4 Simple Rules Will Prevent 90% of Your Chess Mistakes

Top 5 reasons you are losing lane in Deadlock
5.0 / 5 (0 votes)
