Turn Photos Into Logos with GIMP
Summary
TLDRIn this tutorial, Nick demonstrates the process of transforming a hand photo into a logo using Inkscape. He starts by desaturating and enhancing the shadows of the photo for better tracing. Nick then traces the hand outline and shadows, fills in the shaded areas, and converts the traced image into a black vector with a transparent background. Finally, he shows how to create a circular logo with the hand design, adding a white outline for emphasis, resulting in a unique logo suitable for various applications.
Takeaways
- 📸 Takeaway 1: The tutorial demonstrates the process of creating a logo from a photo by tracing it, which was originally done for a client depicting zombie hands emerging from the ground.
- 🖌️ Takeaway 2: The first step is to take a photo with good lighting and then convert it to grayscale to simplify the tracing process.
- 🔍 Takeaway 3: Adjusting the photo's curves can help accentuate shadows, which is important for tracing the shaded areas of the subject.
- 🎨 Takeaway 4: A new layer is created for tracing with a reduced opacity and a solid fill brush, using red as the foreground color for visibility against the photo.
- 👐 Takeaway 5: Tracing should follow the outline and shadows of the hand, but does not need to be perfectly precise due to the whimsical, hand-drawn style of the design.
- 🖼️ Takeaway 6: After tracing, the image is filled in using the bucket fill tool, and any missed areas are manually filled with a brush.
- 🔴 Takeaway 7: The traced image is then converted to black with a transparent background using the threshold function in the colors menu.
- 📐 Takeaway 8: A new document is created for the logo with a specific size and filled with transparency, and guides are added to help with alignment.
- ⭕ Takeaway 9: A circle is drawn in the center of the new document, and the traced hand is pasted and positioned over it, with parts of the hand sticking out of the circle for effect.
- ✂️ Takeaway 10: The portion of the hand that protrudes from the bottom of the circle is removed using selection tools, and the inside of the hand is erased to create the logo's negative space.
Q & A
What is the main topic of the tutorial presented by Nick?
-The main topic of the tutorial is demonstrating how to trace a photo into a logo using Inkscape, specifically creating a design depicting a zombie's hand coming up from the ground.
What was the original client's request that inspired this tutorial?
-The original client requested a design that depicted a zombie's hands coming up from the ground, which inspired the tutorial.
What is the first step in the tutorial for preparing the photo?
-The first step is to strip away all color information by reducing the saturation to zero, turning the photo into grayscale.
Why is it important to accentuate the shadows in the photo during the tutorial?
-Accentuating the shadows helps to make the shaded areas more visible, which are the parts that will be traced over, ensuring that the tracing process is more effective.
What tool does Nick recommend using to trace over the photo in Inkscape?
-Nick recommends using the solid fill brush with a hardness of two and adjusting the size as needed for tracing over the photo.
How should the tracing style be approached according to the tutorial?
-The tracing style should be whimsical and hand-drawn, not needing to be perfectly precise to achieve the desired design effect.
What is the purpose of adding a new layer with reduced opacity during the tracing process?
-Adding a new layer with reduced opacity allows the user to see the original photo while tracing, helping to create the lines without being overwhelmed by the intensity of the base image.
How does Nick suggest filling in the traced shadow areas in the design?
-Nick suggests using the bucket fill tool to quickly fill in the traced shadow areas, rather than manually painting them in with a brush.
What is the reason for adding a white layer beneath the traced image before filling it in?
-Adding a white layer beneath the traced image helps to see what is being filled in more clearly, providing a better visual guide against the original hand photo.
How does the tutorial describe converting the traced image to a logo?
-The tutorial describes creating a new document with guides to position and size the traced image within a circle, then using various editing techniques to refine the logo, including adding a white outline and erasing unnecessary parts.
What is the final step in the tutorial for preparing the logo for use?
-The final step is to export the logo as a .PNG file with a transparent background, making it ready for various applications.
Outlines

このセクションは有料ユーザー限定です。 アクセスするには、アップグレードをお願いします。
今すぐアップグレードMindmap

このセクションは有料ユーザー限定です。 アクセスするには、アップグレードをお願いします。
今すぐアップグレードKeywords

このセクションは有料ユーザー限定です。 アクセスするには、アップグレードをお願いします。
今すぐアップグレードHighlights

このセクションは有料ユーザー限定です。 アクセスするには、アップグレードをお願いします。
今すぐアップグレードTranscripts

このセクションは有料ユーザー限定です。 アクセスするには、アップグレードをお願いします。
今すぐアップグレード関連動画をさらに表示

inkscape tutorial: logo design

How to Make Gaming Thumbnails Like a Pro (PC & Mac)
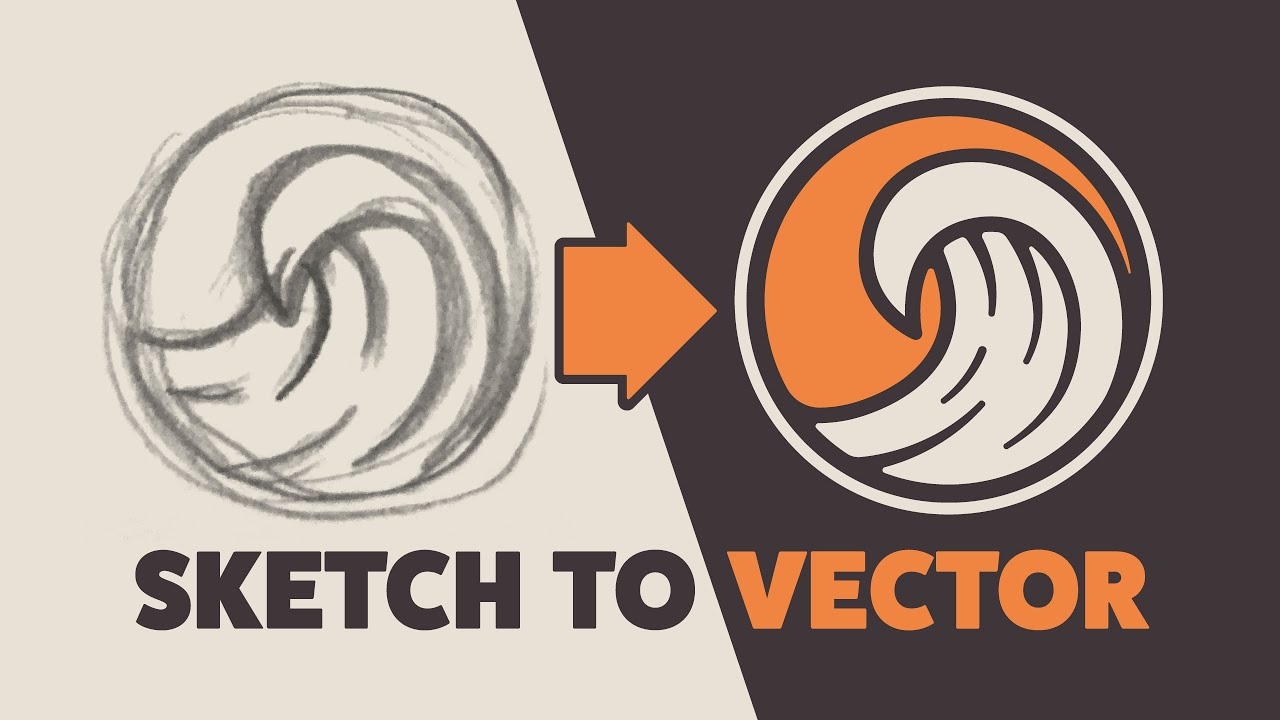
Illustrator Tutorial: Create a Vector Logo from a Rough Sketch

Transform Your 2D Logo into 3D in After Effects with Max Novak | Adobe Substance 3D
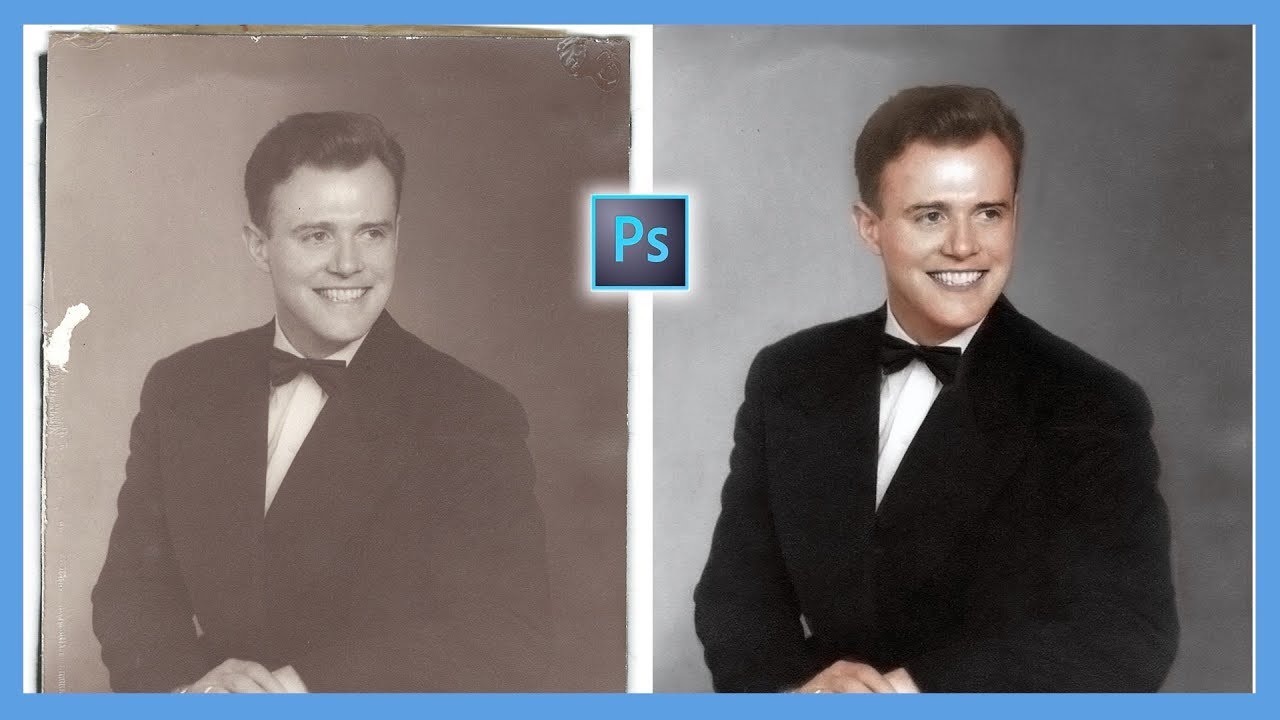
How to Repair and Colorize Old Photos (Adobe Photoshop CC Tutorial)

Mudahnya Membuat Animasi Logo Brand DJI - Tutorial After Effect
5.0 / 5 (0 votes)
