DON'T Install WINDOWS Without Watching This FIRST!
Summary
TLDRThis video explains how to create a streamlined and de-bloated Windows installation using an answer file. By adding an answer file to a Windows ISO, you can customize various settings, remove bloatware, and enhance performance. The process involves downloading the official Windows ISO, creating the answer file with preferred settings, and integrating it into the installation media. The video demonstrates how this setup results in a cleaner, faster, and more privacy-focused Windows experience, saving time on every fresh install. Additionally, it provides resources and tips for further customization.
Takeaways
- 😃 A clean Windows install using an official ISO can be customized to be free of pre-installed apps and have a lower process count.
- 🔧 Microsoft allows the use of answer files to modify Windows settings during the setup process, enhancing customization and efficiency.
- 🛠 Answer files are safe as they allow for transparent inspection of changes before they are applied to the Windows image.
- 📚 No need to download custom ISOs from unofficial sources; answer files can be added to the official Windows ISOs.
- 🏢 Answer files are an official Microsoft feature, commonly used for mass deployments in corporate environments.
- 🌐 A website is mentioned to generate an unattended answer file with a variety of settings and tweaks available.
- 🔄 The shared answer file automates tweaks from projects like Chris Titus Tech and Tiny 11, working for both Windows 10 and 11 Pro versions.
- 🚫 The creator's goal is to provide an experience similar to LTSC without needing an LTSC license, and to improve the Windows 11 experience post-Windows 10 support.
- ✂️ The answer file removes bloatware and customizes settings, requiring no additional scripts or programs post-installation.
- 🛑 The file provided is a starting point and can be edited to include or exclude specific tweaks according to user preference.
- 🔄 The UnattendedWinstall GitHub page offers the autounattend.xml file for download to be used with Windows installation media.
- 🔧 Multiple methods are described to include the answer file with the Windows installation media, including using AnyBurn to create a custom ISO.
- 💻 The script execution process is detailed, explaining the phases where different settings and tweaks are applied.
- 🛡️ The final installation provides a customized Windows experience with many default settings disabled, offering a blank canvas for users to personalize.
- 🖥️ For users uncomfortable with the extensive customization, the script leaves the option to manually add back features or use the provided utility for Internet access and further setup.
Q & A
What is the main purpose of using answer files or unattended files in Windows installation?
-The main purpose is to modify various Windows settings during the setup process to create a streamlined, customized, and bloat-free Windows installation.
How do answer files benefit users compared to stock Windows installations?
-Answer files can remove pre-installed bloatware, disable unnecessary features, and optimize system performance, making Windows faster and more responsive.
What tools can be used to create Windows installation media with answer files?
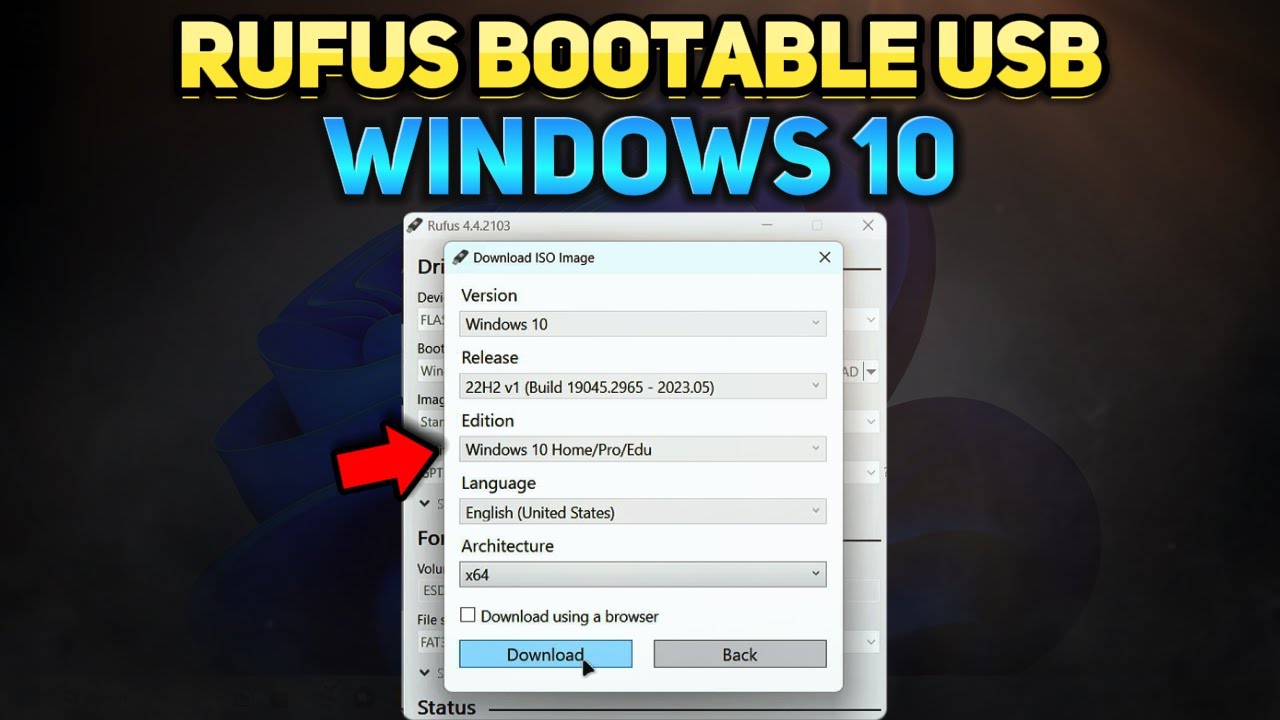
-Tools like Rufus and AnyBurn can be used to create Windows installation media with answer files.
Why is it preferable to use official Windows ISO files from Microsoft with answer files?
-Using official ISO files ensures the installation is safe, secure, and free from potential malware that might come with unofficial sources.
What is the role of the 'specialized phase' during the Windows setup process?
-The specialized phase is where most of the customizations and tweaks defined in the answer file are applied, such as de-bloating Windows and running specific PowerShell scripts.
Can users customize the provided answer file to suit their own preferences?
-Yes, users can edit the answer file to remove unwanted tweaks or add new customizations according to their needs.
What should users do if they face difficulties editing the answer file?
-Users can use a code editor with AI capabilities, such as Cursor, to assist in editing the answer file by providing suggestions and highlighting relevant entries.
What is the recommended method to include the answer file in the Windows installation media?
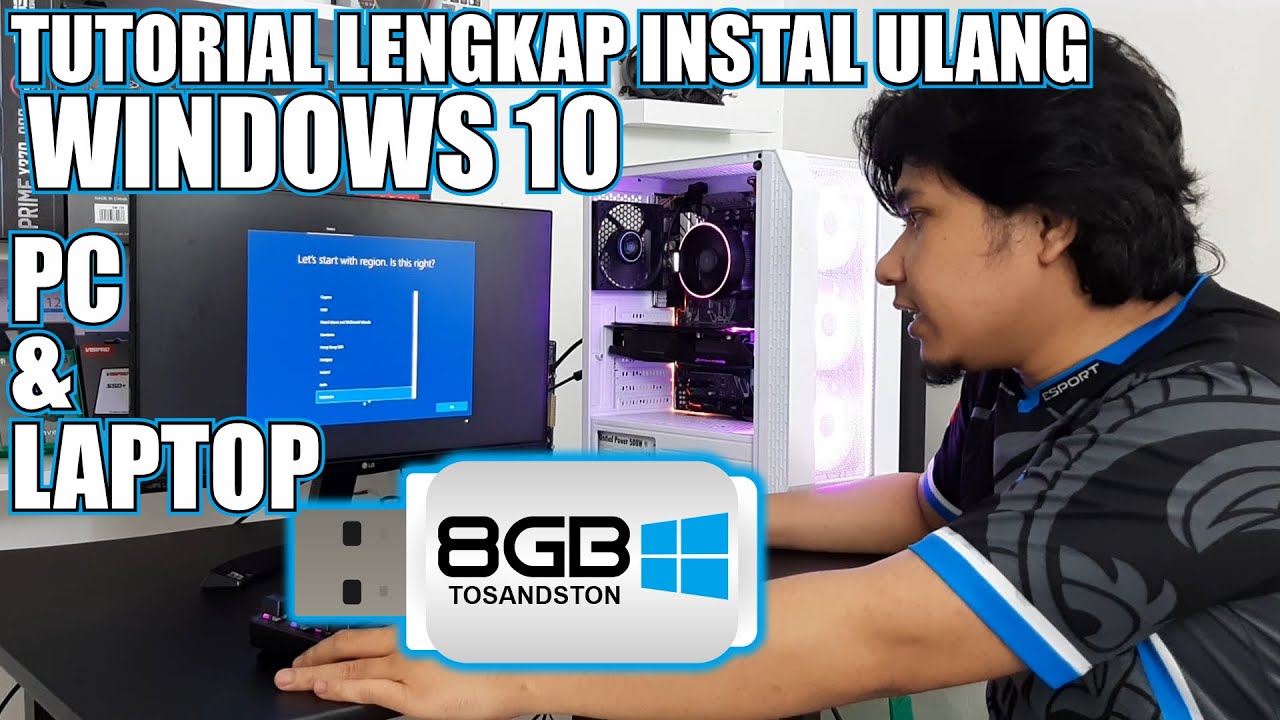
-The answer file can be included by copying it to the root of a bootable USB drive created with tools like the media creation tool from Microsoft or Rufus.
What steps should users follow to install Windows using a custom ISO file with the answer file embedded?
-Users need to download a Windows ISO file, edit it with AnyBurn to include the answer file, create a bootable USB flash drive with the modified ISO, and then proceed with the installation.
How does the answer file affect the privacy settings and overall performance of Windows?
-The answer file disables many privacy-invasive settings and unnecessary background processes, leading to a more secure and efficient Windows installation.
Outlines
🚀 Customizing Windows Installation with Answer Files
This paragraph introduces a method to customize a Windows installation by using official ISO files and answer files to modify settings. It explains that a clean install can be achieved without bloatware, with fewer processes running, and with all privacy settings disabled. The speaker shares their experience and provides a guide on how to use answer files, which are safe as they allow for transparent inspection of changes and do not require unofficial downloads. The paragraph also mentions the use of Rufus and a website for generating unattended answer files, and the speaker's own answer file that automates tweaks from projects like Chris Titus Tech Windows utility and Tiny 11.
🛠 Methods for Integrating Answer Files into Windows Installation
The second paragraph outlines two methods for incorporating answer files into the Windows installation process. The first method involves creating a bootable USB with the Windows installation files and then copying the answer file to the root of the USB. The second method describes how to create a custom Windows ISO with the answer file embedded using AnyBurn software. The paragraph also provides a step-by-step guide on installing Windows using these methods, including the automated execution of scripts during the Windows pre-installation environment and specialized phase, which apply the desired tweaks and settings.
🔧 Post-Installation Customization and Utility Usage
The final paragraph discusses post-installation steps for a customized Windows experience. It mentions the absence of a browser and the need to connect to the Internet to download necessary applications. The speaker provides a utility, 'Launch CTT WinUtil,' to facilitate the downloading of a preferred browser and other applications. The paragraph also touches on the possibility of further customizing the answer file using a code editor and the AI capabilities of Cursor, an editor with built-in AI assistance. The speaker concludes by expressing hope that the video was valuable and invites feedback in the comments section.
Mindmap
Keywords
💡Clean install
💡Microsoft Edge
💡OneDrive
💡Bloatware
💡Task Manager
💡Privacy settings
💡Answer file
💡Unattended file
💡Rufus
💡Windows ISO file
💡Customization
Highlights
Performing a clean install of Windows 10 or 11 using the official ISO file results in a desktop without pre-installed apps like Microsoft Edge or OneDrive.
A clean Windows install has a lower process count compared to a stock install, offering a fast and responsive system.
Microsoft allows the use of answer files to modify Windows settings during the setup process.
Answer files are safe as they allow inspection of changes before execution and do not require unofficial ISOs.
Answer files are an official Microsoft feature, aiding in mass deployments like in corporate environments.
A website is available to generate custom unattended answer files with various settings and tweaks.
The presenter shares a personal answer file automating tweaks from projects like Chris Titus Tech Windows utility.
The shared answer file works for both Windows 10 and 11, tested on Pro versions without issues.
The goal is to achieve an LTSC-like experience without needing an LTSC license for Pro and Home versions.
The answer file automates setup, removing the need to run multiple programs and scripts post-installation.
The provided answer file is a base that can be edited to include or remove tweaks as desired.
No support is provided for changes made to the answer file by users.
The UnattendedWinstall GitHub page provides the autounattend.xml file for download.
The answer file can be included in a Windows installation USB or embedded in a custom ISO file.
AnyBurn software can be used to create a custom Windows ISO with an embedded answer file.
The Windows pre-installation environment executes commands from the answer file to remove system requirements.
The specialized phase of the script executes most of the tweaks and registry entries for a customized Windows experience.
The OOBE phase of the script prompts for local account creation and runs final tweaks for the user profile.
The final Windows installation is a customized version with many default settings disabled.
Users can treat the installation as a blank canvas or edit the answer file to customize their Windows experience.
Cursor code editor with AI assistance is recommended for editing the answer file for those inexperienced with scripts.
After installation, the Chris Titus Tech Windows utility can be used to download a browser and other necessary programs.
The presenter plans to add more tweaks to the answer file and welcomes feedback and suggestions.
Transcripts
Imagine you do a clean install of Windows using the official Windows 10 or 11 ISO file
from Microsoft and once you get to the desktop it looks like this.
There's no Microsoft Edge or OneDrive, no pre-installed bloatware apps like the widgets
or Copilot for example, and the start menu is clean.
On top of that, if you open the Task Manager and look at the process count, it's also
way lower than a stock Windows install.
And then, when you look at the privacy settings, it's all disabled and Windows is just fast,
smooth and really responsive without you even having to do anything to get it to that point.
So you might be wondering how that's even possible.
Well, listen up and don't skip through this video because I'll show you exactly how you
can do it too.
Microsoft allows you to add answer files or unattended files to Windows images or also
called Windows ISO files.
Now these answer files can be used to modify various Windows settings in the Windows image
and they are executed during different phases in the Windows setup process.
So if you've ever used Rufus to create Windows installation media and you saw this screen
with these options like remove the Windows 11 hardware requirements and disable privacy
questions and so on, they achieve that by including an answer file in the installation
media that executes those commands during the Windows setup.
In my opinion, the best thing about an answer file is that it's very safe.
First of all, you can see every single change it's going to make to the Windows image by
inspecting the answer file.
There's also no need to download custom ISO files from unofficial sources because you
insert it on the official Windows 10 or 11 ISO file that you download directly from Microsoft.
And then lastly, it's also not dependent on any third party tools and it's an official
Microsoft feature that's normally used to make mass Windows deployments easier, like
in corporate environments for example.
Now you can create your own answer file with the customized Windows settings you want and
this is one of the best places you can do it at.
You can use this website here to generate an unattended answer file and as you can see
there are a lot of settings and tweaks to choose from.
Once you've selected your preferred tweaks and settings, you can just download the XML
file and then add it to your Windows installation media and I'll show you exactly how you can
do that later on in the video.
Now I've created my own answer file that I've started using to automate and streamline my
Windows installs and that's what I want to share here with you.
It basically automates a lot of the tweaks and scripts created by projects like the Chris Titus
Tech Windows utility and Tiny 11 for example.
The answer file works on both Windows 10 and Windows 11 and I've tested it on the Pro version
of Windows 10 22H2 and Windows 11 23H2 without any issues.
My motivation for this project is to get an LTSC-like or even better experience on the
Pro and Home versions of Windows 10 and 11 without having to worry about getting an LTSC
license.
Also, I have to start looking at making Windows 11 better since Microsoft announced that they
won't be supporting Windows 10 anymore starting late 2025 and I hate the stock Windows 11.
Now the answer file automates many parts of the Windows setup and saves me a ton of time
because I don't have to run a bunch of programs and scripts every time I do a fresh install
of Windows.
It's already de-bloated and customized with my preferred settings as soon as I get to
the desktop.
Now look, it would be impossible for me to create a single answer file that'll please
everyone, so instead I'm supplying you with one that basically removes everything except
Windows security and is over tweaked if you will, so you can just edit the file and remove
the tweaks you don't want.
Additionally, you can also add more tweaks or customizations if you have the know-how,
but please note that I'll not provide any form of support for any changes you make to
the file.
So, you're probably wondering how to get it and how to use it, so let me show you.
You need to go to the UnattendedWinstall GitHub page and I'll leave a link to that in
the description of the video.
Now once you're here, you need to find this autounattend.xml file and then click on it.
It'll open this page here where you can inspect the file, but you need to download it and
you can do that by clicking on this little arrow over here.
That's the download button.
It'll download the file and save it on your computer.
Next, you need to include this auto unattended answer file on your Windows installation media
so it can be read and executed during the Windows setup.
Now I'm going to show you a few ways to do it and if you need any help with something
I mention in this next section of the video, I'll leave some of my guides on these topics
in the description of this video so you can go ahead and check out those videos if you're
unsure on how to do any of these things that I mention here.
Now the first method is to create a bootable Windows installation USB first and then just
copy the answer file to the USB drive.
So you'll need to create a Windows 10 or 11 bootable installation USB drive and you can
do that with the media creation tool from Microsoft or Rufus for example.
But please note, when you're using Rufus, don't select any of these checkboxes in the
customize your Windows experience window you see here as it creates another answer file
and we don't want that because we already have an answer file.
Now once you've created the Windows installation USB, you can just copy the autounattend
XML answer file to the root of the USB drive.
Next, just boot from the USB drive, do a clean install of Windows as normal and the scripts
will run automatically.
Now for method two, you can create a custom Windows ISO file with the answer file embedded
into it.
So to do that, download the Windows 10 or Windows 11 ISO file depending on the version
you want.
Then next, download and install AnyBurn.
Once that's done, in AnyBurn, select the edit image file option and then navigate to and
select the official Windows ISO file you downloaded earlier.
Click on the add button up here and then select the answer file you downloaded earlier or
Alternatively, you can just click and drag the answer file into the AnyBurn window.
You should then see it included as part of the files on the Windows ISO file.
Now just click on next and then click on create now and then you should be prompted to overwrite
the ISO file.
Just click on yes and then once that's complete, you can just close AnyBurn.
Now you can use this ISO file to install Windows on a virtual machine or you can use a program
like a Ventoy to create a bootable USB flash drive and then just copy the edited Windows
ISO file onto it.
Then you can boot from the Windows installation USB, do a clean install of Windows as normal
and the scripts will run automatically.
Now as an example, I'll be installing Windows 11 23H2 on a virtual machine and take you
through each part of the script as it executes.
So once you boot from the Windows installation media, before you get to the first setup screen,
you should notice some command prompt Windows flashing briefly and then closing.
This part of the installation is called the Windows pre-installed environment and the
commands that were executed there are these commands which removes the Windows 11 system
requirements.
From here, you can go through all of the normal installation prompts like you always do, select
the drive where you want to install Windows and then just start the installation.
Once the initial part of the Windows installation is complete, your computer will restart and
then it enters into the specialized phase.
Now you'll see a bunch of PowerShell and command prompt Windows appear and disappear and you
just need to leave the computer to finish executing these scripts.
Now the specialized phase is this part of the script and this is where most of the changes
and tweaks are executed in my version of the answer file.
These tweaks include a bunch of registry entries being created and PowerShell scripts being
run including some of the Chris Titus Tech Windows utility scripts that de-bloats Windows
and removes a lot of these apps and also lowers the process count in Windows.
Now you can read through the answer file to see exactly what's being executed, but basically
these run synchronous commands that you see here, they reference scripts that are located
further down in the answer file.
After this phase, your computer will restart again and then you'll be taken to the onboarding
experience.
This is also called the out of box experience or OOBE and it's this part of the script here.
Now this is also straightforward and you need to go through all of the usual prompts and
select your preferred settings, but you will be prompted to create a local account.
You won't be able to log in with a Microsoft account here and I don't recommend that you
use a Microsoft account anyway, but once you get to the desktop, it should take a few seconds
and then you should see another window appear running a bunch of tweaks and then your computer
will restart again.
Those are the last commands that will run from the answer file and it just modifies
the registry for the current user profile to ensure that all the values are properly
set.
I had to include this as some of the registry values that are created for the default user
profile during the specialized phase are changed or reset when loading into a new user profile.
So this just ensures that all of the registry values for the current user are correctly
And this part of the script will also run once every time you create a new user account
on the computer.
Now finally, you'll be able to use this custom version of Windows.
So as you can see, this answer file basically strips out everything from Windows and a lot
of the Windows settings are disabled by default.
I understand how this can be a bit too much for some people, but the way I see it is that
you have two options.
You can treat this installation like a blank canvas and just download and install what
you need back into Windows.
Or you can download a code editor like VS code, notepad plus plus or my favorite Cursor
to edit the answer file before including it in your installation media.
So the reason I like using cursor is because it has AI built in and I found it really helpful
during the creation of this file, as I really don't have a lot of experience with scripts
and programming.
So if you want to edit the answer file, I suggest using cursor and then you can press
Ctrl and F to search for a specific term.
Like let's say you wanted to add notepad back into Windows, for example, then you can just
search for notepad and remove any entries related to notepad and save the file again.
Alternatively, you can press Ctrl and L or click on this icon up here to open the AI
chat, change it to GPT-4o or whatever is the latest GPT version, and then just ask it a
question.
For example, you can ask it something like, show me all of the entries related to notepad
or help me add notepad back into the Windows installation and the AI will help you figure
it out and show you how to get it done.
And in that way, you can customize the file to your liking.
Then once you're happy, you can just save it and include it in your Windows installation
media like I explained earlier.
Now back to the Windows installation.
Due to the fact that there is no browser installed, you'll have some trouble browsing the Internet.
So first, make sure you're connected to the Internet.
Then right click on this file on the desktop called Launch CTT WinUtil and then click on
run with PowerShell.
This will automatically launch the Chris Titus Tech Windows utility and then you can use it to
download your browser of choice, even Edge if you want that and any other program that
you might need for that matter.
Now once you're done with the utility, you have the option to delete this file from the
desktop or you can just keep it there for easy access.
That's up to you.
Now this answer file is not perfect by any means, but it does what I needed to do and
saves me a lot of time during my Windows installs.
I'm also planning on adding more tweaks to it as time goes on and if you have any feedback
or suggestions for me, please feel free to leave them in the comments down below.
But with that being said, I really hope you got some value out of this video.
Please remember to give it a like and I'll talk to you guys soon.
関連動画をさらに表示
How to Create a Windows 10 Installation USB with Rufus (Tutorial)
How to Create Bootable Windows 10 USB Drive or DVD?
How to Create a Windows 11 Installation USB (Rufus Beginners Guide)
How to Create a Rufus Bootable USB for Windows 10 in 5 Minutes!
How to Install Windows 10 From USB Flash Drive! (Complete Tutorial)
Begini Cara Install Windows 10 Menggunakan VirtualBox | install windows 10 on virtualbox
5.0 / 5 (0 votes)