Arduino IoT Cloud Tutorial in 2024
Summary
TLDRThis tutorial walks you through setting up an Aino UNO R4 Wi-Fi board to control an LED via the Aino IoT Cloud. It covers signing up for the cloud service, configuring the board, creating cloud variables, and linking them to visual controls like push buttons. The script explains how to upload and modify code on the board, and shows how pressing a button on the IoT dashboard can turn the LED on or off. It also touches on expanding the project to control motors and sensors, making it a comprehensive introduction to building IoT projects using Aino's platform.
Takeaways
- 😀 To get started with Aino IoT Cloud, you need a Wi-Fi compatible microcontroller board, like the Aino UNO R4.
- 😀 The first step is to sign up on cloud.aino.cc and add your device by selecting the appropriate board type.
- 😀 After adding the device, install the Cloud Agent and configure the device, which may take up to 5 minutes.
- 😀 Once configured, you can check if your device is registered in the 'Devices' section, although it might initially be offline.
- 😀 Next, create a cloud variable (e.g., LED State) under the 'Things' section, selecting Boolean as the type.
- 😀 Choose the correct variable update policy (either 'on change' or 'periodically') based on the intended use.
- 😀 Associate your board with the cloud variable by entering network credentials to connect your device to the internet.
- 😀 Create a dashboard and a visual control (like a push button) to interact with the cloud variable you've created.
- 😀 Modify the default sketch in Arduino IDE to program the board to react to changes in the cloud variable.
- 😀 If you're on the free plan, manually upload the sketch after downloading it from the IoT Cloud account, and hook up external hardware (like an LED).
- 😀 Pressing the push button on the dashboard updates the cloud variable, which triggers the corresponding function (e.g., turning the LED on/off).
Q & A
What is the first step to get started with the Aino IoT Cloud?
-The first step is to sign up for a new account on cloud.aino.cc and add your device by selecting your board type (e.g., the Uno R4 Wi-Fi) in the devices section.
What is the purpose of installing the cloud agent on your system?
-The cloud agent allows your system to connect with the Aino IoT Cloud and facilitates the registration and configuration of your board.
Why is it important to configure your device before moving to the next step?
-Configuring your device ensures that it is correctly connected to the Aino IoT Cloud, enabling communication and control through the cloud platform.
What is the function of a cloud variable in this IoT setup?
-A cloud variable is used to store and manage the state of a device or sensor, in this case, controlling the LED’s state (on or off) through the internet.
Why is it necessary to choose a Boolean variable type for the LED state?
-A Boolean variable is ideal because the LED's state can either be 'on' (1) or 'off' (0), making Boolean the simplest and most appropriate choice.
What does the 'read and WR' option in the variable settings do?
-The 'read and WR' (read and write) option allows both reading and controlling the state of the LED via the cloud, enabling interaction through the IoT dashboard.
What does the variable update policy determine?
-The variable update policy determines how often the cloud variable is updated, either when there is a change (for efficient use) or periodically (for constant monitoring).
How do you link the cloud variable to the physical board?
-You link the cloud variable to the physical board by associating the device with the variable, entering the network credentials, and saving the connection.
What is the significance of creating a visual control like a push button on the IoT dashboard?
-A visual control, such as a push button, allows the user to interact with the cloud variable and control the state of the device (in this case, turning the LED on and off).
What is the function of the 'on LED State change' in the Arduino sketch?
-The 'on LED State change' function is triggered whenever the cloud variable changes, executing the code to turn the LED on or off based on the variable's value.
What are the differences between the free plan and the paid plan in terms of uploading the sketch?
-On the free plan, you need to manually upload the sketch by downloading it from the cloud and using an IDE. The paid plan allows direct sketch uploads over the internet.
How does the IoT dashboard communicate with the physical board to control the LED?
-The IoT dashboard sends changes to the cloud variable when the user presses the push button, which then triggers the corresponding action on the board (turning the LED on or off).
Outlines

このセクションは有料ユーザー限定です。 アクセスするには、アップグレードをお願いします。
今すぐアップグレードMindmap

このセクションは有料ユーザー限定です。 アクセスするには、アップグレードをお願いします。
今すぐアップグレードKeywords

このセクションは有料ユーザー限定です。 アクセスするには、アップグレードをお願いします。
今すぐアップグレードHighlights

このセクションは有料ユーザー限定です。 アクセスするには、アップグレードをお願いします。
今すぐアップグレードTranscripts

このセクションは有料ユーザー限定です。 アクセスするには、アップグレードをお願いします。
今すぐアップグレード関連動画をさらに表示
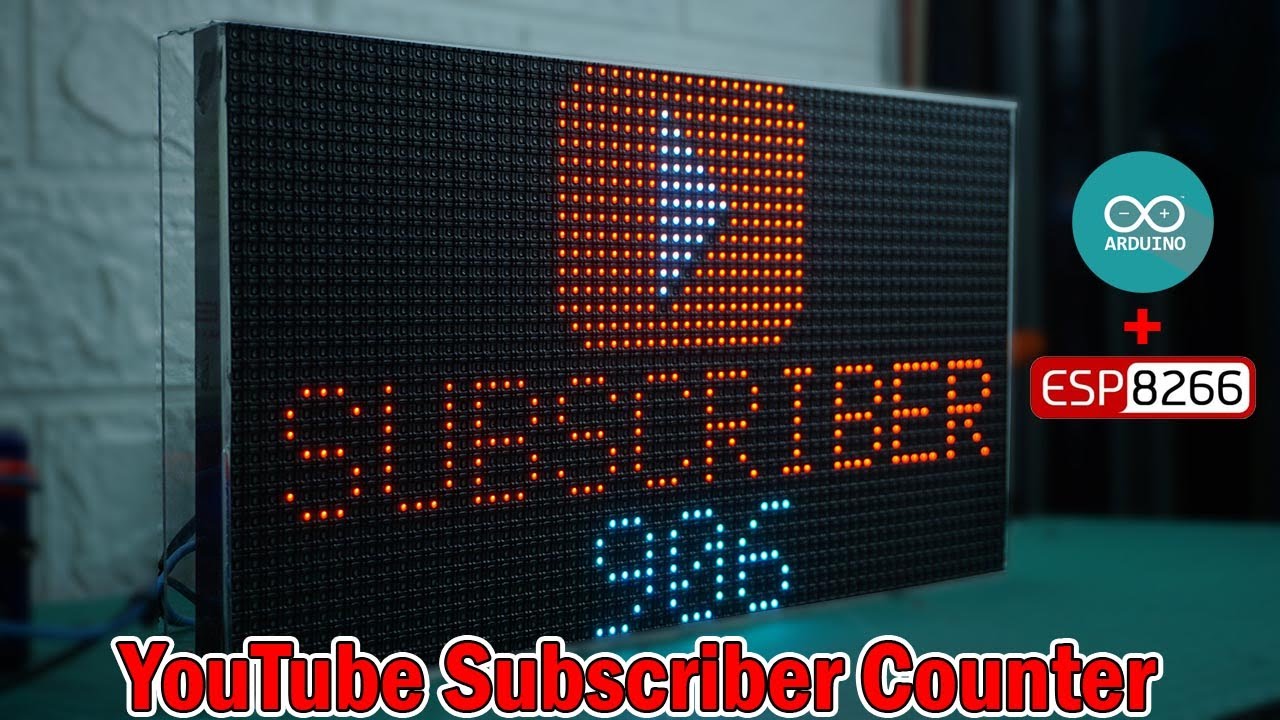
Cara Membuat YouTube Subscriber Counter dengan Led matrix RGB 32X64 | ESP8266
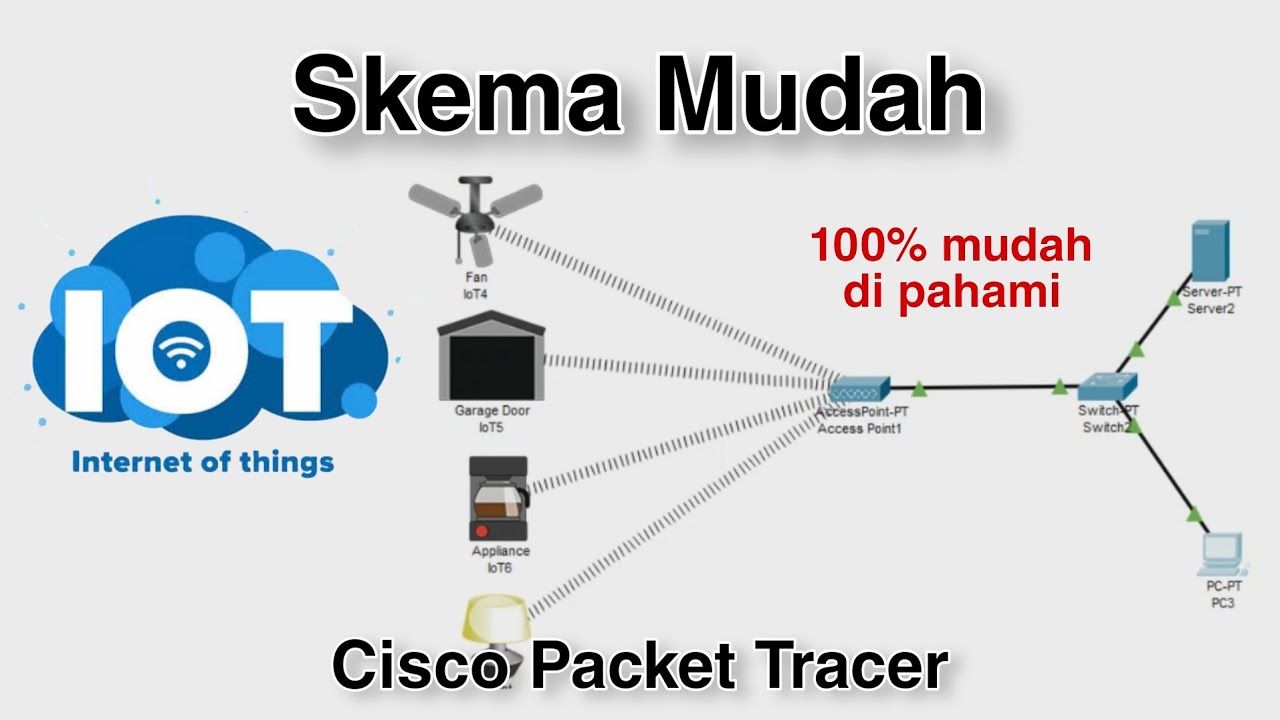
Konfigurasi IoT Perangkat Smart Home - Internet of Things | Cisco Packet Tracer
Introduction to ESP32 Board - Getting Started ( Step by Step)
Sending Temperature and Humidity Sensor Data (DHT11) to Firebase using ESP32
Build Your Own Biometric Access System with Arduino! 🚀 | Fingerprint Sensor DIY | Embedded Sphere

Menghubungkan ESP32 ke Blynk Full Tutorial
5.0 / 5 (0 votes)
