Menghubungkan ESP32 ke Blynk Full Tutorial
Summary
TLDRThis tutorial guides users on connecting an ESP32 to the Blink IoT platform. The process includes downloading the necessary library, setting up a template and dashboard, and writing the code to control an LED. The tutorial demonstrates both physical control via jumper cables and virtual control through the Blink platform interface. Viewers learn to toggle an LED on and off through the Blink dashboard, configure virtual pins, and troubleshoot the setup. The video is perfect for beginners looking to explore IoT with ESP32 and Blink.
Takeaways
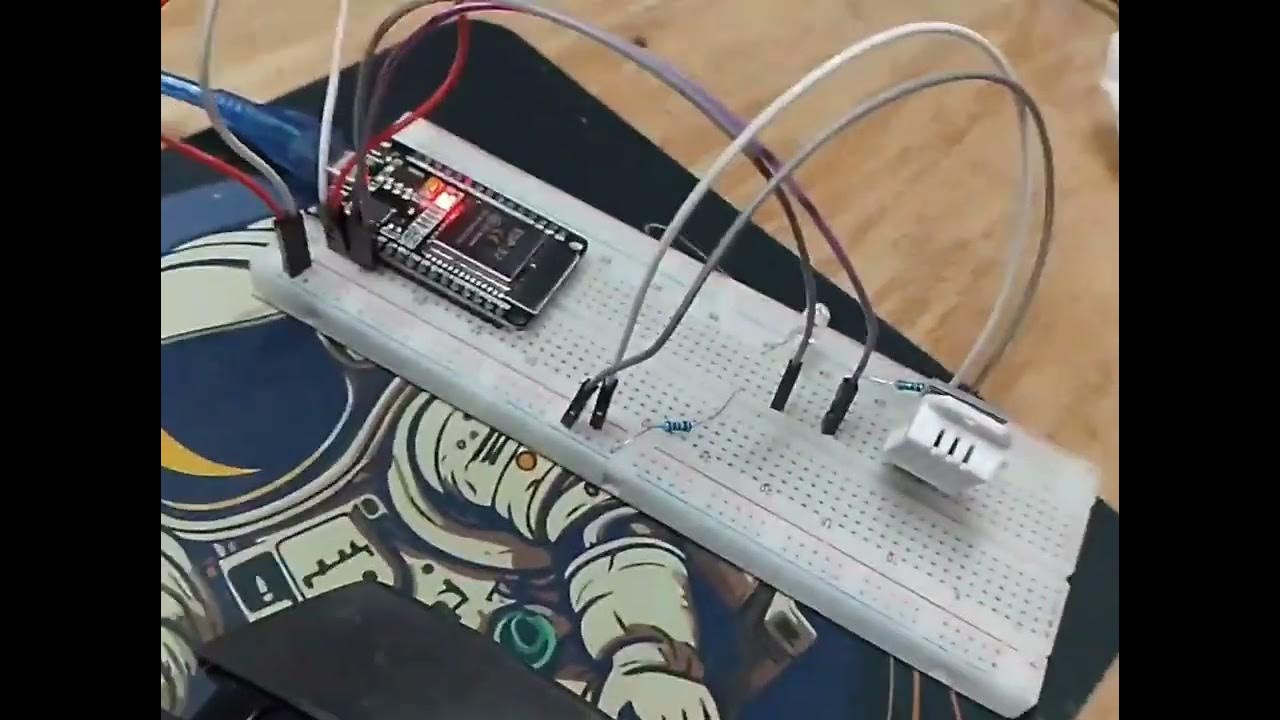
- 😀 The video demonstrates how to connect an ESP32 to the Blink platform (both website and app).
- 😀 First, users need to download the required Blink library for the ESP32 and install it via the Arduino IDE.
- 😀 The Blink library will show up in the 'Sketch' menu of Arduino IDE after installation.
- 😀 The ESP32 communicates with Blink via Wi-Fi, and users must configure the Wi-Fi settings in the Blink library.
- 😀 The video walks through setting up a template on the Blink website for the ESP32, specifying Wi-Fi and device configurations.
- 😀 Users can create a 'data stream' in Blink, such as one for controlling an LED, by defining virtual pins for input/output.
- 😀 The ESP32's GPIO pins (such as Pin 2 for LED) can be controlled remotely using the Blink app.
- 😀 The video also covers setting up a virtual pin to monitor the LED status (on/off) in Blink's dashboard.
- 😀 To control the LED from the Blink app, users can add a switch widget to the Blink dashboard to toggle the LED state.
- 😀 After setting up the device template and dashboard, users can get their device's unique identification to integrate with their code.
- 😀 The Arduino code is customized to enable Blink's control over the LED using virtual pins and Wi-Fi configurations specific to the ESP32.
Q & A
What is the main objective of the video?
-The main objective of the video is to demonstrate how to connect an ESP32 to the Blink app and control an LED remotely using the Blink platform.
What is the first step in setting up the Blink connection with the ESP32?
-The first step is to download and install the necessary Blink library in the Arduino IDE for the ESP32 board.
Where can the Blink library be downloaded from?
-The Blink library can be downloaded from a provided link in the video description, which can be copied and pasted into the Arduino IDE.
How can you add the Blink library to the Arduino IDE?
-To add the Blink library, go to the Arduino IDE, select 'Sketch' -> 'Include Library' -> 'Add Library', and search for the downloaded library file.
What should you do if you encounter an error while installing the Blink library?
-If there's an error while installing the Blink library, the video suggests leaving a comment in the comment section for troubleshooting help.
How do you create a new template for the ESP32 device in the Blink app?
-In the Blink app, you create a new template by clicking on the 'New Template' option, selecting 'ESP32' as the hardware, and choosing WiFi as the connection type. Then, fill in the template details and download it.
What are the key components required for controlling the LED with the Blink app?
-The key components are a virtual pin (v0) to monitor the LED status, and a digital pin (pin 2) to control the LED's on/off state. These are set up in the Blink app.
How do you create data streams in the Blink app?
-In the Blink app, create data streams by selecting 'Virtual Pins' and 'Digital Pins.' For controlling the LED, set the virtual pin (v0) to monitor the LED, and configure a digital pin for turning it on or off.
What does the video recommend to configure the LED's visual feedback on the Blink dashboard?
-The video recommends adding a switch widget to control the LED, and an LED widget to show its current status (on or off). The widgets are linked to the corresponding data streams.
What should be done if you lose the device token for the ESP32 in the Blink app?
-If the device token is lost, you can go to the 'Device Info' section in the Blink app to retrieve the token again.
How do you modify the Arduino code to work with the Blink app?
-To modify the Arduino code, enter the Blink device token, WiFi credentials, and configure the virtual pins (e.g., v0) to match the settings in the Blink dashboard. Then, upload the code to the ESP32.
What troubleshooting advice does the video provide during the upload process?
-The video suggests ensuring that the board settings and port configurations are correct in the Arduino IDE. If the upload is taking time, be patient, as the initial upload may take longer.
What is the final step after uploading the code to the ESP32?
-The final step is to check the serial monitor to verify the WiFi connection. Then, you can control the LED from the Blink app by toggling the switch to turn the LED on or off.
How does the video suggest controlling the LED through the Blink app?
-The video demonstrates controlling the LED by using a switch widget on the Blink app. The switch toggles the LED on and off on the ESP32 based on the virtual pin data stream.
Outlines

This section is available to paid users only. Please upgrade to access this part.
Upgrade NowMindmap

This section is available to paid users only. Please upgrade to access this part.
Upgrade NowKeywords

This section is available to paid users only. Please upgrade to access this part.
Upgrade NowHighlights

This section is available to paid users only. Please upgrade to access this part.
Upgrade NowTranscripts

This section is available to paid users only. Please upgrade to access this part.
Upgrade NowBrowse More Related Video
penjelasan keterhubungan antara ESP32 dengan Blnyk web

Monitoring Data Suhu dan Kelembapan Sensor DHT11 Menggunakan ESP32 dan BLYNK IOT 2.0

IoT Based Plant Watering System Indoor project using ESP32 Blynk | IoT Projects 2023
Simulasi ESP32 - modul GPS Neo 6M dengan Wokwi IoT Simulator

New Blynk IOT Smart Plant Monitoring System
SIMULASI WOKWI MENGUANKAN BLYNK ARDUINO
5.0 / 5 (0 votes)