3D modeling in Blender: Tiffany & Co. Perfume bottle
Summary
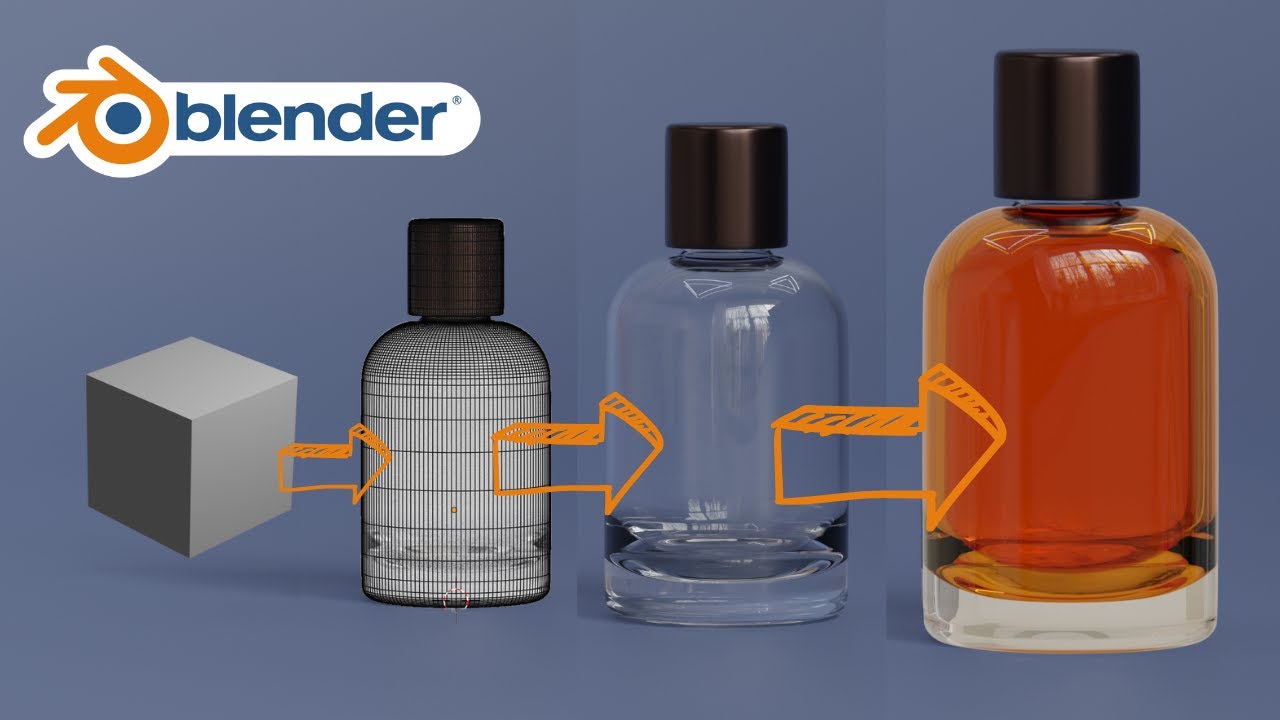
TLDRThis tutorial walks through the process of modeling a realistic Tiffany perfume bottle in Blender, from start to finish. The guide covers the creation of the bottle's body, neck, and lid, along with adding materials like glass and metal to achieve a luxurious look. It includes steps on shaping and refining geometry, UV mapping for logo application, and adding realistic lighting for a professional render. The tutorial also provides tips on optimizing render settings and creating a reflective backdrop to enhance the final visual. A perfect resource for mastering product modeling and texturing in Blender.
Takeaways
- 😀 Start by clearing the scene and deleting all existing objects.
- 😀 Add a reference image of the perfume bottle and adjust its opacity, placing the base at the origin.
- 😀 Use a cylinder to model the body of the bottle, then extrude and scale to match the reference image.
- 😀 Apply a solidify modifier to give the bottle thickness, and ensure to apply it to avoid errors.
- 😀 Bevel the edges of the bottle for smoother transitions and use a low segment count for sharper corners.
- 😀 Hide the outer layer of glass and focus on adjusting the inner layer before re-hiding the outer layer.
- 😀 For added realism, adjust the thickness and curvature of the glass at the top and bottom of the bottle.
- 😀 Create a lid for the bottle using another cylinder, apply a grid-like texture, and bevel the edges for smoothness.
- 😀 Add materials to both the inner and outer parts of the bottle, switching between glass shaders for different effects.
- 😀 Add lighting with multiple light sources to enhance the model, and adjust the camera settings to focus on the bottle.
- 😀 Use mixed shaders for adding the logo with proper UV mapping, and refine the logo with bump mapping to make it appear three-dimensional.
Q & A
What is the first step in creating the perfume bottle model?
-The first step is to delete everything from the scene, then add a reference image of the perfume bottle and adjust its opacity. The base of the bottle should be positioned at the origin.
How do you model the body of the perfume bottle?
-Start by adding a cylinder for the body of the bottle, enter edit mode, and adjust its position and scale to match the reference image. Then, select the top edge and extrude it to create the neck of the bottle.
What is the purpose of the solidify modifier in this process?
-The solidify modifier is used to add thickness to the glass. It can be adjusted to make the glass thicker or thinner, and it needs to be applied once you're satisfied with the result.
What method is used to bevel the edges of the bottle?
-In edit mode, select the top edge of the bottle, then press Ctrl+B to bevel the edges. Use the scroll wheel to adjust the number of segments, ensuring the corners are sufficiently rounded.
Why do you need to hide the outer layer of glass during the modeling process?
-Hiding the outer layer allows you to focus on the inner layer without any interference from the outer glass. This step ensures that the inner material is correctly assigned and visible for further refinement.
How do you handle the bottom of the glass to give it more thickness?
-To make the bottom of the glass thicker, select the bottom edge, press Ctrl+B to bevel it more intensely, and then adjust the scaling to give it a thicker appearance.
What is the significance of the materials used for the inside and outside of the bottle?
-Different materials are assigned to the inside and outside of the bottle to simulate realistic glass. The inside material is given a refractive index (IOR) of 1.33 to simulate liquid, while the outside material is given a glass shader with reduced roughness.
How do you create the lid for the perfume bottle?
-Create a new cylinder for the lid, position it above the bottle, and scale it to match the reference image. Add a grid-like texture, apply a bevel modifier, and adjust the texture to match the desired pattern.
What technique is used to create the metal bands on the lid?
-A cylinder is created for the metal bands, positioned appropriately, and the edges are selected and beveled. Then, duplicate the first ring for the second band, ensuring both rings have consistent dimensions.
How do you apply lighting to enhance the render of the perfume bottle?
-Three lights are added to the scene: one from the left, one from the right, and one from the back. The area light's power is increased, and the positioning of the lights ensures the bottle is well-lit from multiple angles for a realistic render.
What steps are taken to add the Tiffany logo to the bottle?
-In the shading window, a mixed shader node is added to combine the metallic logo with the glass material. The logo's texture is mapped onto the bottle, and adjustments are made in the UV editing window to ensure proper placement and scaling of the logo.
How is the final render achieved with the desired look?
-The final render is achieved by adjusting the render settings for quality and efficiency, reducing the max number of samples to save time. Once all materials and lighting are configured, the image is rendered using the desired camera angle and settings.
Outlines

このセクションは有料ユーザー限定です。 アクセスするには、アップグレードをお願いします。
今すぐアップグレードMindmap

このセクションは有料ユーザー限定です。 アクセスするには、アップグレードをお願いします。
今すぐアップグレードKeywords

このセクションは有料ユーザー限定です。 アクセスするには、アップグレードをお願いします。
今すぐアップグレードHighlights

このセクションは有料ユーザー限定です。 アクセスするには、アップグレードをお願いします。
今すぐアップグレードTranscripts

このセクションは有料ユーザー限定です。 アクセスするには、アップグレードをお願いします。
今すぐアップグレード関連動画をさらに表示

Blender 3D Modeling software: Glass Perfume Bottle Tutorial

Blender 3D Tutorial Membuat Karakter Game Amoung Us! 3D Modeling, (Pemula) Blender 2.90

Modeling Table Under 2Min || Blender Beginners Tutorial

Blender Add Label to Bottle - Tutorial for making packaging design mockup

How to make a Character in Blender - My Full Process in 10 Minutes

Tutorial animasi 3D dengan blender 2.8 bahasa indonesia part 1 - Modeling Kepala
5.0 / 5 (0 votes)
