Tutorial animasi 3D dengan blender 2.8 bahasa indonesia part 1 - Modeling Kepala
Summary
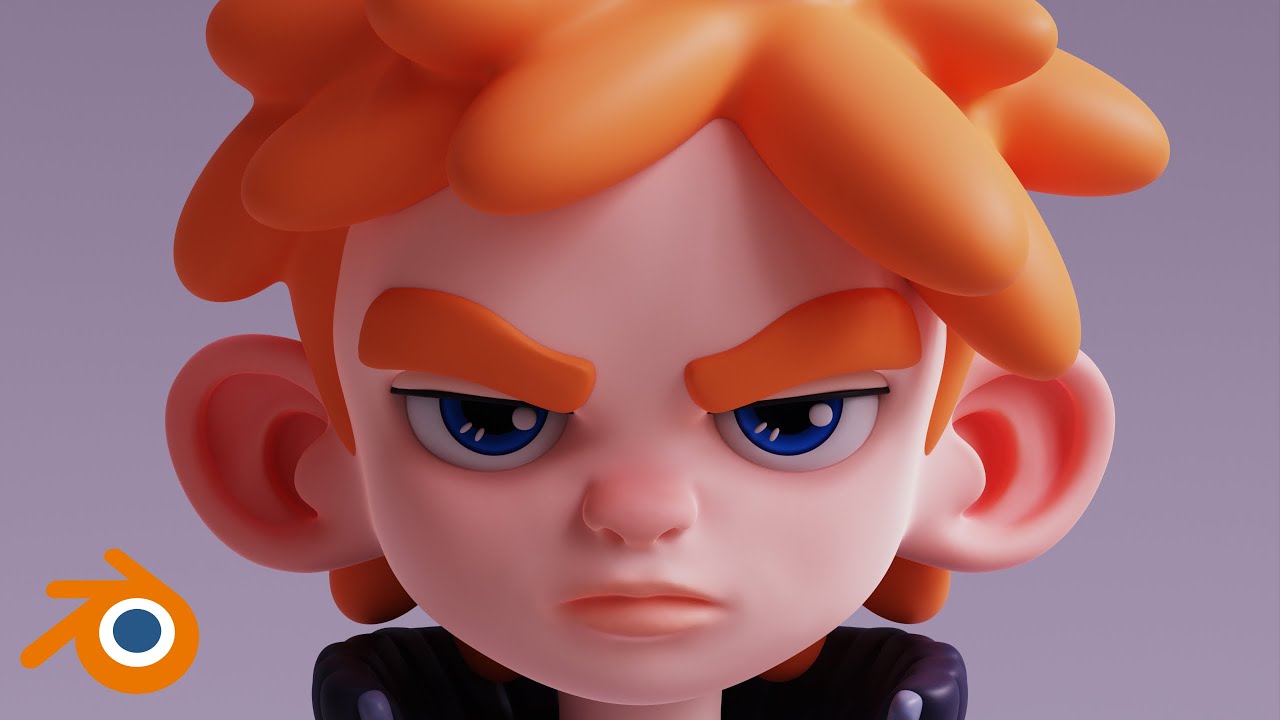
TLDRThis tutorial walks viewers through the process of modeling Krillin, a popular character from *Dragon Ball*, in Blender. The instructor begins by creating the character's head using basic geometric shapes, progressing to refine the details, including the ears, eyes, and mouth. Key techniques like proportional editing, mirror modifiers, and subdivision surfaces are demonstrated to achieve the desired cartoon-like appearance. The video emphasizes speed and efficiency with shortcuts, as well as the importance of solid modeling practices to bring Krillin to life in 3D form. Perfect for both beginners and intermediate Blender users looking to improve their character modeling skills.
Takeaways
- 😀 Start modeling the character Krillin from Dragon Ball using a circle, not a cube, for the head.
- 😀 Remove the default cube by selecting it and pressing 'X', and then add a new object via the 'Add' menu.
- 😀 Use proportional editing for more natural shaping of the model, such as adjusting the head’s shape to be more oval.
- 😀 Apply the 'Mirror' modifier to ensure symmetry while modeling the character's features.
- 😀 Work in 'Edit Mode' and utilize keyboard shortcuts like 'Tab' for fast switching between object and edit modes.
- 😀 Use 'B' for box selection to select half of the model and delete it, ensuring symmetry when mirroring.
- 😀 Adjust the shape of the head by scaling and translating the circle in different views (front, side, etc.).
- 😀 Use the 'Subdivision Surface' modifier for smoothness and to refine the overall character design.
- 😀 Model and place the ears and other facial features, such as the eyes and mouth, separately and symmetrically.
- 😀 For detailing, add smaller objects like eyebrows, ensuring they align with the character’s head, and apply necessary modifiers for smoothness.
- 😀 Convert curves into meshes when creating finer details like eyelids or mouth edges for more precision and control.
Q & A
What is the primary focus of this 3D modeling tutorial?
-The tutorial focuses on modeling the character Krillin from the anime *Dragon Ball*, guiding users through the process of creating the character's head and ears using 3D modeling software.
Why does the tutorial begin with creating a circle instead of a cube?
-The tutorial starts with a circle because the shape is more suitable for modeling the rounded features of Krillin's head, and it allows for smoother, more accurate edits compared to starting with a cube.
What does the 'mirror modifier' do in this tutorial?
-The 'mirror modifier' ensures that any changes made to one side of the model are automatically applied to the other side, helping to maintain symmetry while modeling.
How does the tutorial recommend navigating between object and edit modes?
-The tutorial suggests using the 'Tab' key to toggle between object and edit modes, as well as using shortcuts like 'Ctrl+R' to add loop cuts and 'G' to move vertices.
What is the significance of the 'proporsional editing' tool in this tutorial?
-Proporsional editing is used to adjust multiple vertices at once, ensuring smooth transitions and helping to shape the head and ears more naturally without distorting the surrounding geometry.
How does the tutorial handle the modeling of Krillin’s ears?
-Krillin’s ears are modeled separately by adding a new object (a circle), applying the mirror modifier, and using extrusion techniques to form the ear shape before integrating it with the head model.
What is the purpose of using the 'Subdivision Surface' modifier?
-The 'Subdivision Surface' modifier is applied to smooth out the geometry of the model, giving it a more polished and detailed appearance by subdividing the faces of the model.
Why does the tutorial use 'Solidify' and 'Set Smooth' modifiers on the model?
-'Solidify' is used to add thickness to the geometry (such as for the ears or other elements), while 'Set Smooth' ensures that the shading appears smooth and the transitions between faces look seamless.
What shortcut does the tutorial suggest for adding detail to Krillin’s eyebrows?
-The tutorial suggests using the 'Ctrl+R' shortcut to add edge loops for the eyebrows, followed by extrusion and scaling to create the proper shape for a cartoon-style eyebrow.
How does the tutorial suggest handling the eyes and mouth?
-For the eyes, the tutorial uses curves to create the eyelids and then converts them into meshes. The mouth is modeled by copying parts of the eye geometry, scaling, and positioning them appropriately on the face.
Outlines

This section is available to paid users only. Please upgrade to access this part.
Upgrade NowMindmap

This section is available to paid users only. Please upgrade to access this part.
Upgrade NowKeywords

This section is available to paid users only. Please upgrade to access this part.
Upgrade NowHighlights

This section is available to paid users only. Please upgrade to access this part.
Upgrade NowTranscripts

This section is available to paid users only. Please upgrade to access this part.
Upgrade NowBrowse More Related Video

Tutorial animasi 3D dengan blender 2.8 bahasa indonesia Pt.2 - Modeling Badan

Blender 3D Tutorial Membuat Karakter Game Amoung Us! 3D Modeling, (Pemula) Blender 2.90

Blender 4.2 | Make This Loop Animation | Tutorial

How to make a Character in Blender - My Full Process in 10 Minutes

DRAGON BALL DAIMA: SAIU TRAILER E CONFIRMAÇÃO DO NOVO ANIME

3D modeling in Blender: Tiffany & Co. Perfume bottle
5.0 / 5 (0 votes)