Port Forwarding satu IP Public Multiple Server, Multiple Domain di Mikrotik
Summary
TLDRThis tutorial demonstrates how to set up a MikroTik router to manage multiple servers and domains using a single public IP address. By configuring DNS Static entries, enabling a web proxy, and setting up port forwarding, users can direct traffic from different domains to distinct servers without needing multiple ports. The video walks through step-by-step instructions, from server configuration to MikroTik setup, and concludes with testing the setup to ensure proper routing. This method offers a streamlined solution for hosting multiple websites with one IP, making it ideal for small to medium-sized networks.
Takeaways
- 😀 Simplified network setup: The tutorial shows how to use a single public IP address to direct traffic to multiple internal servers using domain names.
- 😀 No need for multiple ports: Unlike traditional setups requiring different ports, this method uses only Port 80 (HTTP) for accessing different websites.
- 😀 DNS Static configuration: The tutorial demonstrates how to configure DNS static entries on MikroTik to link domain names to internal server IPs.
- 😀 Web Proxy for domain-based traffic redirection: MikroTik’s web proxy feature is utilized to redirect traffic based on the requested domain to the correct internal server.
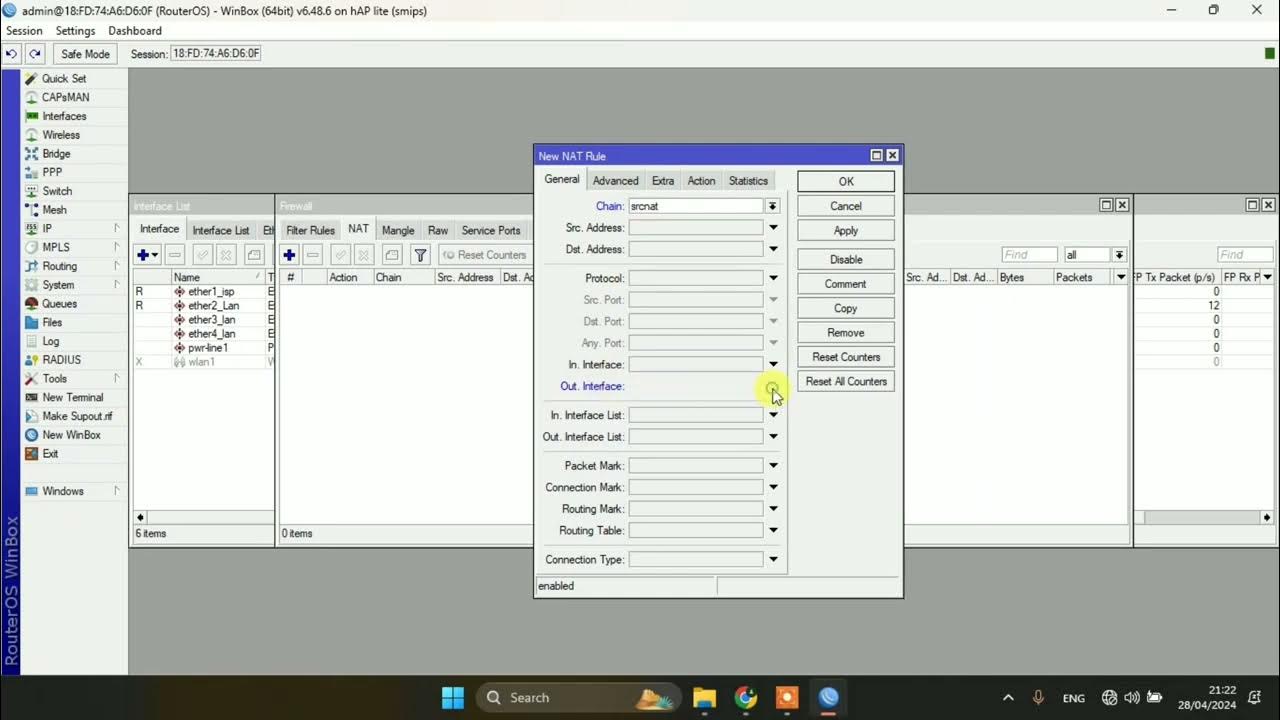
- 😀 Port forwarding setup: The guide includes creating firewall rules to forward external HTTP requests to the proxy server, which then directs traffic to the correct server.
- 😀 Dual server test: The tutorial provides examples with two local servers running on different domain names, `sobatjarkom.net` and `supriyadichannel.net`.
- 😀 Easy local and external testing: Both local testing using internal IPs and external testing using domain names are demonstrated to verify proper setup.
- 😀 No additional ports needed for multiple domains: All incoming requests on Port 80 are directed to the proxy, which then routes them based on domain names to the respective servers.
- 😀 Security consideration: The use of the proxy ensures only authorized domains are allowed, while others are blocked using MikroTik's firewall rules.
- 😀 Real-world applicability: The tutorial is practical for those hosting multiple websites under a single public IP, simplifying network configuration and reducing complexity.
Q & A
What is the purpose of this tutorial?
-The purpose of the tutorial is to demonstrate how to set up multiple servers behind a single public IP using MikroTik RouterOS, without the need for specifying different ports. The tutorial explains how to configure DNS static entries, web proxy settings, and port forwarding to route traffic to the correct server based on the domain name.
How does the setup work for multiple servers with the same public IP?
-The setup works by using DNS static entries and web proxy to redirect traffic based on the domain name. All incoming requests on port 80 are directed to the web proxy, which then forwards the requests to the appropriate server based on the DNS configuration. This allows multiple servers to share a single public IP address.
What is the role of DNS static entries in this configuration?
-DNS static entries map the domain names (such as sobatjarkom.net and supriyadichannel.net) to the private IP addresses of the respective servers. This ensures that when users access these domain names, the requests are correctly routed to the right server.
What is the purpose of enabling the web proxy on the MikroTik router?
-Enabling the web proxy allows the router to filter and redirect traffic. In this setup, the web proxy listens on port 8080, and all requests on port 80 are forwarded to the proxy. The proxy then decides which server to forward the request to based on the domain in the request.
Why is port 80 used in this setup?
-Port 80 is used because it is the default port for HTTP traffic. By using this port for all requests, users can access the servers without needing to specify a port number in the URL, simplifying the user experience.
What is the significance of the 'low' setting in the web proxy access configuration?
-The 'low' setting in the web proxy access configuration refers to the priority level of the rules. It allows the specified domain to be handled by the proxy with the lowest priority, meaning that traffic for that domain is redirected according to the specified rules.
How does port forwarding work in this configuration?
-Port forwarding in this configuration redirects incoming traffic on port 80 (from external sources) to the web proxy. The proxy then processes the request and forwards it to the correct internal server based on the domain name.
How can you test if the configuration is successful?
-You can test the configuration by accessing the domains (e.g., sobatjarkom.net and supriyadichannel.net) from an external device. If the traffic is correctly routed to the appropriate server, the domain's webpage should load as expected.
What are the advantages of using a single public IP for multiple servers?
-Using a single public IP for multiple servers reduces the need for multiple public IP addresses, which can be expensive. It also simplifies network management and allows for efficient resource utilization by directing traffic based on domain names using DNS and proxy rules.
What should be considered when setting up domains for this type of configuration?
-When setting up domains, it is essential to ensure that the DNS static entries are correctly configured to point to the private IPs of the respective servers. Additionally, both the direct domain and the 'www' version should be considered to ensure proper routing from all potential user access points.
Outlines

このセクションは有料ユーザー限定です。 アクセスするには、アップグレードをお願いします。
今すぐアップグレードMindmap

このセクションは有料ユーザー限定です。 アクセスするには、アップグレードをお願いします。
今すぐアップグレードKeywords

このセクションは有料ユーザー限定です。 アクセスするには、アップグレードをお願いします。
今すぐアップグレードHighlights

このセクションは有料ユーザー限定です。 アクセスするには、アップグレードをお願いします。
今すぐアップグレードTranscripts

このセクションは有料ユーザー限定です。 アクセスするには、アップグレードをお願いします。
今すぐアップグレード関連動画をさらに表示

Koneksi Jaringan Lan Ke Internet Melalui Mikrotik Rb941 2Nd

Configurações Básicas - Mikrotik RouterOS - P1

SETTING DASAR JARINGAN DI MIKROTIK

Setting Router Mikrotik RB750 sampai Konek ke Internet (Untuk Pemula)

Tutorial konfigurasi dasar mikrotik beserta sharing file & sharing printer

CARA KONFIGURASI MIKROTIK AWAL KONEKSI INTERNET otomatis
5.0 / 5 (0 votes)
