Map Animation Like @dhruvrathee
Summary
TLDRThis video tutorial offers a detailed guide on creating map animations, specifically focusing on geography. The host demonstrates how to select and color a country, apply 3D reflections, and continue map animation techniques using Photoshop's mobile version, PSC. Viewers are guided through downloading the app, importing maps, selecting areas, and applying various effects to enhance their animations. The tutorial also covers editing techniques, including transitions and zooming, to create engaging and professional-looking videos.
Takeaways
- 📲 The video is a tutorial on creating map animations, specifically focusing on geography and how to mark and color a country within a map.
- 🛠️ The tutorial requires downloading an app called 'PSC', which is the mobile version of Photoshop, and the link will be provided in the comments or on the instructor's Instagram handle.
- 🎨 The process involves using the Magic Bone Tool to select an area, adjusting tolerance for color driving, and selecting a specific country like Russia for the example.
- ✂️ The video covers how to correct any extra selections made by mistake, using the 'Minus' sign in the mode options to deselect the area.
- 🔍 It explains how to use the toolbox to copy and paste selections, adjust the size of the selection, and use the 'Select Pixels' tool to refine the area.
- 🖌️ The instructor guides on coloring the selection, using the 'Fill' option to apply a color, and then using the 'Country Leg' tool to add 3D reflection effects.
- 📑 The video includes steps to import a PNG format image, adjust its size to fit the screen, and then delete the original image to work with the new one.
- 🌐 The tutorial covers how to add and adjust layers, including using the 'Overlay' option to combine images and create effects.
- 🔄 The process involves creating animations, adjusting the timing, and using the 'Drop by Stock' option to add effects to the video.
- 🌍 The video also explains how to create a 3D effect by using the 'Shear Circle' tool, adjusting the size, and creating a shadow effect for depth.
- 📹 The final part of the tutorial includes exporting the video, adjusting zoom and pan settings, and adding transitions and effects to enhance the final product.
Q & A
What is the main topic of the video?
-The main topic of the video is creating map animations, specifically focusing on geography and how to mark a country on a map, apply color, and add 3D reflections within a mobile application called Photoshop.
What application is used to create the map animation in this video?
-The application used for creating the map animation is the mobile version of Photoshop, referred to as 'PSC' in the script.
How can viewers download the mobile version of Photoshop mentioned in the video?
-Viewers can download the mobile version of Photoshop by clicking on the link provided in the comments section of the video or by visiting the instructor's Instagram handle and finding the link there.
What is the first step in marking a country on the map using the mobile Photoshop application?
-The first step is to select the 'Magic Broom Tool' on the left and then choose the appropriate mode to either add a 'Subtract' or 'Neutral' selection and adjust the tolerance to increase the selection area.
How can viewers correct any accidental extra selections made while marking a country on the map?
-If extra selections are made, viewers can click on the 'Mode' button, and when the minus sign appears, click on the selected area to remove it.
What tool should be used to copy the selected area after adjusting the tolerance?
-The 'Copy' tool should be used to copy the selected area after adjusting the tolerance.
How can viewers adjust the size of the copied selection to fit it in the desired location?
-Viewers can adjust the size of the copied selection by choosing 'Select Pixels' and then resizing it as needed before placing it in the correct position.
What is the purpose of importing a PNG format image in the video?
-The purpose of importing a PNG format image is to maintain the original size of the image and to use it for further editing and animation within the project.
How does the video guide viewers to apply color to the map animation?
-The video instructs viewers to select the 'Fill' option, choose the desired color, and then apply it to the selected area of the map.
What effect is added to the map animation to give it a 3D appearance?
-The video guides viewers on how to add a 3D reflection effect to the map animation by using the '3D' options available in the application.
How can viewers export the final map animation video?
-Viewers can export the final map animation video by following the export settings and options provided in the video, which includes adjusting the video's resolution, frame rate, and other necessary parameters.
Outlines

Cette section est réservée aux utilisateurs payants. Améliorez votre compte pour accéder à cette section.
Améliorer maintenantMindmap

Cette section est réservée aux utilisateurs payants. Améliorez votre compte pour accéder à cette section.
Améliorer maintenantKeywords

Cette section est réservée aux utilisateurs payants. Améliorez votre compte pour accéder à cette section.
Améliorer maintenantHighlights

Cette section est réservée aux utilisateurs payants. Améliorez votre compte pour accéder à cette section.
Améliorer maintenantTranscripts

Cette section est réservée aux utilisateurs payants. Améliorez votre compte pour accéder à cette section.
Améliorer maintenantVoir Plus de Vidéos Connexes
How to Create Map Animation like Dhruv Rathee | Vox | Johnny Harris in Geo Layers 3 Part 2 | EZEdit

Love Letter Using Html, CSS | CSS Text Effect In Hindi| @untold_coding
How to PLAN Your Horror Game in Roblox Studio
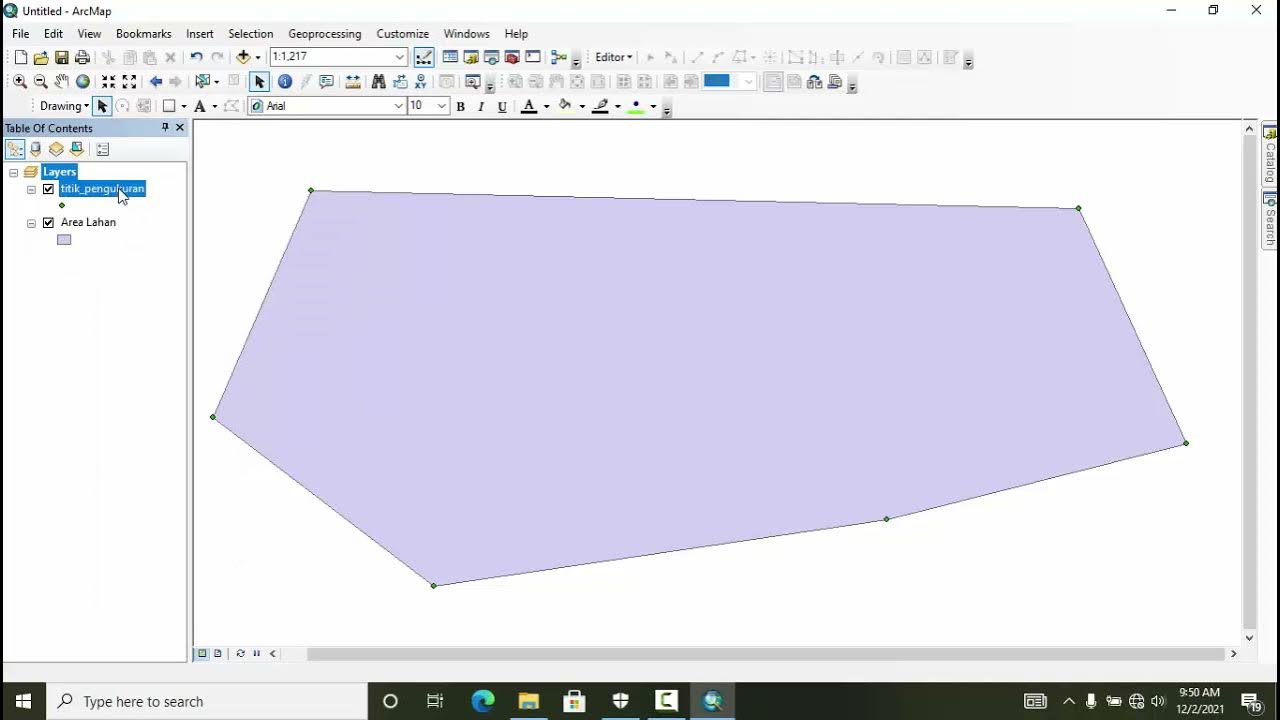
TUTORIAL MEMBUAT PETA HASIL SURVEY DENGAN GPS
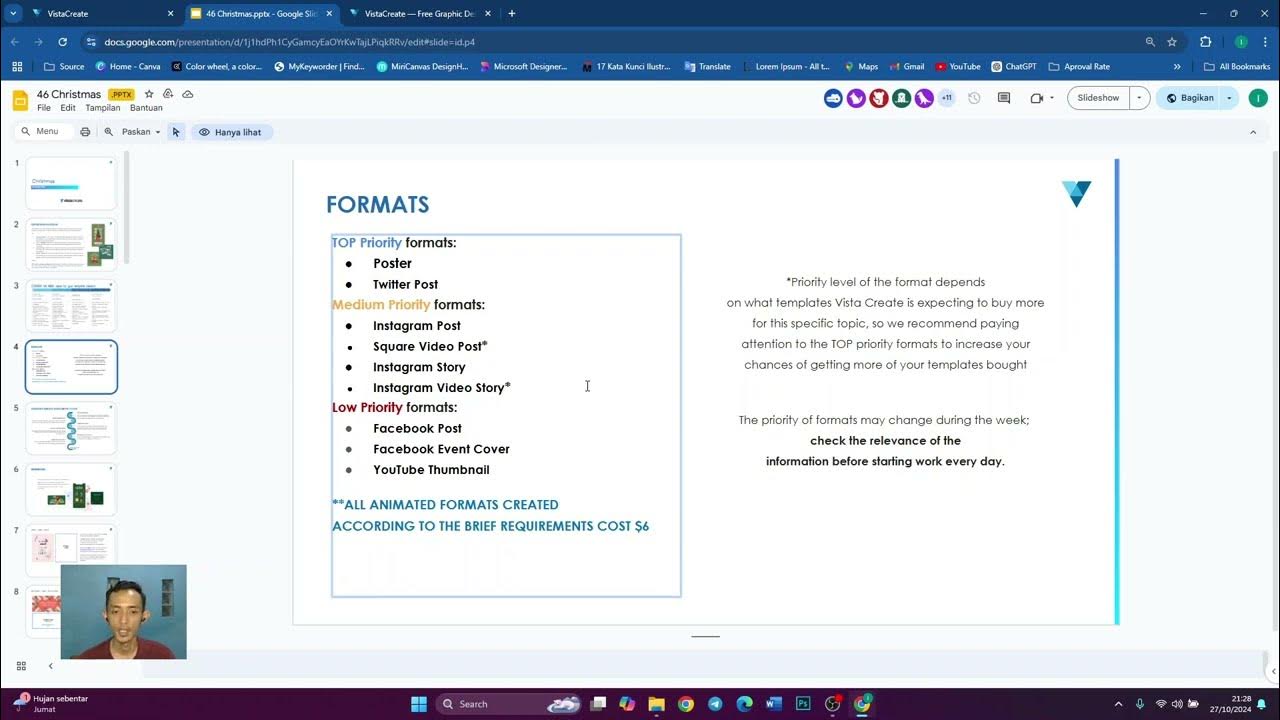
Video 1 | Penjelasan Lengkap Brief Vista Create (Nukleus Studio)

QGIS | Tutorial Membuat Peta Dengan Mudah Menggunakan QGIS v 3.28 Tahun 2024
5.0 / 5 (0 votes)
