DIY | Smartphone (Bluetooth) controlled Robot Arm using Arduino | HC-05
Summary
TLDRIn this tutorial, Vinayak from Electronics is Live guides viewers through the process of building a simple robotic arm using a kit and four servo motors. He details the assembly steps, from the middle and base parts to the gripper, and addresses a common issue with the gripper's closure. The video also covers the necessary circuitry with Arduino Nano and an HC-05 Bluetooth module, providing a schematic and main code for easy replication. Viewers are encouraged to test the robotic arm using a mobile app, available in the description, and to engage with the content through likes, shares, and comments.
Takeaways
- 🤖 The video is about making a simple robotic arm using a kit and servo motors.
- 🛠️ The presenter, Vinayak, guides viewers through the process of building the robotic arm step by step.
- 📚 Viewers are instructed to test all servo motors using test code to set them to a neutral position.
- 🔧 The servo library needs to be installed in the Arduino IDE for controlling the motors.
- 🔗 Links for the test code, main code, and an app are provided in the video description.
- 🏗️ The construction of the robotic arm is divided into making the middle part, base part, and gripper part.
- 🔩 Additional hardware, like a 25 mm screw, might be needed and may not be included in the kit.
- 🔌 The circuit is made using an Arduino Nano and an HC-05 Bluetooth module, with wiring detailed in a schematic.
- 🔋 A power bank can be used to power the robotic arm for testing.
- 📝 The main code provided in the video is commented for clarity and ease of understanding.
- 📱 An app is used for controlling the robotic arm, with its link available in the description.
Q & A
What is the main topic of the video?
-The main topic of the video is the construction of a simple robotic arm using a kit and servo motors.
Who is the presenter in the video?
-The presenter in the video is Vinayak from Electronics is Live.
What materials are required to build the robotic arm?
-The materials required include a kit and four servo motors, with additional components like a 25 mm screw obtained from a local hardware shop.
What software is needed to test the servo motors?
-The Arduino IDE is needed, along with the servo library which can be installed through the manage libraries option.
Where can viewers find the test code and main code for the project?
-The test code and main code can be found in the description below the video.
What issues were encountered during the building of the gripper part?
-The gripper part had difficulty closing properly, which might require cutting the gear in a specific way.
What additional components are needed to complete the robotic arm?
-Additional components include an Arduino Nano, an HC-05 Bluetooth module, and a thousand microfarad capacitor for stable power supply.
How should the circuit be made according to the video?
-The circuit should be made using the schematic provided, with the Arduino Nano and HC-05 Bluetooth module connected as shown.
What app is used for controlling the robotic arm as shown in the video?
-The specific app used for controlling the robotic arm is linked in the description below the video.
How can viewers interact with the presenter and share their thoughts?
-Viewers can like, share, subscribe, and write their thoughts and suggestions in the comments section of the video.
What is the final message from the presenter to the viewers?
-The presenter thanks the viewers for watching, bids them goodbye, and reminds them to take care until the next video.
Outlines

Cette section est réservée aux utilisateurs payants. Améliorez votre compte pour accéder à cette section.
Améliorer maintenantMindmap

Cette section est réservée aux utilisateurs payants. Améliorez votre compte pour accéder à cette section.
Améliorer maintenantKeywords

Cette section est réservée aux utilisateurs payants. Améliorez votre compte pour accéder à cette section.
Améliorer maintenantHighlights

Cette section est réservée aux utilisateurs payants. Améliorez votre compte pour accéder à cette section.
Améliorer maintenantTranscripts

Cette section est réservée aux utilisateurs payants. Améliorez votre compte pour accéder à cette section.
Améliorer maintenantVoir Plus de Vidéos Connexes
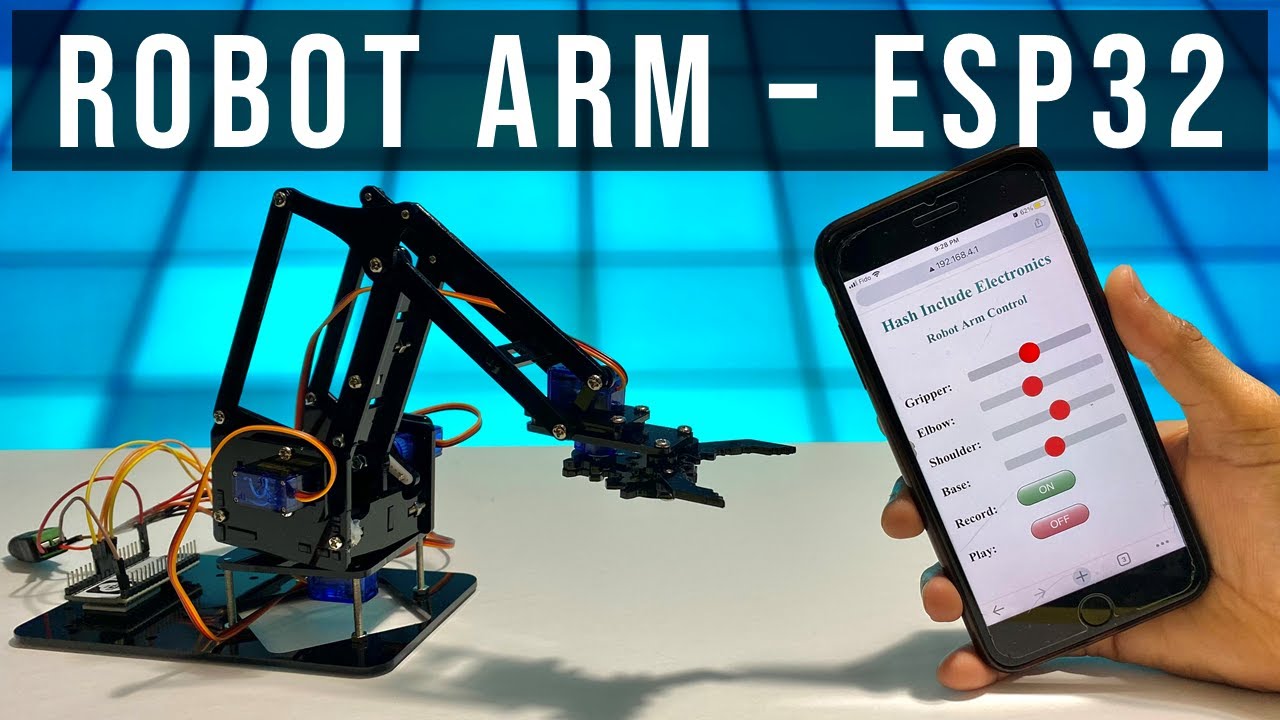
Robot Arm using ESP32 and Smartphone | Complete Robot Arm assembly 🔥
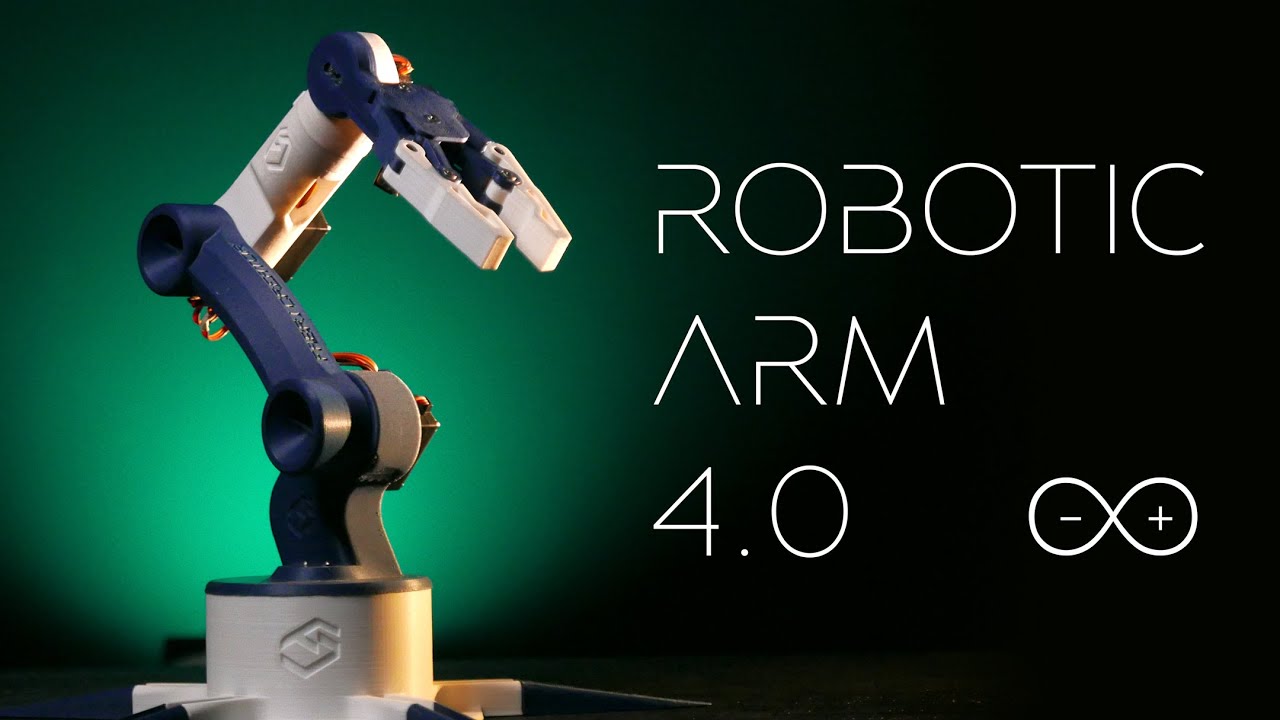
Robotic Arm with Arduino - Save/Play/Export/Import Positions.
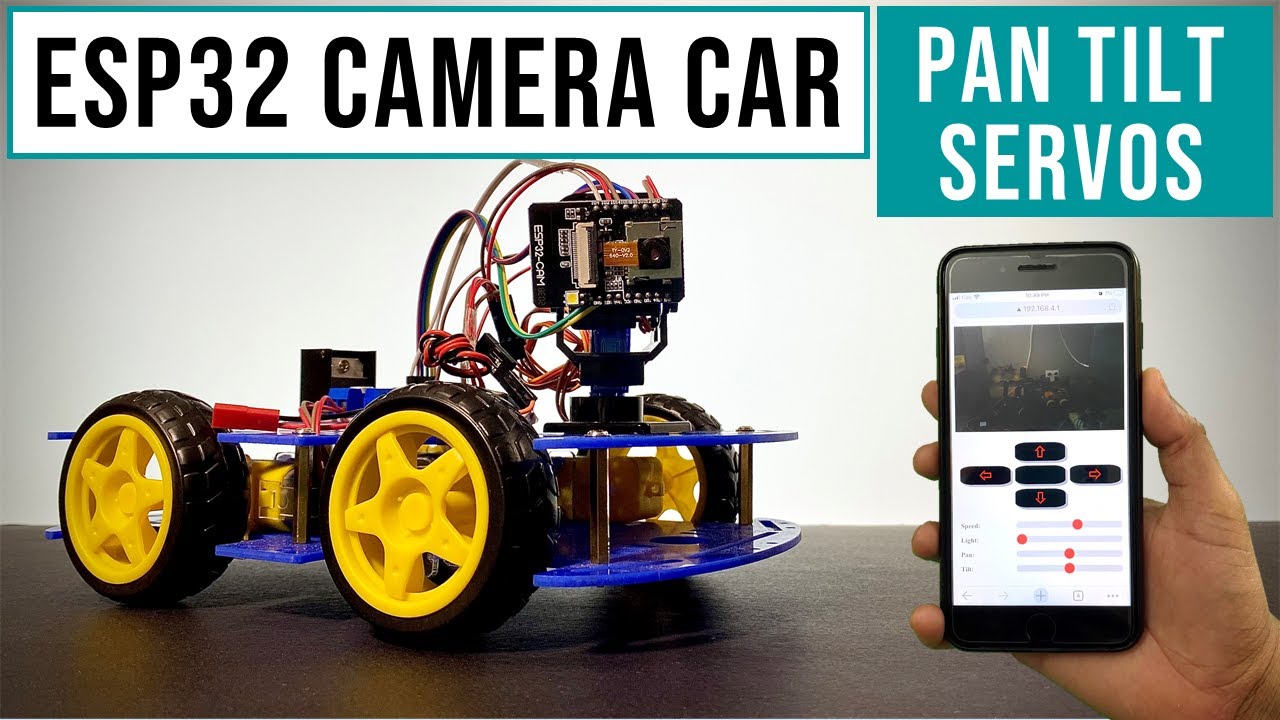
Camera Car With Pan Tilt Control | ESP32Cam

🌸DIY KEYCHAIN KAWAT BULU BUNGA DAISY🎀 DIY GEN Z MUDAH BANGET DIPRAKTEKIN!!🎀

Obstacle Avoiding Robot Car Using An Arduino

شرح طريقة تحكم step motor من خلال الاردوينو Arduino
5.0 / 5 (0 votes)
