How to Master the Windows Snipping Tool
Summary
TLDRThis guide introduces the Windows Snipping Tool, a built-in screenshot utility that allows users to capture, edit, and share screen content with precision. It explains how to open the tool via the Start menu, keyboard shortcuts, or taskbar pinning, and details the different snip types: rectangular, free-form, window, and full-screen. The video also covers editing options, saving methods, and tips like using delays or annotations for better results. Highlighting the advantages over the traditional Print Screen button, the guide emphasizes efficiency, flexibility, and faster sharing, making the Snipping Tool an essential feature for desktop users seeking streamlined screenshot management.
Takeaways
- 🖼️ The Windows Snipping Tool is a built-in utility that allows users to capture screenshots of their screen efficiently.
- 💡 Unlike the Print Screen button, the snipping tool provides flexibility by letting you capture specific areas of your screen.
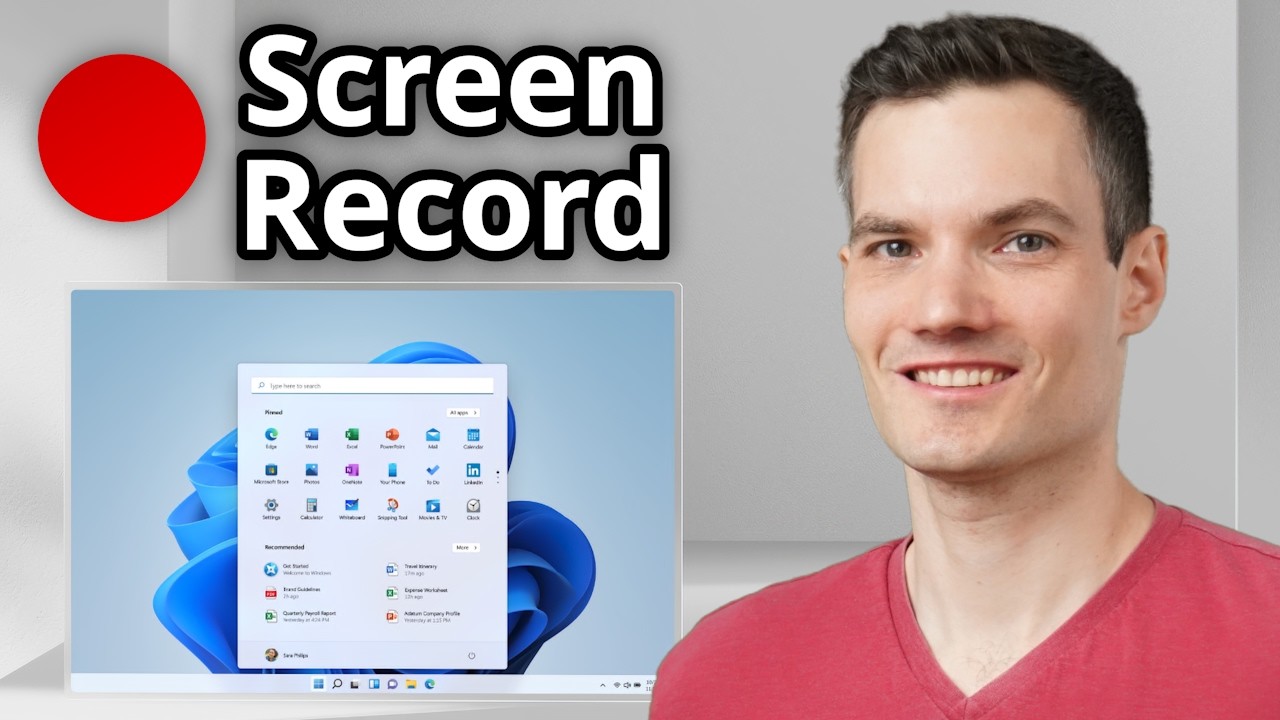
- 🔍 You can open the snipping tool through the Start menu search, a keyboard shortcut (Windows + Shift + S), or by pinning it to the taskbar.
- ✂️ There are four main types of snips: Rectangular, Free-form, Window, and Full-screen, each suited for different capture needs.
- 📋 Using Windows + Shift + S opens the snipping toolbar directly, allowing instant selection of the snip type and automatic copying to the clipboard.
- 🖌️ Screenshots can be edited in the snipping tool editor with options like highlighting, drawing, and cropping before saving or sharing.
- 💾 Screenshots can be saved in multiple formats like PNG, JPG, or GIF, or directly shared through apps like Mail or Teams on Windows 11.
- ⏱️ The delay feature allows users to capture menus or tooltips by setting a timer before the screenshot is taken.
- -
- ⌨️ Keyboard shortcuts like Windows + Shift + S help speed up the screenshot process, making it easier to annotate and save images quickly.
- 🚀 Using the snipping tool improves precision, provides built-in editing, and offers faster sharing compared to the traditional Print Screen method.
- 🌟 Overall, the snipping tool is a powerful, time-saving utility for capturing, editing, and sharing screen content effectively.
Q & A
What is the Windows Snipping Tool used for?
-The Windows Snipping Tool is a screenshot utility that allows users to capture part or all of their screen, then save, edit, or share the image.
How can you open the Snipping Tool on Windows?
-You can openScript Q&A generation the Snipping Tool through the Start menu search, by pressing the keyboard shortcut Windows + Shift + S, or by pinning it to the taskbar for quick access.
What are the different types of snips you can take using the Snipping Tool?
-The Snipping Tool offers four types of snips: Rectangular Snip, Freeform Snip, Window Snip, and Full-Screen Snip.
What happens when you press Windows + Shift + S?
-Pressing Windows + Shift + S opens a small snipping toolbar, dims the screen slightly, and allows you to select one of the four snip types. The screenshot is then copied to your clipboard.
How can you edit your screenshot after taking a snip?
-After taking a snip, the screenshot opens in the Snipping Tool editor where you can highlight, draw on the image, crop it, or save it in PNG, JPG, or GIF formats.
Can you directly share your snips from the Snipping Tool?
-Yes, you can share snips directly through applications like Mail or Teams on Windows 11.
What is the Delay option in the Snipping Tool?
-The Delay option allows you to set a timer before the screenshot is taken, which is useful for capturing menus or tooltips.
How can you annotate your screenshots quickly in the Snipping Tool?
-You can use the pen and highQ&A generation processlighter tools in the Snipping Tool editor to quickly annotate and add notes to your screenshot.
Why is the Snipping Tool more efficient than using the Print Screen button?
-The Snipping Tool offers more precision by allowing you to select only what you want to capture, while the Print Screen button captures the entire screen. Additionally, the Snipping Tool includes built-in editing tools and faster sharing options.
What should you do with important screenshots to avoid losing them?
-You should save important screenshots to your computer so they don't get overwritten when you take a new screenshot.
Outlines

Cette section est réservée aux utilisateurs payants. Améliorez votre compte pour accéder à cette section.
Améliorer maintenantMindmap

Cette section est réservée aux utilisateurs payants. Améliorez votre compte pour accéder à cette section.
Améliorer maintenantKeywords

Cette section est réservée aux utilisateurs payants. Améliorez votre compte pour accéder à cette section.
Améliorer maintenantHighlights

Cette section est réservée aux utilisateurs payants. Améliorez votre compte pour accéder à cette section.
Améliorer maintenantTranscripts

Cette section est réservée aux utilisateurs payants. Améliorez votre compte pour accéder à cette section.
Améliorer maintenantVoir Plus de Vidéos Connexes
How to Screen Record on Laptop (2024)

Video Pembelajaran Bahasa Inggris Teks Prosedur MANUAL /User's Guide

This Ai Tool Makes Full Music Videos With Only One Prompt

3 cara memasukkan gambar dari internet ke editor gambar

L.8.10_ Sec 2

Build landing pages in 2 minutes with AI-Copymatic.ai | Automatic create landing pages
5.0 / 5 (0 votes)
