Let's install Proxmox 8.3 in 2025: From Scratch. Spelled out.
Summary
TLDRThis video offers a comprehensive guide to installing and configuring Proxmox 8.3. It covers creating a bootable USB, installing Proxmox, removing subscription pop-ups, updating repositories, adding extra disks, and uploading ISOs. Viewers will learn how to create VMs, manage snapshots, back up systems, and configure GPU pass-through for virtual machines. The tutorial also explains how to map SMB storage for backups. Aimed at helping users optimize their Proxmox setups, this video provides useful tips and step-by-step guidance, making it perfect for both beginners and experienced users.
Takeaways
- 😀 Start by creating a bootable USB stick with the Proxmox ISO using a tool like Rufus, and install Proxmox from scratch.
- 😀 Remove annoying subscription popups permanently by editing the proxmox.li.js file through SSH and restarting the proxy service.
- 😀 Update Proxmox by disabling the Enterprise repositories and adding the 'No Subscription' repositories for free updates.
- 😀 For storage configuration, add extra disks and upload ISOs to the system for use when creating virtual machines (VMs).
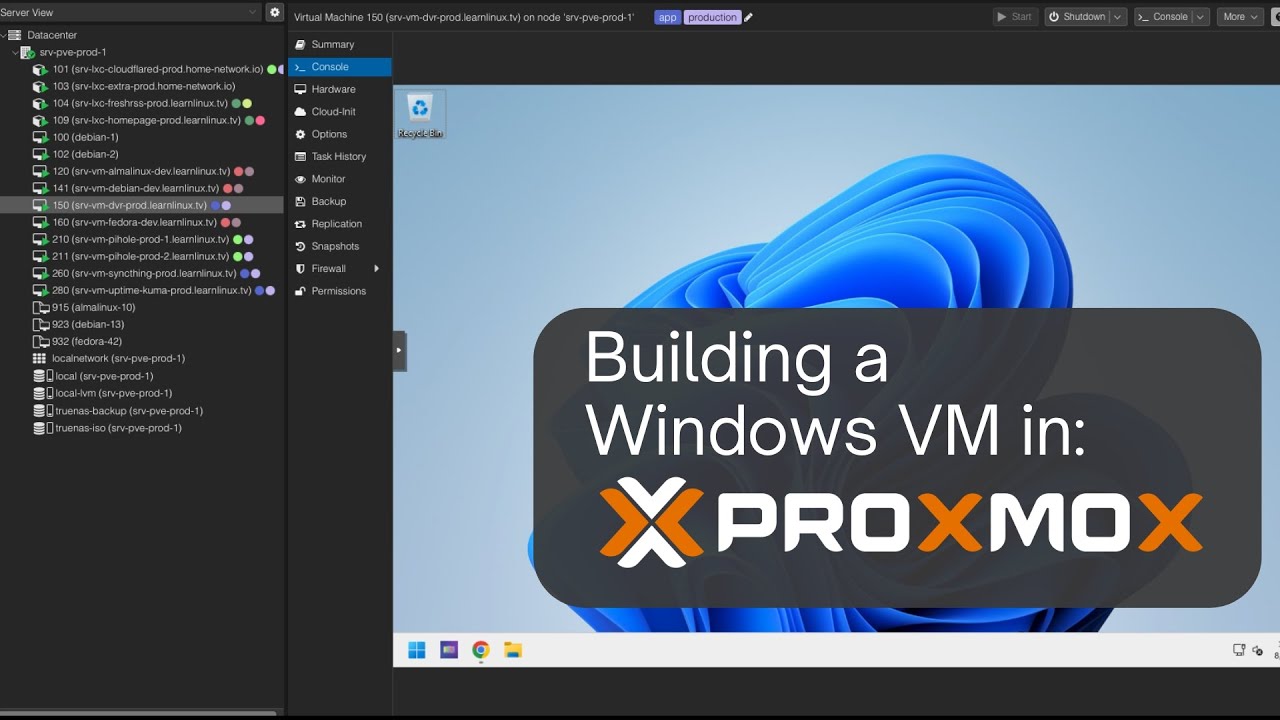
- 😀 When creating your first VM, choose the appropriate BIOS (UEFI or C BIOS), select Q35 architecture for PCI Express, and configure CPU, memory, and network options.
- 😀 Snapshots are essential for VM recovery, allowing you to restore your VM to a specific point in time if needed.
- 😀 Backup your VM by setting up SMB or NFS storage and schedule regular backups, ensuring data is safe in case of system failures.
- 😀 Perform GPU passthrough by adding the GPU as a PCI device in your VM settings, particularly useful for machine learning or video transcoding.
- 😀 If GPU passthrough causes issues with VM shutdowns, refer to specific blogs and guides to resolve problems related to resources not being released.
- 😀 Experiment with memory settings and VM configurations to find the optimal setup for your specific needs, especially if using GPU passthrough or PCI devices.
- 😀 Keep in mind that Proxmox requires a static IP and does not fully support DHCP, so ensure you configure the network correctly during installation.
Q & A
What is the first step in installing Proxmox 8.3?
-The first step is to create a bootable USB stick by downloading the latest Proxmox ISO image and using a tool like Rufus to prepare the USB drive. Once ready, you can plug it into the system and begin the installation.
How do you remove the Proxmox subscription popup?
-To remove the subscription popup, SSH into the Proxmox server, navigate to the proxmox.js file, back it up, and then remove the lines responsible for the subscription popup. Restart the PVE proxy service afterward.
Which file system does the speaker recommend for a single drive setup?
-The speaker recommends using XFS, as it is faster and more efficient for handling larger files compared to the Ext4 file system.
Why is it necessary to set a static IP during Proxmox installation?
-Proxmox does not work well with DHCP, so it is important to assign a static IP to ensure the system has a fixed network address, which avoids conflicts with other devices on the network.
What are the key steps to configure the Proxmox update repositories?
-Navigate to Data Center > PVE > Update Repositories in the Proxmox web interface. Disable the default Enterprise repositories and add the No Subscription repositories to ensure you can update the system without a subscription.
How can you add extra storage to your Proxmox server?
-To add extra storage, select the disk where you want to create the storage, wipe the disk, create a directory, and then upload your ISOs to the new storage under the Data Center > PVE section.
What are the recommended settings for creating a virtual machine (VM) in Proxmox?
-When creating a VM, select the appropriate ISO for the operating system, use the Q35 architecture for PCIe support, and choose the appropriate BIOS settings. For CPU and memory, allocate resources based on the VM's requirements, adjusting them as necessary.
How can you create snapshots and backups in Proxmox?
-Snapshots can be created by selecting the VM and clicking on 'Snapshots' followed by 'Take Snapshot.' Backups can be done similarly by selecting 'Backup' and setting the backup schedule or triggering it manually.
How do you map an SMB or CIFS share to Proxmox for backups?
-Go to Data Center > Storage, click 'Add', and select SMB/CIFS. Enter the server's IP address, username, and password. Once the share is mounted, you can use it for backups and store VM data.
What is the process for setting up GPU passthrough in Proxmox?
-To set up GPU passthrough, ensure the iGPU is set as the preferred display card in BIOS, then add the PCI device (GPU) to the VM using the 'Add PCI Device' option in the Proxmox web interface. Select the GPU and include all functions for passthrough.
Outlines

Cette section est réservée aux utilisateurs payants. Améliorez votre compte pour accéder à cette section.
Améliorer maintenantMindmap

Cette section est réservée aux utilisateurs payants. Améliorez votre compte pour accéder à cette section.
Améliorer maintenantKeywords

Cette section est réservée aux utilisateurs payants. Améliorez votre compte pour accéder à cette section.
Améliorer maintenantHighlights

Cette section est réservée aux utilisateurs payants. Améliorez votre compte pour accéder à cette section.
Améliorer maintenantTranscripts

Cette section est réservée aux utilisateurs payants. Améliorez votre compte pour accéder à cette section.
Améliorer maintenantVoir Plus de Vidéos Connexes


5.0 / 5 (0 votes)
