Cara Membuat Kabel LAN (CROSSOVER) LAN INTERNET #tutorials #cross #tutorial
Summary
TLDRIn this tutorial, the presenter demonstrates how to create a Cross (Crossover) cable for internet or network connections. The process includes using a crimping tool, wire cutters, and RJ-45 connectors. The presenter explains how to strip and arrange the wires in the correct order for both ends of the cable. They walk through the steps of connecting the wires into the RJ-45 connector, ensuring proper alignment for each cable type. The tutorial concludes with a successfully crimped cable ready for use, encouraging viewers to try it themselves.
Takeaways
- 😀 You can create a Cross (Crossover) Ethernet cable for connecting similar devices (e.g., laptop-to-laptop, PC-to-PC, or router-to-router).
- 😀 Essential tools needed for the process include a crimping tool, wire cutter, RJ-45 pins, and the Ethernet cable itself.
- 😀 The first step involves stripping the outer insulation of the cable to expose the wires, leaving about 7 cm of exposed wire.
- 😀 After stripping the cable, align the wires according to the Cross cable color order: White-Green, Green, White-Orange, Blue, White-Blue, Orange, White-Brown, and Brown.
- 😀 It’s important to ensure the wires are aligned correctly to avoid mistakes during crimping.
- 😀 Once aligned, trim the wires to ensure they fit neatly into the RJ-45 pin connector.
- 😀 Ensure that the wire’s outer insulation is slightly inserted into the RJ-45 pin to prevent the cable from coming loose later.
- 😀 Insert the wire into the RJ-45 connector, making sure the wires are in the correct order and fully inserted into the pin.
- 😀 Use the crimping tool to press the RJ-45 pin, securing the wires in place.
- 😀 After finishing one end of the cable, repeat the same process for the other end, but use a different color order for the second end (e.g., White-Orange, Orange, White-Green, etc.).
- 😀 After completing both ends, the Crossover cable is ready for use, allowing devices to connect directly to each other without a switch or hub.
Q & A
What is the purpose of a crossover cable?
-A crossover cable is used to connect similar devices, such as laptop to laptop, PC to PC, or router to router, for network communication.
What tools are required to make a crossover cable?
-The tools required are a crimping tool, a cable cutter, RJ-45 pins, and network cable.
What is the first step in making a crossover cable?
-The first step is to strip about 7 cm of the insulation off the end of the cable to expose the wires inside.
How should the wires in the crossover cable be arranged for the first end (Ujung A)?
-The wires should be arranged in the following order: White Green, Green, White Orange, Blue, White Blue, Orange, White Brown, and Brown.
Why is it important to ensure the cable insulation slightly enters the RJ-45 pin?
-It ensures the cable does not easily disconnect or break, providing a stable and secure connection.
What should be checked before inserting the wires into the RJ-45 pin?
-Before inserting the wires, double-check that the wire color order matches the correct configuration for the crossover cable.
How do you crimp the wires into the RJ-45 pin?
-Once the wires are properly arranged and inserted into the RJ-45 pin, use the crimping tool to firmly press and secure the wires into the pin.
How is the wiring order for the second end (Ujung B) of the crossover cable different from the first end?
-The wiring order for the second end is reversed compared to the first. The correct order is: White Orange, Orange, White Green, Green, Blue, White Blue, Green White, and Brown.
How do you ensure the second end of the cable is correctly made?
-Follow the same procedure as the first end by stripping the cable, arranging the wires in the correct order, and then crimping them securely into the RJ-45 pin.
What is the final step after crimping both ends of the cable?
-The final step is to ensure both ends of the crossover cable are properly made and ready for use in connecting compatible devices for networking.
Outlines

Cette section est réservée aux utilisateurs payants. Améliorez votre compte pour accéder à cette section.
Améliorer maintenantMindmap

Cette section est réservée aux utilisateurs payants. Améliorez votre compte pour accéder à cette section.
Améliorer maintenantKeywords

Cette section est réservée aux utilisateurs payants. Améliorez votre compte pour accéder à cette section.
Améliorer maintenantHighlights

Cette section est réservée aux utilisateurs payants. Améliorez votre compte pour accéder à cette section.
Améliorer maintenantTranscripts

Cette section est réservée aux utilisateurs payants. Améliorez votre compte pour accéder à cette section.
Améliorer maintenantVoir Plus de Vidéos Connexes
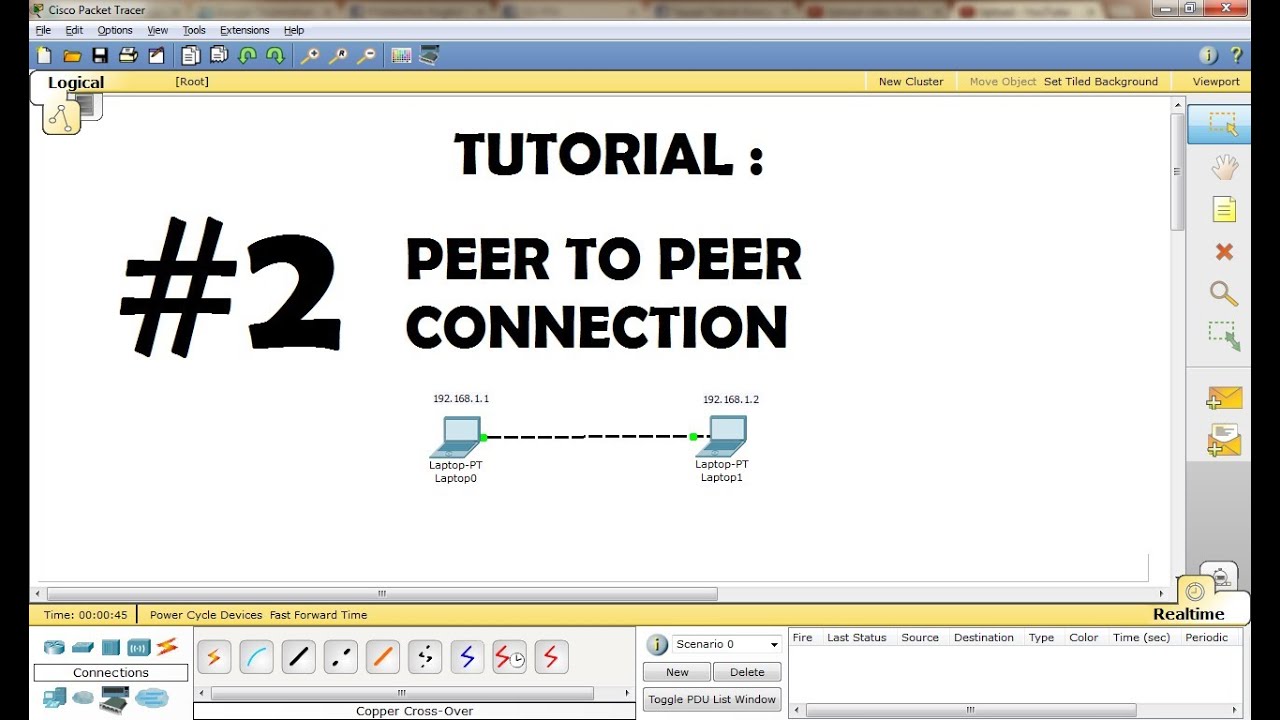
CISCO Packet Tracer Tutorial - Peer to Peer Connection

Transfer Files from PC to PC using a LAN/Ethernet Cable
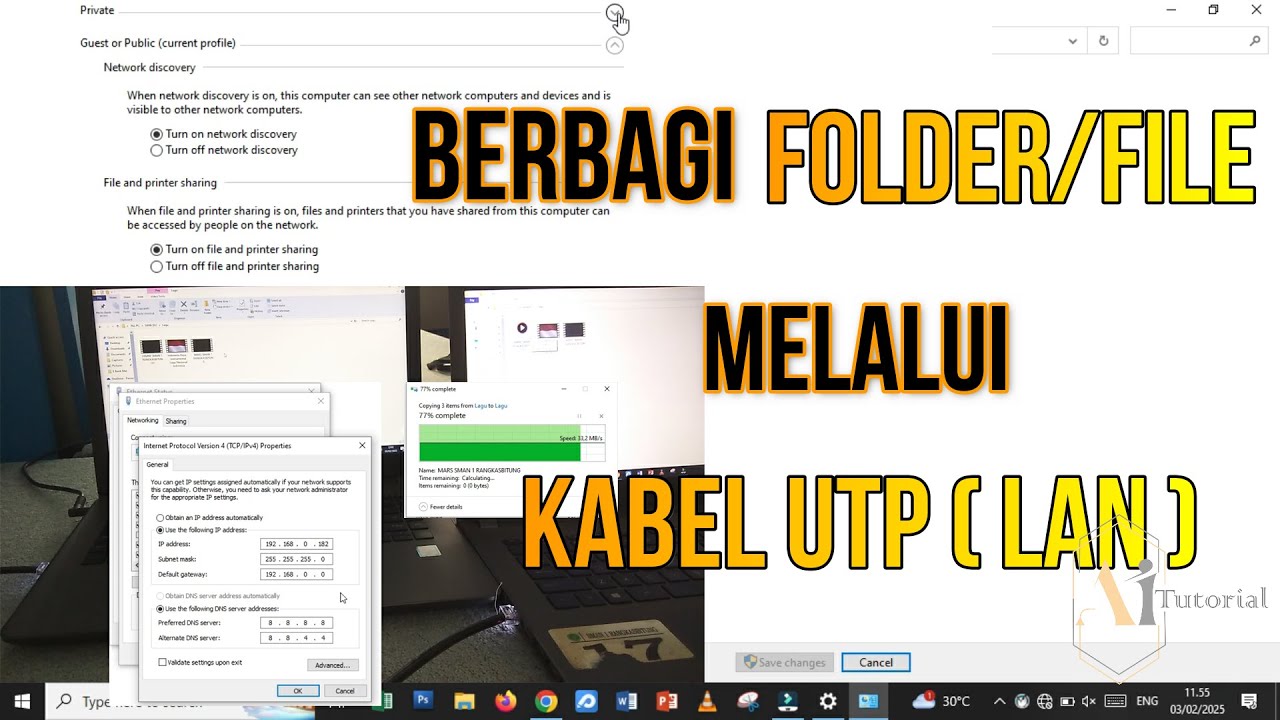
CARA TRANSFER FOLDER/FILE MENGGUNAKAN KABEL LAN
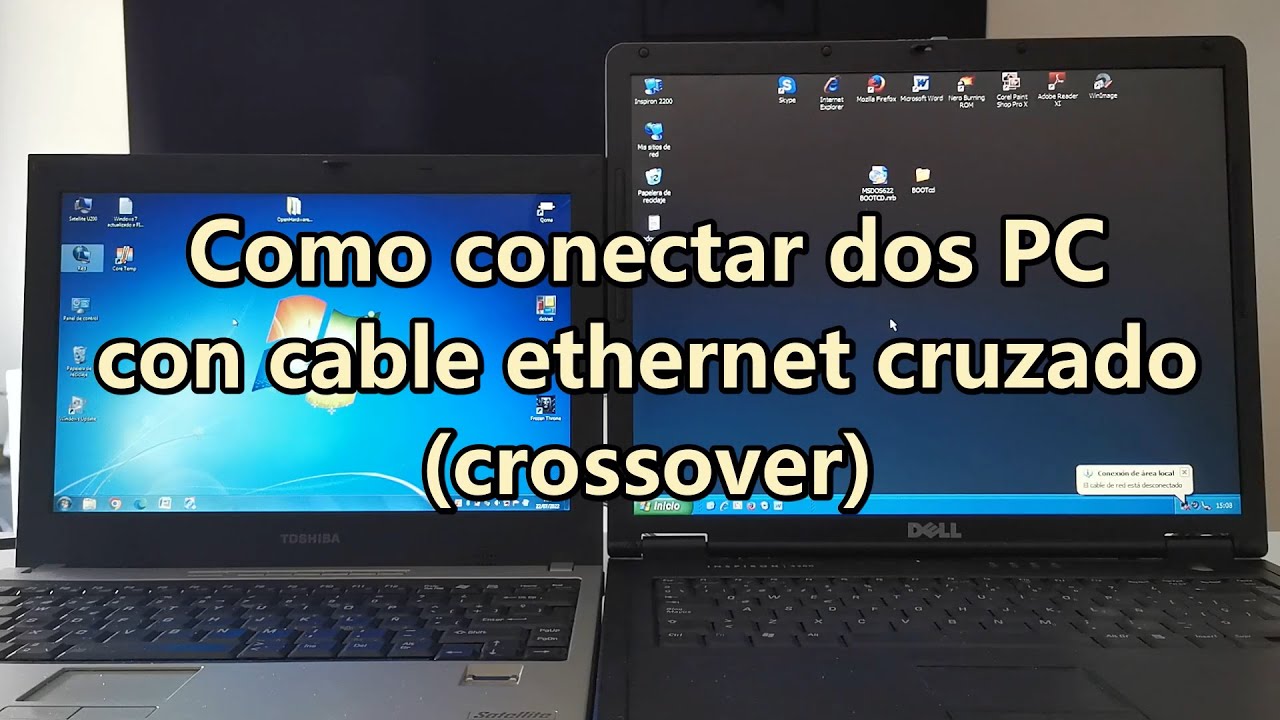
Cómo conectar dos PCs con un cable ethernet cruzado (crossover), para compartir carpetas y archivos

Cara membuat jaringan Peer to Peer sederhana || Jaringan Dasar #1

Cisco Packet Tracer - Membangun Jaringan Peer to Peer di Cisco Packet Tracer 8.2
5.0 / 5 (0 votes)
